4 Battery compartment door
5 Surface installation screw hole
6 U-bolt installation hole
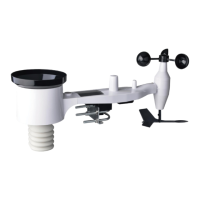
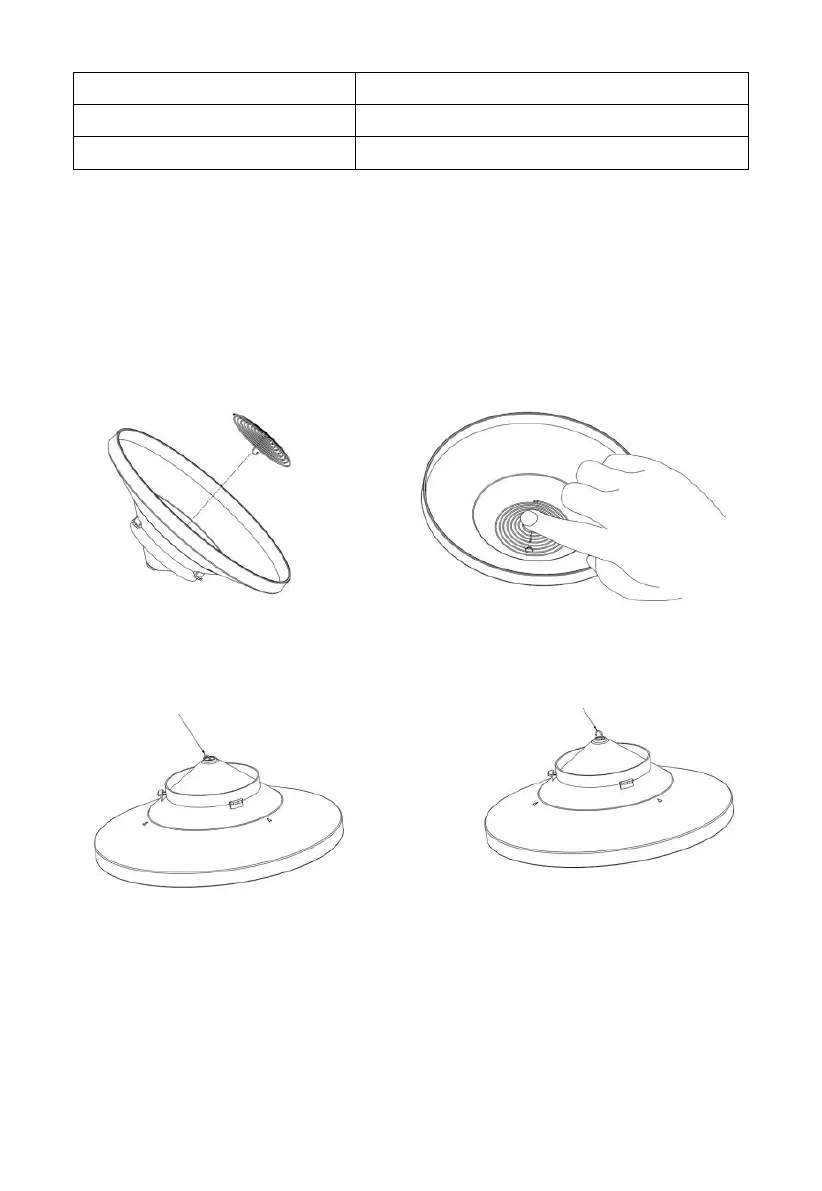
Table 3: Sensor assembly detailed items
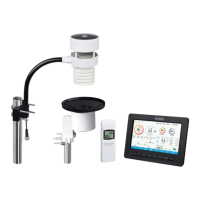
4.3.1 Install rain gauge filter
There’s a stainless steel filter included in the package. It’s aimed to stop
leaves or bird's dropping to avoid the obstruction of the cone hole. The
installation is simple: press the filter until the hook is inside the outlet hole
and self -locked. The spring tension will keep the filter sit tight on the funnel.
Figure 14: Rain gauge filter in/un-installation diagram
4.3.2 Install rain collector top
Align the rain collector top with the rain bucket, pay attention to the lock
groove position as shown on the left side in Figure 13. Next, lock the top
clockwise to the lock groove position, as shown on the right side of the
Hook the filter hook on the edge to install.
Take out the filter hook from the edge to uninstall.
 Loading...