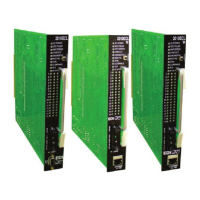
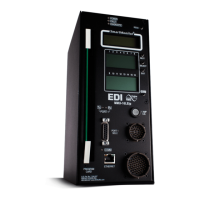
210E / 210ECL / 2010 / 2010ECL / 2018ECL SERIES SIGNAL MONITOR
OPERATIONS MANUAL
Eberle Design Inc. Page 22
4.2 SSM SWITCH PROGRAMMING
The SSM dip switches (SW4, SW5) are located near the program card edge connector.
The switch positions are labeled CH1 to CH16 (CH18) on the PCB legend screen,
corresponding to channels 1 through 16 (18), respectively. To enable GYR-Dual Indication
and Clearance Monitoring on a channel, place the corresponding channel dip switch to the
ON position. Disabling Yellow input sensing on the program card will also disable GY-Dual
Indication, YR-Dual Indication and Clearance Monitoring for that channel regardless of the
dip switch position for that channel. The corresponding channel SSM dip switch must
be placed in the OFF position when an unused Red field output terminal on the
adapter PCB is connected to AC+.
4.3 PROGRAM CARD PROGRAMMING
The diode Program Card provides the means to assign non-conflicting channels and to
disable sensing of Yellow input signals. The card is initially supplied with 120 (2018ECL
has 153) diodes mounted on the card. This permits all channels to conflict with all other
channels. To program a NON-CONFLICTING (permissive) channel pair, remove the
appropriate diode from the program card.
Example: If channel 2 Green or Yellow is permissive with channel 6 Green or
Yellow, remove the diode labeled "2-6".
If the Program Card is removed or not seated properly in the edge connector, the Signal
Monitor will enter the fault mode causing the Output relay contacts to close and enabling
the Stop-Time output to the controller. The PCA indicator will illuminate to indicate this
condition. A manual Reset is required after the Program Card is properly seated.
4.3.1 YELLOW DISABLE JUMPERS
To DISABLE sensing of a Yellow signal on a channel, solder a wire jumper between the
hole pairs on the Program Card labeled for that channel. When the jumper is installed the
monitor will use a value of Zero volts for the field input regardless of the actual voltage
applied. When the jumper is installed Clearance monitoring (See Section 2.4) is
automatically disabled for that channel.
Example: To disable Yellow signal sensing on channel 9, a jumper wire must be
soldered in between the pair of holes labeled "9" in the area designated
"YELLOW DISABLE" on the program card.
4.4 OPTION SWITCH PROGRAMMING
The Signal Monitor provides switch options to modify the monitor operation. The Option
switches are labeled OPTIONS (SW3) and are located near the program card edge
connector.
4.4.1 RED FAIL TIMING SWITCH
Switch #1 of SW3 is labeled "RF 2010". When this switch is in the ON position, the Red Fail
fault time is set to the 2010 Standard value of 1350 ms. When this switch is in the OFF
position, the Red Fail fault time is set to the 210E series value of 850 ms. See Section 2.2.
4.4.2 RECURRENT PULSE (RP) DISABLE SWITCH (RP DISABLE)
Switch #2 of SW3 is labeled "RP DISABLE". When this switch is in the ON position, the
Recurrent Pulse detection mode is disabled. See Section 2.6.