ELAN HC6/HC12 INSTALLATION MANUAL
© ELAN 2010 | All rights reserved.
Page 58
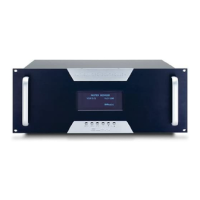
Appendix B: Rack Mounting
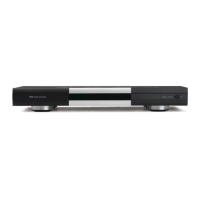
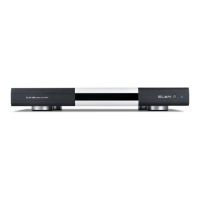
When mounting the HC6/HC12 in an equipment rack, use the included Rack Mount
Brackets for secure mounting. The HC6/HC12 requires one rack space.
Keep in mind heat management. The System Controller should be mounted below heat
sources like amplifiers. Provide adequate cooling, especially in enclosed racks or
cabinets.
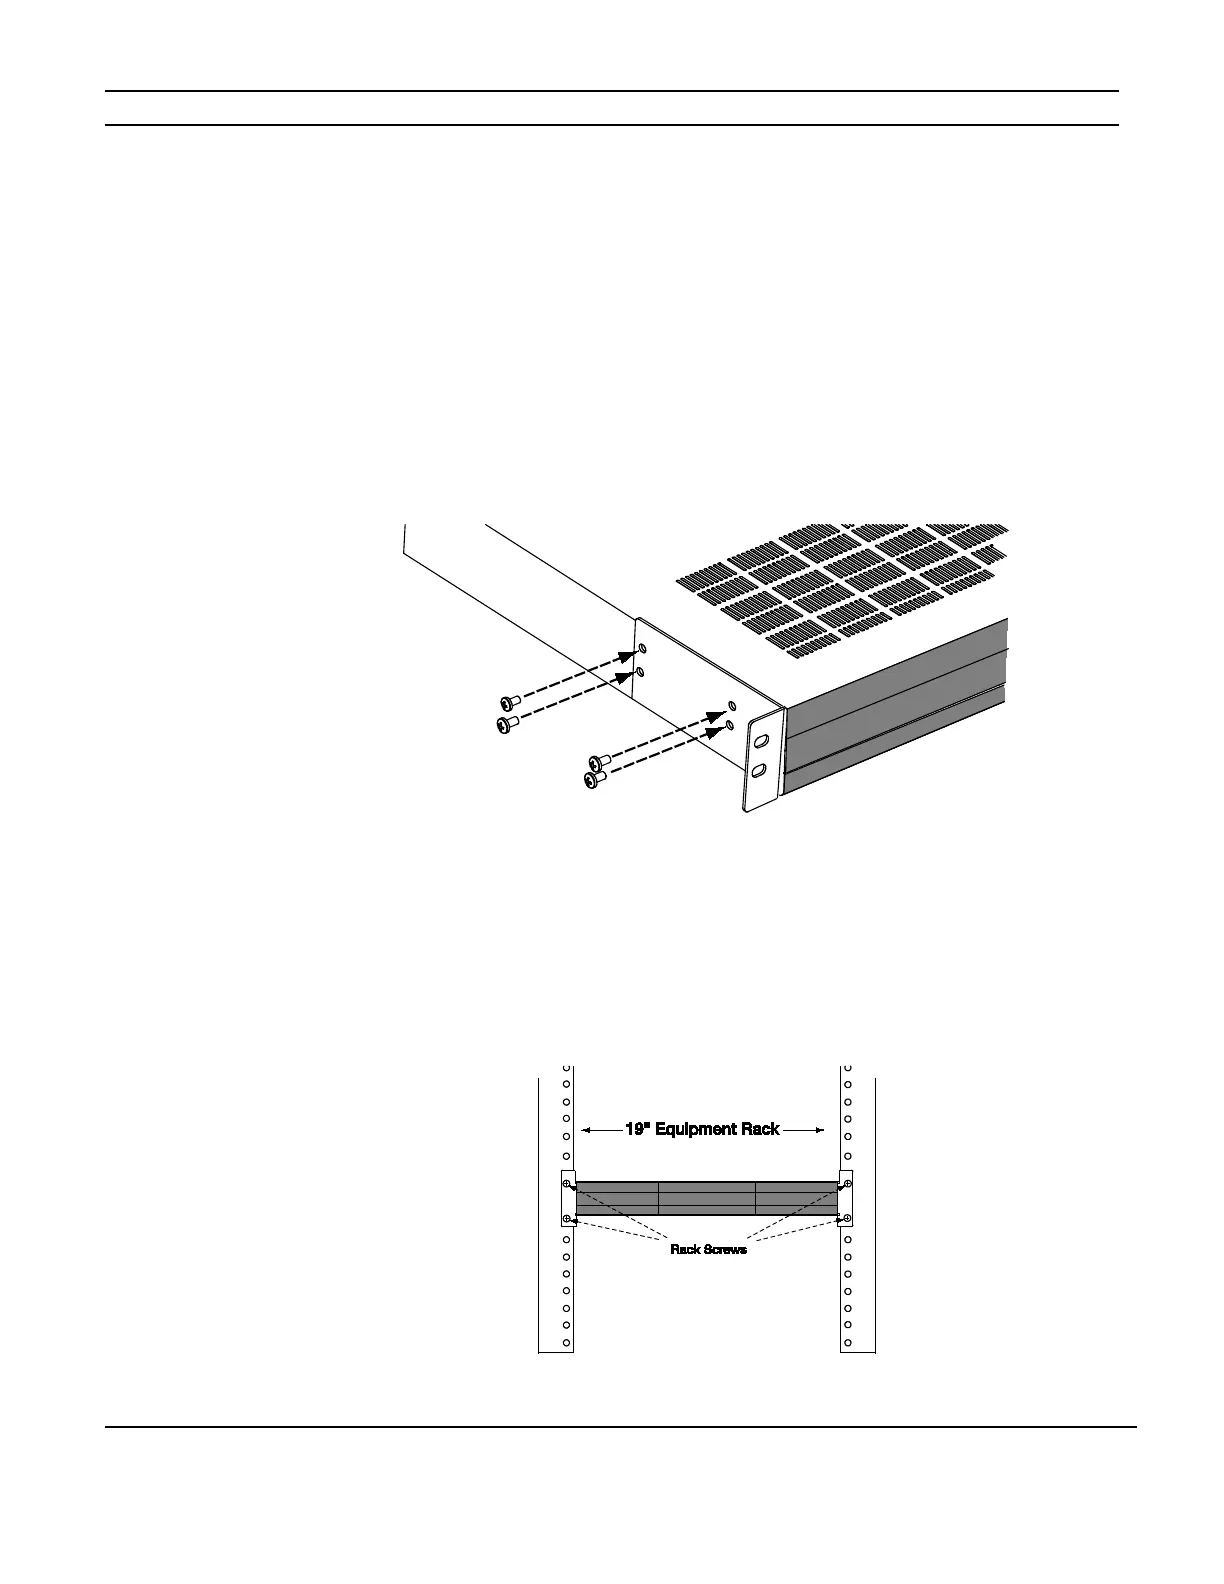
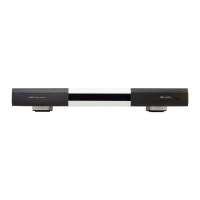
1: Ensure that the brackets are flush with the front of the unit. Install each of the eight
screws (included) through the side mounting flanges into the holes in the sides of the unit
as shown in Figure B-1. Hand tighten screws! Over-tightening could damage the chassis.
Figure B-1
2. Once the brackets are securely mounted, install the entire assembly into a standard 19”
equipment rack from the front using four rack screws (not included). (Fig. B-2)
Figure B-2