23Installation Manual
Mounting System / Battery Enclosure(s)
To begin installing the battery enclosures, follow the steps below:
1. Take the enclosure out of the box and move to a stable surface
2. Open the PowerTools App, log in with your certified credentials
(if you do not have login credentials, see the notes on the
'Commissioning' section).
3. Click the 'Add a New System' button and fill out the customer
details.
4. Select the system size that is being installed, the type of coupling,
and then press the 'Scan' button to scan the barcode on the side of
the PowerPod system.
above the ground.
9. Determine what type of wall you're working with to use the
appropriate amount of lag bolts.
10. Hang the enclosure on the bracket and ensure that the slots line
up correctly. To assure that the weight of the battery rests firmly
on the floor, leave a 1/4" gap between the enclosure and the wall
mounting bracket.
11. Once the system has been mounted, take a photo within
the PowerTools app.
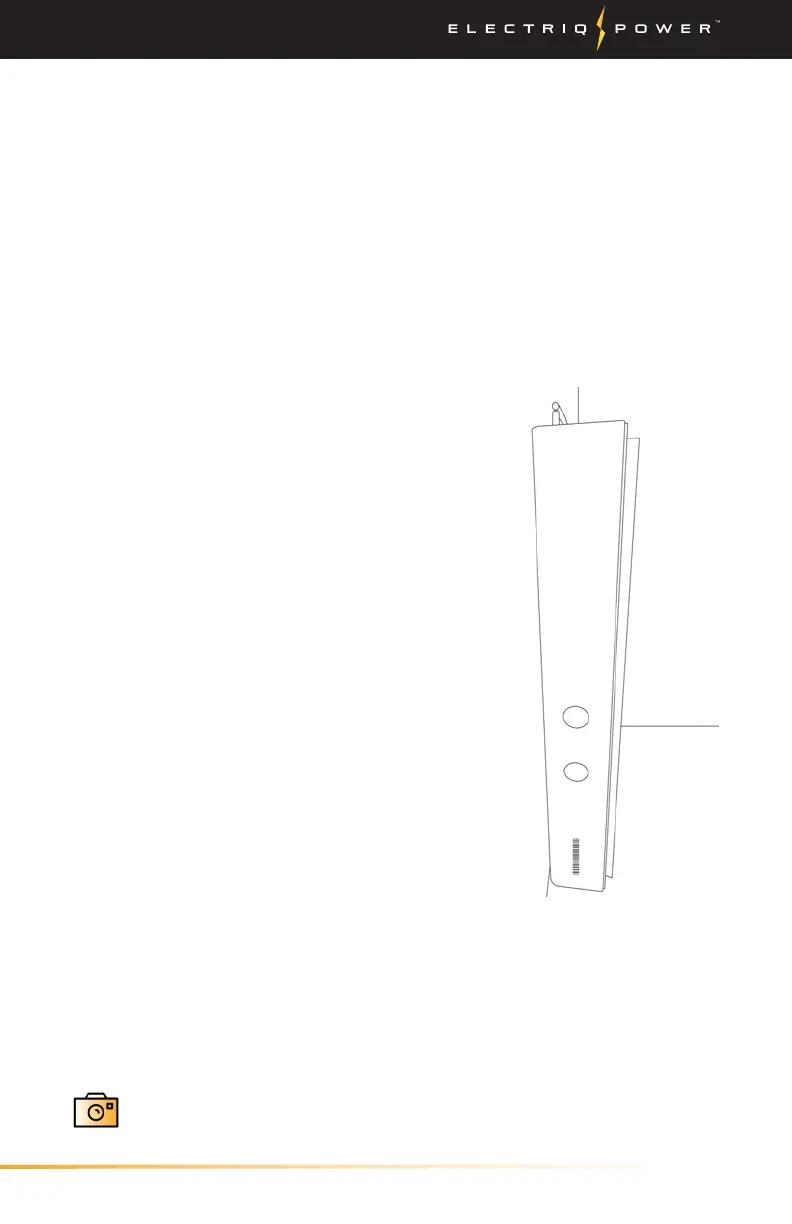
5. Remove the 2 screws from the side
portions of the enclosure with an
allen wrench.
6. Remove the front cover by slightly
pulling the bottom half away from
the enclosure while lifting up. Then
set aside the cover. Be careful when
removing the cover, as the display
cable may be connected to the front
cover.
7. Place mounting bracket onto
predetermined wall for installation
and ensure that the bracket has
44-1/4" of minimum clearance
(with pegs twisted in). The pegs
can be adjusted a maximum of
1-3/8" when fully twisted out.
8. The mounting bracket for the 5
kWh battery enclosure must be
mounted at a minimum of 18-1/4"
3.2.1. BATTERY ENCLOSURE(S)