-18-
Project #334
OBJECTIVE: To configure the seven
segment to display the number 5.
Connect A, F, G, C, & D to the negative of the
battery.
Display #5
Project #335
OBJECTIVE: To configure the seven
segment to display the number 6.
Connect A, C, D, E, F, & G to the negative of
the battery.
Display #6
Project #336
OBJECTIVE: To configure the seven
segment to display the number 7.
Connect A, B, & C to the negative of the
battery.
Display #7
Project #337
OBJECTIVE: To configure the seven
segment to display the number 8.
Connect A, B, C, D, E, F & G to the negative
of the battery.
Display #8
Project #338
OBJECTIVE: To configure the seven
segment to display the number 9.
Connect A, C, D, F, & G to the negative of the
battery.
Display #9
Project #339
OBJECTIVE: To configure the seven
segment to display the number 0.
Connect A, C, D, E, & F to the negative of the
battery.
Display #0
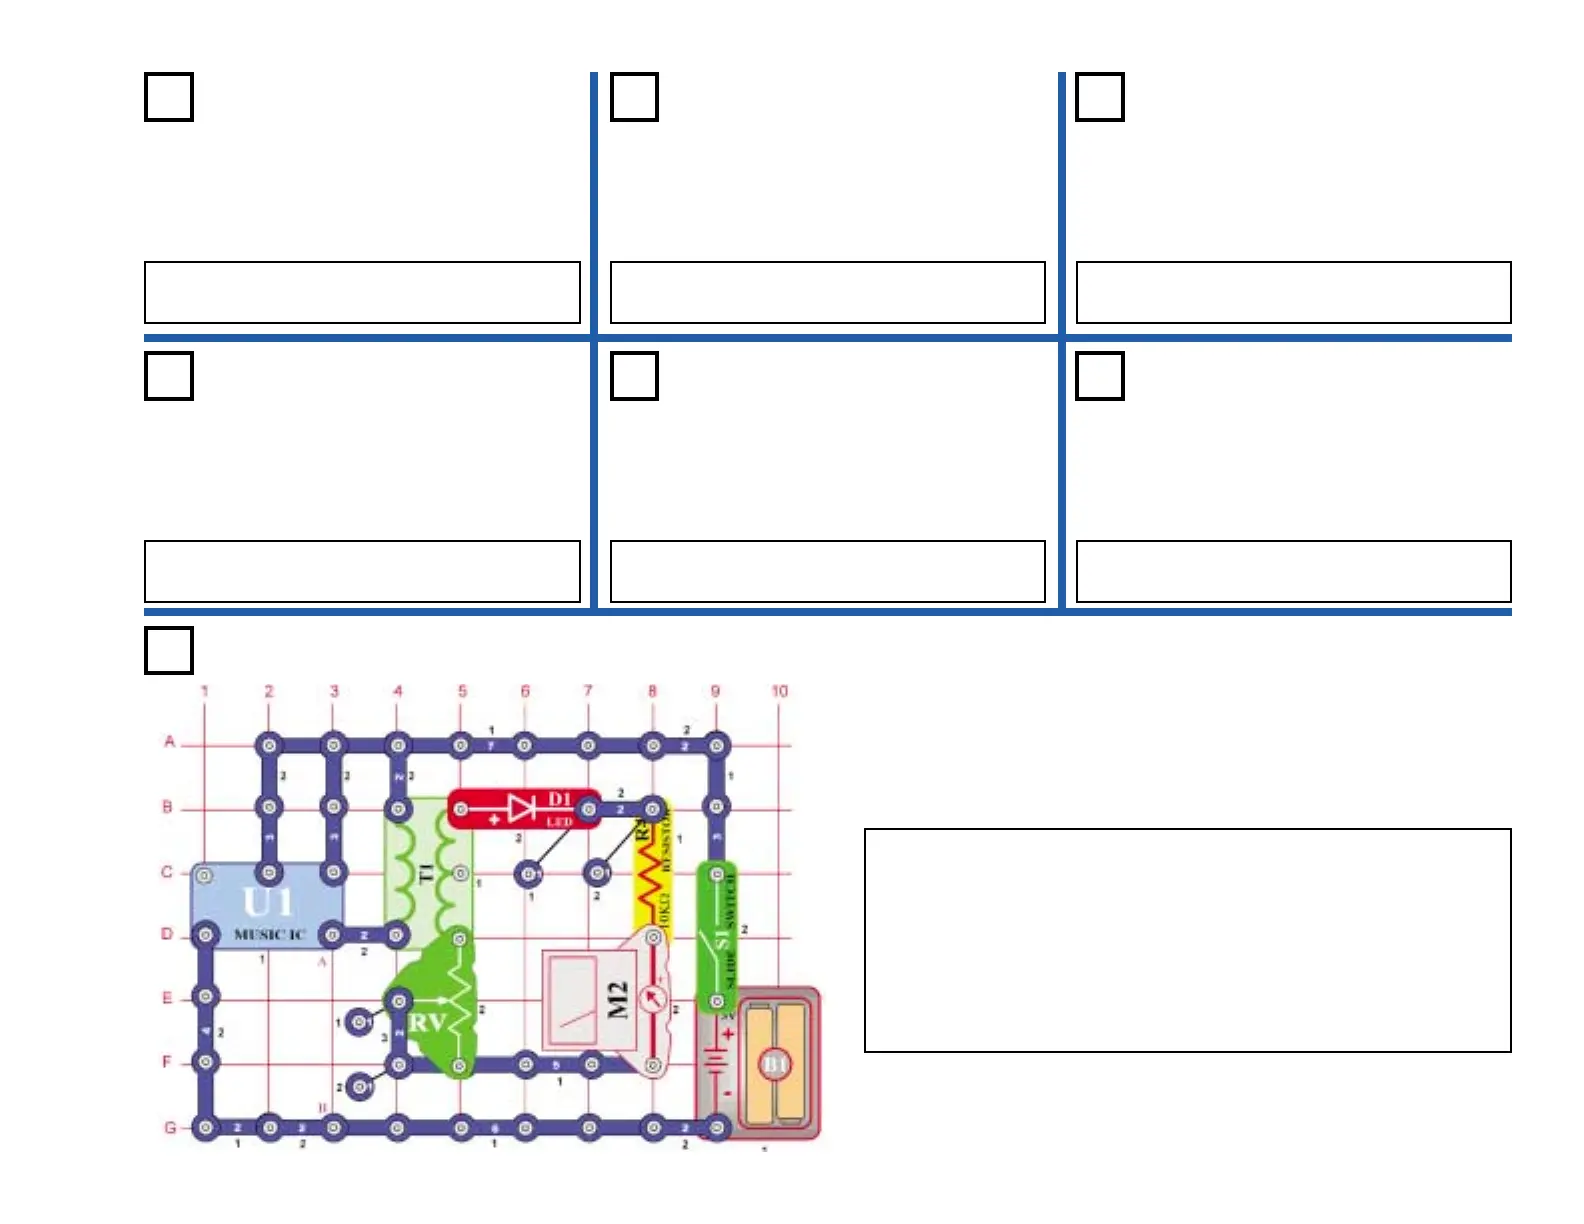
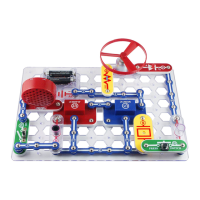
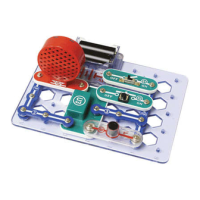
Project #340
OBJECTIVE: See and hear the output of the music IC.
In this circuit, the output of the music IC (U1) is applied to the primary
of the transformer (T1), which lights the LED (D1) and deflects the
meter (M2).
Place the variable resistor (RV) to the bottom position and turn on the
switch (S1). Adjust the variable resistor upwards. This increases the
voltage across the LED and meter. The LED brightens and the meter
deflects more towards 10. Place the speaker (SP) across points A &
B. Now you can hear and see the output of the music IC.
Music Meter