-37-
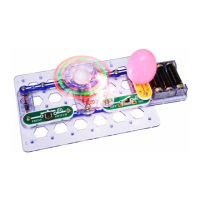
Project #404
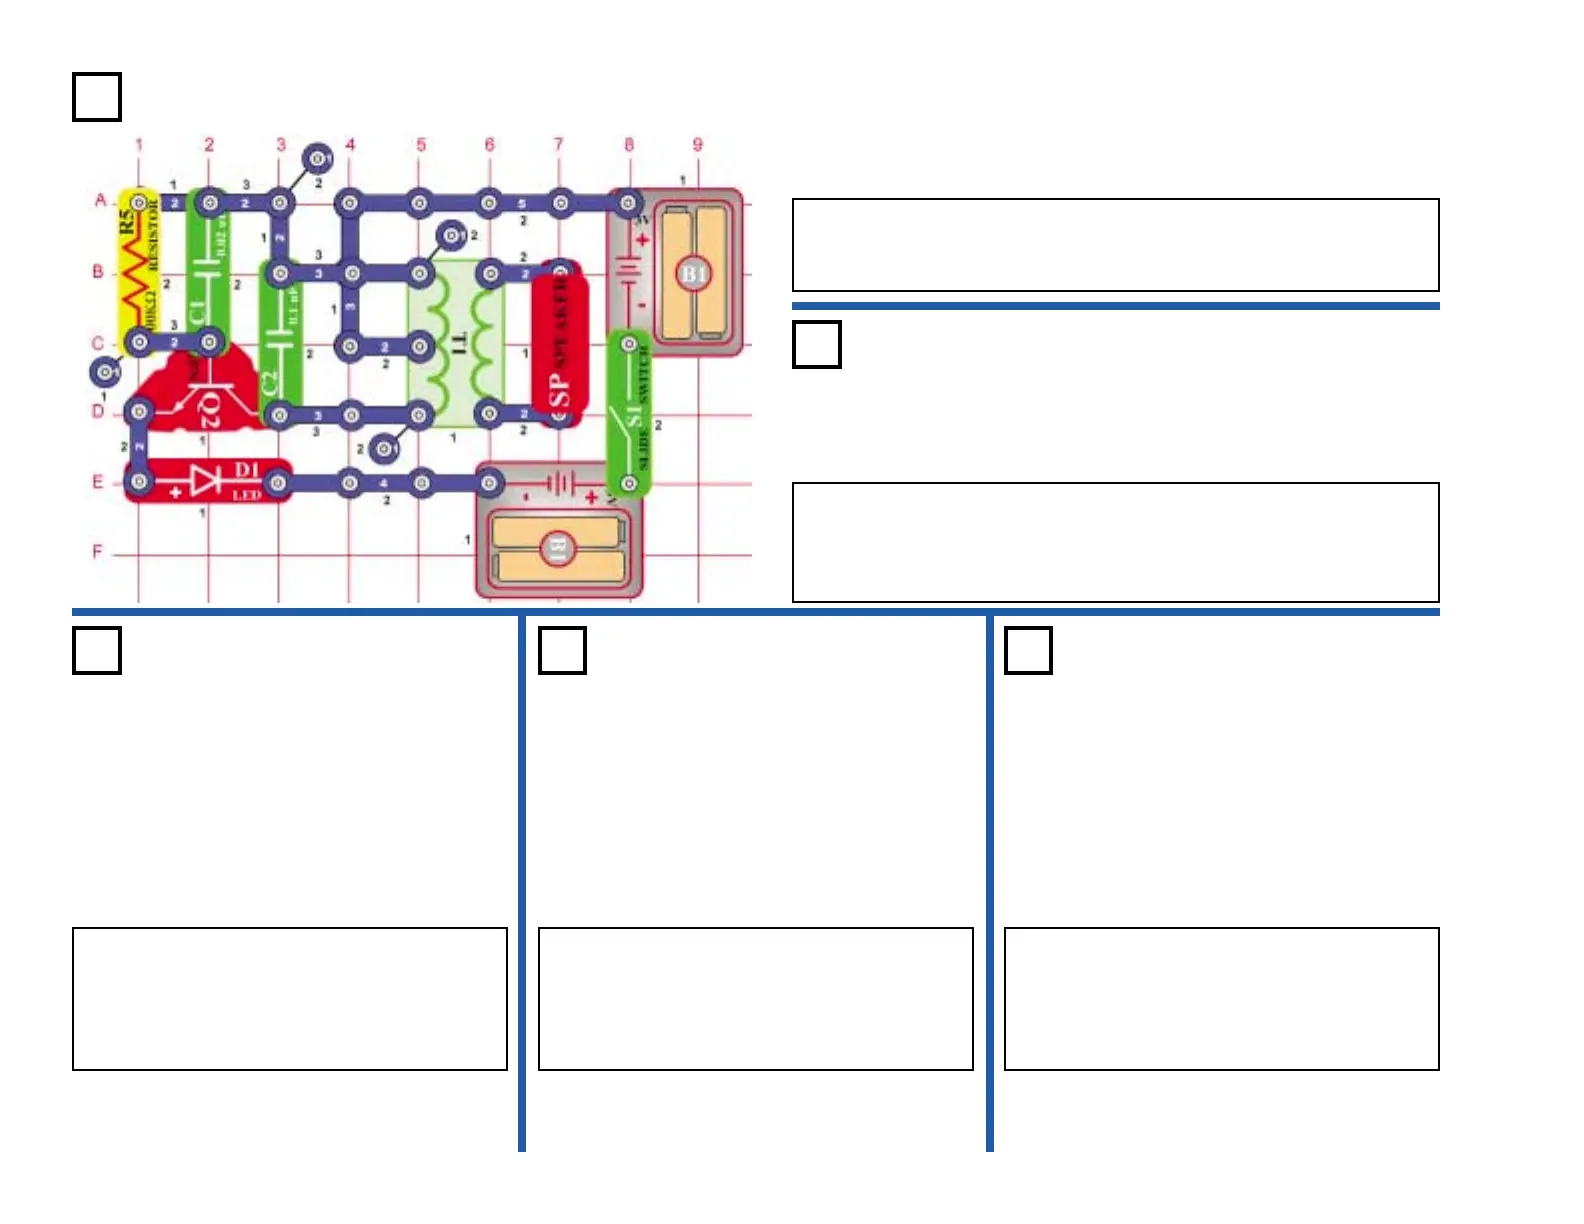
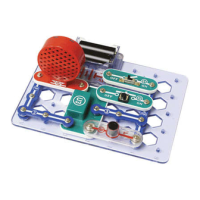
OBJECTIVE: Build an oscillator circuit.
Turn on the switch (S1) and the LED (D1) lights as the speaker (SP)
emits a tone. The circuit oscillates and generates an AC voltage
across the speaker through the transformer (T1).
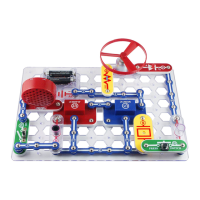
Oscillator Sound
OBJECTIVE: Show variations of project 404.
Use the circuit in project 404. Place the
whistle chip (WC) in parallel with the capacitor
(C2) by placing it on the left side of the
transformer (T1). Turn on the switch (S1) and
you now hear a lower tone.
Oscillator
Sound (III)
Project #406
OBJECTIVE: Show variations of project 404.
Oscillator
Sound (IV)
Project #407
OBJECTIVE: Show variations of project 404.
Oscillator
Sound (V)
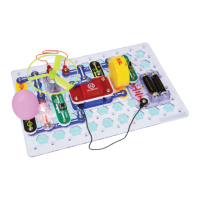
Project #408
OBJECTIVE: Show variations of project 404.
Use the circuit in project 404. In this circuit, you will change the tone
by adding more capacitance. Place the whistle chip (WC) on top of
capacitor (C1). Turn on the switch (S1) and you now hear a lower
tone. Adding the more capacitance lowers the oscillating frequency.
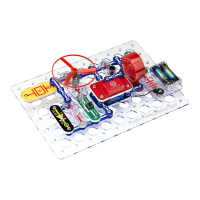
Oscillator Sound (II)
Project #405
Use the circuit in project 404. Place the 10µF
capacitor (C3) on top of the 0.02µF capacitor
(C1). Turn on the switch (S1) and you should
hear a much lower sound then the previous
projects.
Use the circuit in project 404. Replace the
100kΩ resistor (R5) with the photo resistor
(RP). Wave your hand over the photo
resistor. Now, as the resistance changes, so
does the oscillator frequency.