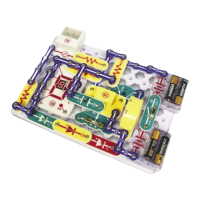
-58-
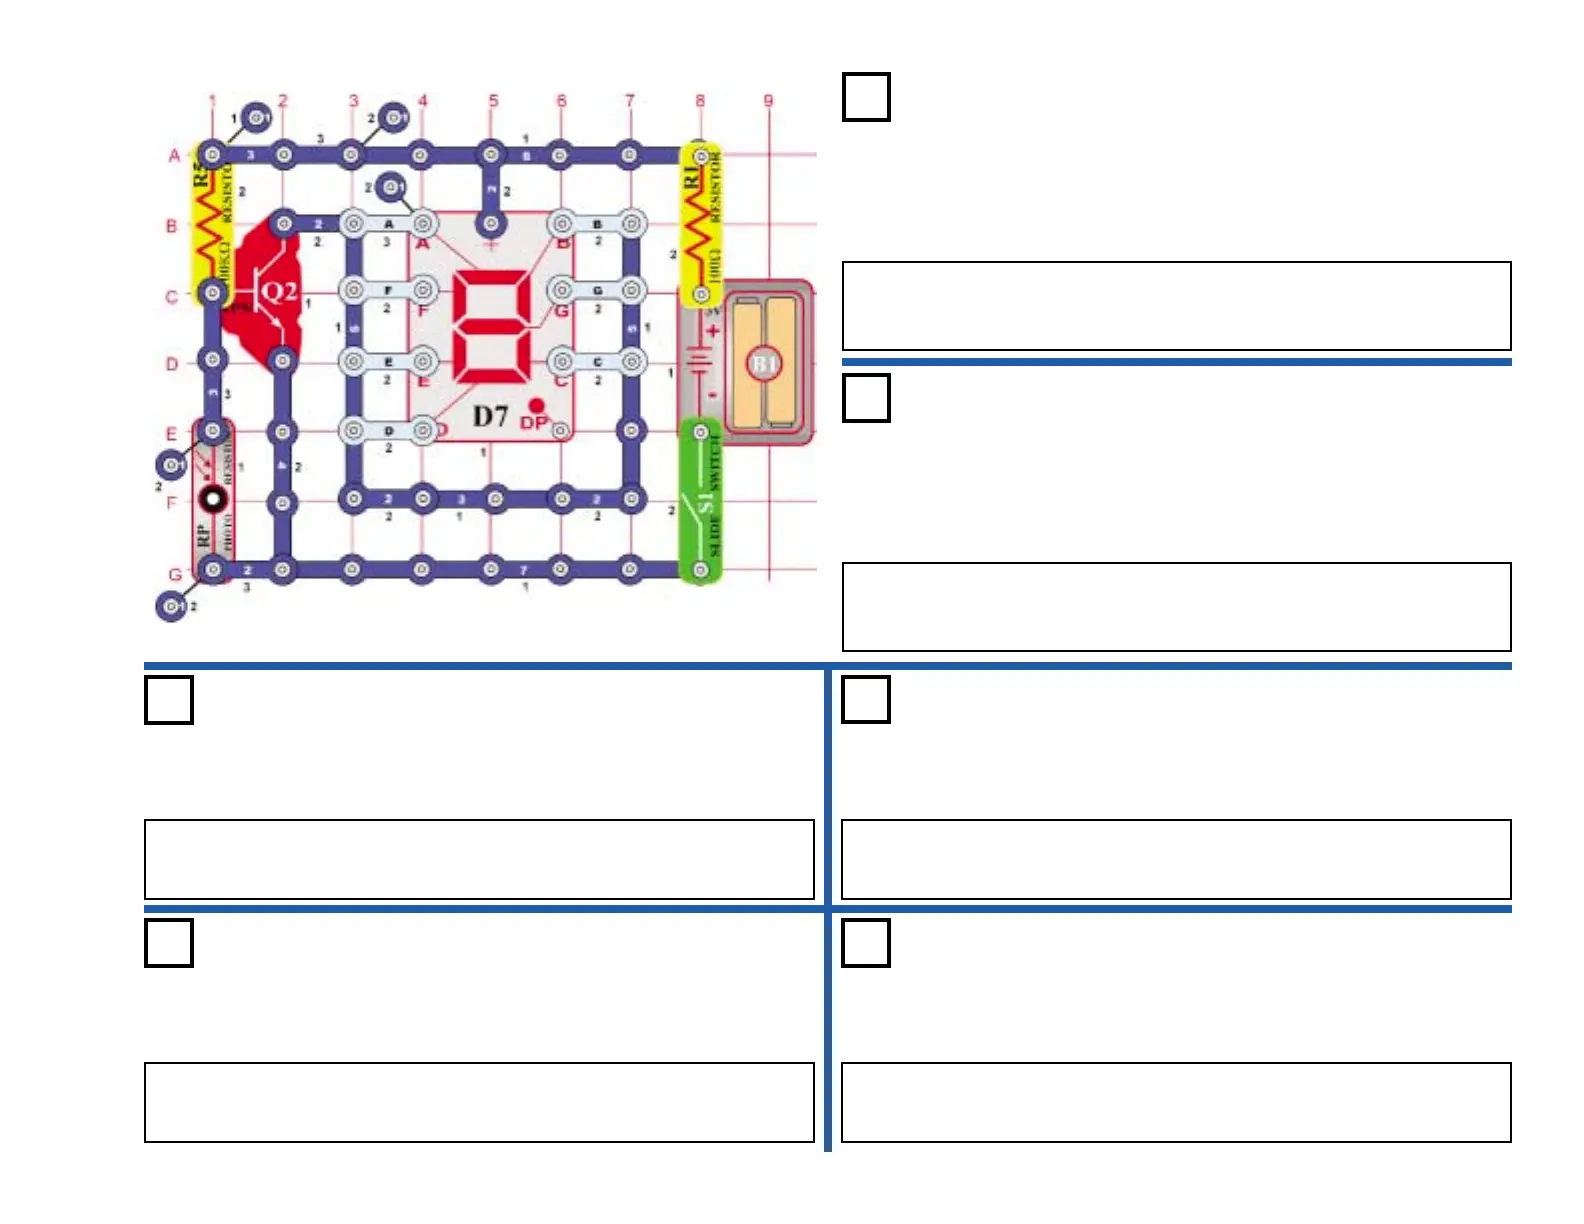
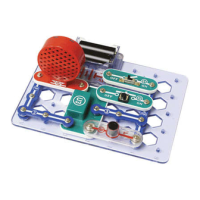
OBJECTIVE: To construct a light-controlled display for lower case
letters.
Connect C, D, E, F & G to the circuit. Turn on the switch (S1) and the
display should be off. Place your hand over the photo resistor (RP), now
the letter “b” lights.
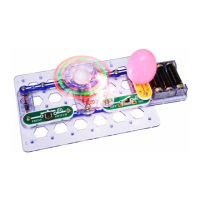
Automatic Display Letter “b”
Project #495
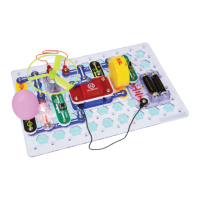
Project #497
OBJECTIVE: To light the letter “d” using a light-controlled display.
Use the circuit from project 495. Connect B, C, D, E, & G to the circuit. Turn on
the switch (S1) and the display should be off. Place your hand over the photo
resistor (RP), now the letter “d” lights.
Automatic Display Letter “d”
OBJECTIVE: To light the letter “c” using a light-controlled
display.
Use the circuit from project 495. Connect E, D, & G to the circuit. Turn
on the switch (S1) and the display should be off. Place your hand over
the photo resistor (RP), now the letter “c” lights.
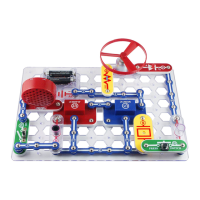
Automatic Display Letter “c”
Project #496
Project #498
OBJECTIVE: To light the letter “e” using a light-controlled display.
Use the circuit from project 495. Connect A, B, D, E, F, & G to the circuit. Turn
on the switch (S1) and the display should be off. Place your hand over the photo
resistor (RP), now the letter “e” lights.
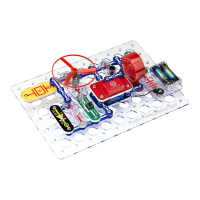
Automatic Display Letter “e”
Project #499
OBJECTIVE: To light the letter “h” using a light-controlled display.
Use the circuit from project 495. Connect F, E, C, & G to the circuit. Turn on the
switch (S1) the display should be off. Place your hand over the photo resistor
(RP), now the letter “h” lights.
Automatic Display Letter “h”
Project #500
OBJECTIVE: To light the letter “o” using a light controlled display.
Use the circuit from project 495. Connect C, D, E, and G to the circuit. Turn on
the switch (S1) the display should be off. Place your hand over the photo resistor
(RP), now the letter “o” lights.
Automatic Display Letter “o”