66
8.2 IE Remote Surveillance via LAN & WAN
InordertoviewtheNVRfromanetworkitmustbeconnectedtoaLAN/WANorinternet.Thenetworksetupshouldbedoneaccordingly.Pleasereferto5.6
Network Setup.
8.2.1 Via LAN
1-GototheNVR’sMainMenuSetupNetworktabtoinputIPaddress,SubnetMask,etc.IfusingDHCP,pleaseenableDHCPinboththeNVRandthe
router.
2 - Enter Record Setup to set network video parameters like resolution, frame rate etc.
3-OpenIEonacomputeronthesamenetwork.InputtheIPaddressoftheNVRinIEaddressbarandpressenter.
4-IEwilldownloadActiveXcomponentautomatically.Entertheusernameandpasswordinthesubsequentwindow.
Notice: If HTTP port is not 80, add the port number after IP address. For example, set HTTP port as 82, input IP address like 192.168.0.25:82. User name
and password here are the same with that used on the NVR. The default is admin and 123456.
8.2.2 Via WAN
There are two ways for the NVR to connect to internet.
1. Connect the NVR to internet through router or virtual server.
1-GototheNVR’sMainMenu Setup NetworkinterfacetoinputIPaddress,SubnetMask,etc.IfusingDHCP,pleaseenableDHCPinboththeNVR
and router.
2-ForwardIPaddressandportnumberinVirtualServersetupoftherouterorvirtualserver.ConguretherewalltoallowaccessingtheNVR.
Note: Port forwarding settings may be different in different routers and server. Please refer to the router’s manual for details.
3-OpenIEbrowser,inputIPaddress,ordynamicdomainnameandenter.IfHTTPportisnot80,addtheportnumberafterIPaddressordomainname.
4 -IE will download ActiveX automatically. Then a window pops up and asks for user name and password. Input name and password correctly, and enter to
view.
Note: If you cannot download and install ActiveX, please refer to FAQ Q8.
8 Remote Surveillance
8.1 IE Remote Surveillance by NAT
8.1.1 NAT Settings
1-TheNVRshallbepoweredonandconnectedtothenetwork.
2-GotoMainMenu
Setup Network Network.YoucanobtaintheIPaddress,SubnetMaskandGatewayautomatically.Youcanalsomanuallyinput
themaccordingtotheactualnetworksituation.AndtheIPaddressshallbeinthesamenetworksegmentasthenetworkwhichisused.
3 - Set the preferred or alternative DNS Server (Please refer to 5.6.1 Network for details).
4-GotoMainMenu
Setup Network NATtab.
5-EnableNATandinputtheNATServer(ThedefaultNATServeriswww.autonat.com).
6 - Click “Apply” to save the parameters (Please refer to 5.6.4 NAT for details).
8.1.2 NAT Access
AfternishingtheNATsettings,youcanentertheNATServerontheremotePC(Inputhttp://www.autonat.comtogototheIEclient).Ifyouarethersttime
to access the NAT, the network will download the ActiveX automatically.
Note: The WEB client must be in the remote network. It cannot be in the same local network as that of the NVR; otherwise, access failure will happen. If you
cannot download and install ActiveX, please refer to FAQ Q8.
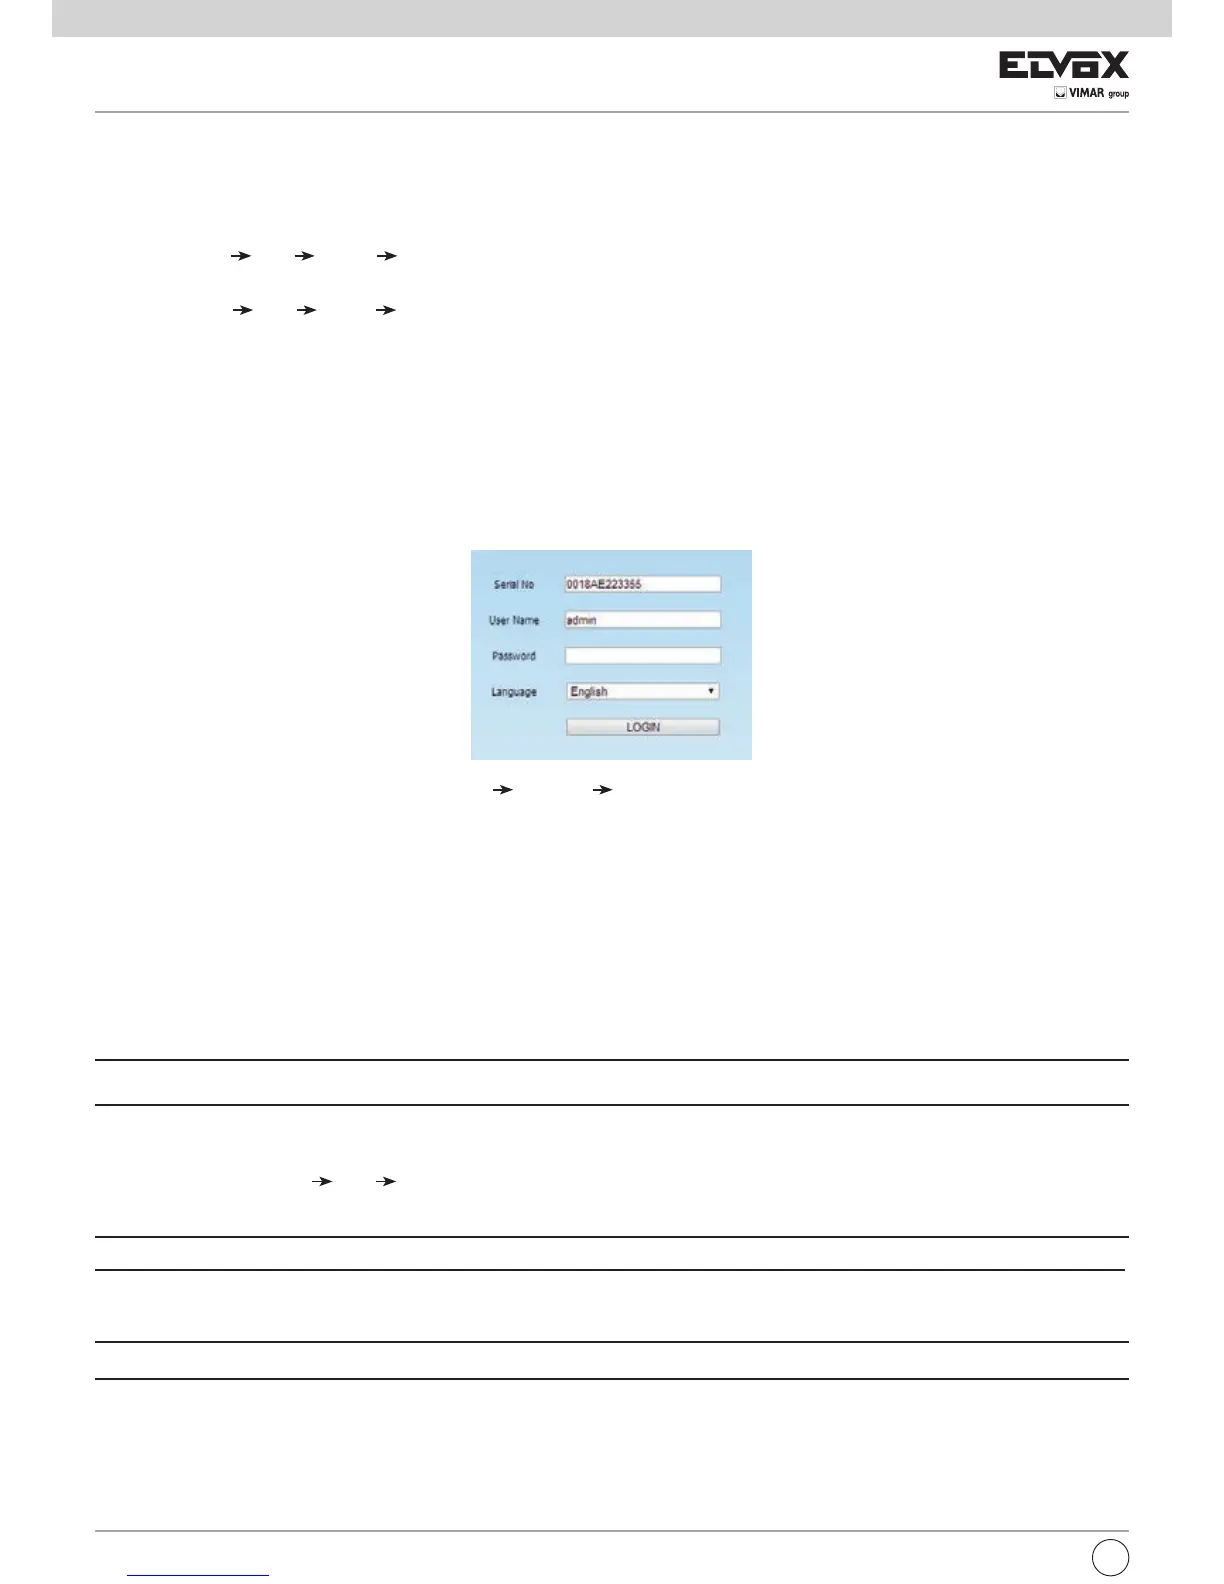
AfterinstallingActiveXsuccessfully,itwillpopuptheloginbox.
SerialNo:TheMACaddressoftheNVR(GotoMainMenu
Information Network to check the MAC address of the NVR).
User Name: The login username of NVR. The default username is admin.
Password: The login password of NVR. The default password is 123456.
 Loading...