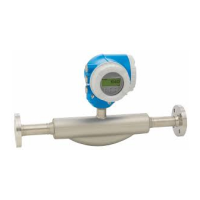
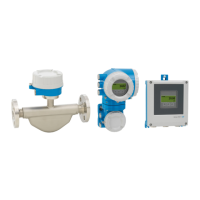
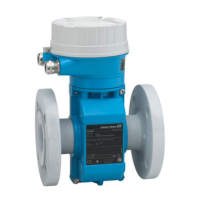
Proline Promass P 300
44 Endress+Hauser
Influence of medium
temperature
Mass flow and volume flow
o.f.s. = of full scale value
When there is a difference between the temperature for zero point adjustment and the process
temperature, the additional measured error of the sensor is typically ±0.0002 % o.f.s./°C (±0.0001 %
o. f.s./°F).
The effect is reduced if zero point adjustment is performed at process temperature.
Density
When there is a difference between the density calibration temperature and the process
temperature, the typical measured error of the sensor is ±0.0001 g/cm
3
/°C (±0.00005 g/cm
3
/°F).
Field density calibration is possible.
Wide-range density specification (special density calibration)
If the process temperature is outside the valid range (→ 42) the measured error is
±0.0001 g/cm
3
/°C (±0.00005 g/cm
3
/°F)
[kg/m ]
3
[°C]
-40
0
-80
40 80 120 160 200 240 280 320 360 400
[°F]
-50
0
50
100 150
200
0
2
4
6
8
10
14
12
16
1
2
18
20
A0016610
1 Field density calibration, for example at +20 °C (+68 °F)
2 Special density calibration
Temperature
±0.005 · T °C (± 0.005 · (T – 32) °F)
Influence of medium
pressure
The table below shows the effect on accuracy of mass flow due to a difference between calibration
pressure and process pressure.
o.r. = of reading
It is possible to compensate for the effect by:
• Reading in the current pressure measured value via the current input.
• Specifying a fixed value for the pressure in the device parameters.
Operating Instructions→ 110.
DN [% o.r./bar] [% o.r./psi]
[mm] [in]
8 ³⁄₈ –0.002 –0.0001
15 ½ –0.006 –0.0004
25 1 –0.005 –0.0003
 Loading...
