39
IOM, XT Models Enertech Global
Lockout with Emergency Heat
While in lockout mode, if the thermostat is calling for
backup heat, emergency heat mode will occur.
Diagnostics
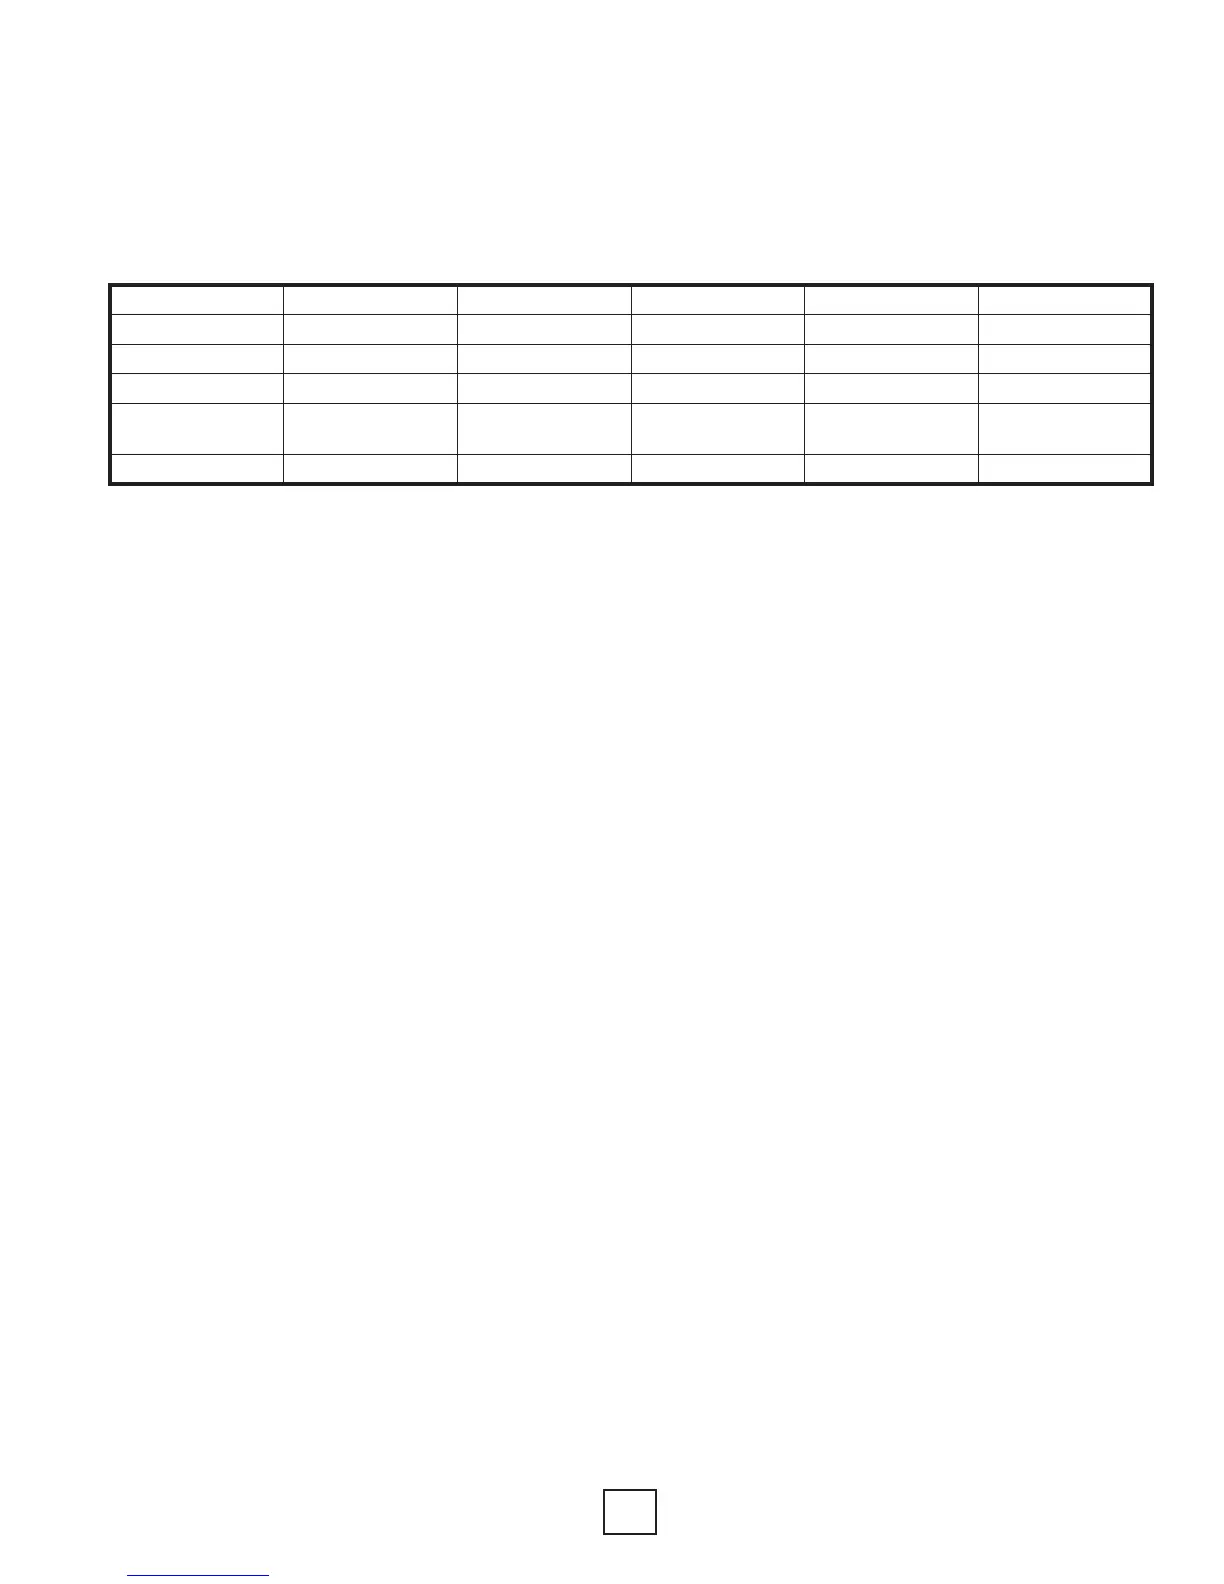
The lockout board includes ve LEDs (status, high
pressure, low pressure, low water ow, condensate
overow) for fast and simple control board
diagnosis. Below is a table showing LED function.
Section 9: Controls
LED Color Location
1
Function Normal Operation Fault Retry
2
Lockout
2
Green To p High Pressure OFF Flashing
3
ON
3
Orange 2nd Low Pressure OFF Flashing
3
ON
3
Red 3rd Water Flow OFF Flashing
3
ON
3
Yellow 4th
Condensate
Overow
OFF Flashing
3
ON
3
Green Bottom Status Flashing
4
Flashing
5
Flashing
4
Notes:
1. Looking at the board when the LEDs are on the right hand side.
2. If all ve lights are ashing, the fault is over/under voltage.
3. Only the light associated with the particular fault/lockout will be on or ashing.
For example, if a high pressure lockout has occurred, the top green light will be on.
The orange, red, and yellow lights will be off.
4. Status lights will be off when in test mode.
5. Flashes alternately with the fault LED.
Lockout Board LED Identication
Hot Water Pump Control
Controls for high water temperature and low
compressor discharge line temperature prevent the
hot water (desuperheater) pump from operating
when the leaving water temperature is above 130°F,
or when the compressor discharge line is too cool to
provide adequate water heating.
Lockout Board Jumper Selection
The lockout board includes three jumpers for eld
selection of various board features.
Water Solenoid Valve Delay (WSD): When the WSD
jumper is installed, the “A” terminal is energized 10
seconds before the compressor is energized. When
the jumper is removed, the “A” terminal is energized
with the compressor. If using a water solenoid valve
without an end switch, connect to terminal “A”. If
using a water solenoid valve with an end switch,
connect to terminals YT and YU(remove the jumper
wire).
Refer to wiring diagram. Enertech recommends the
use of a slow acting valve to reduce the chance of
water hammer.
Test Mode (TEST): When the TEST jumper is installed,
the board operates in the normal mode.
When the jumper is removed, the board operates
in test mode, which speeds up all delays for easier
troubleshooting. When service is complete, the
jumper must be re-installed in order to make sure
that the unit operates with normal sequencing
delays. While the test jumper is removed, the status
light (bottom green) will remain off.
Over/Under Voltage Disable (O/V): When the
O/V jumper is installed, the over/under voltage
feature is active. When the jumper is removed, the
over/under voltage feature is disabled. On rare
occasions, variations in voltage will be outside the
range of the over/under voltage feature, which may
require removal of the jumper. However, removal
of the jumper could cause the unit to run under
adverse conditions, and therefore should not be
removed without contacting technical services.
An over/under voltage condition could cause
premature component failure or damage to the
unit controls. Any condition that would cause this
fault must be thoroughly investigated before taking
any action regarding the jumper removal. Likely
causes of an over/under voltage condition include
power company transformer selection, insufcient
entrance wire sizing, defective breaker panel,
incorrect transformer tap (unit control box), or other
power-related issues.