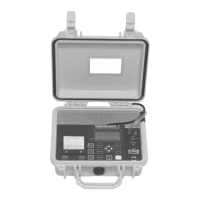
SOLUTIONS
Page 11
Owner’s Manual
3. Use ▲/▼ to change the month.
4. Press
/
to advance to the day, using ▲/▼ to change.
5. Repeat the procedure for the year.
6. Press
/
to advance to the time. Use ▲/▼ to set the hours
and minutes, use the
/
keys to move from one to the other.
Note: the unit operates on a 24 hour clock.
7. Press SAVE to save the updated settings and return to the Main
Menu. Press EXIT
to return without changing the settings.
Alarm Setpoint Selection
The normal operating window is the area between the Alarm 1 and
Alarm 2 setpoints. These setpoints can be set anywhere within the
operating range of the unit; +/- 0.250” WC in increments of 0.005”WC.
The
Omniguard 4
can also operate in units of mmWC or Pascals.
(See Pressure Units
.)
Alarm 1: (default is -0.025”WC)
• upper setpoint of operating window
Alarm 2: (default is -0.100”WC)
• lower setpoint of operating window
The
Omniguard 4
can be used in both positive and negative pressure
monitoring applications. The procedure for setting of Alarm setpoints
is the same for both applications.
Positive Pressure Application -- Clean room or HVAC system
example settings:
Alarm 1 @ +0.050” WC
Alarm 2 @ +0.025” WC
Negative Pressure Application -- Asbestos or lead abatement
example settings:
Alarm 1 @ -0.020” WC
Alarm 2 @ -0.050” WC
Example of Setting Alarm Levels
This is an example of setting the alarm levels for negative containment
area with an operating window of -0.020” to -0.050" WC.
To change the Alarm Setpoints --
1. Press MENU to view the Main Menu.
2. Highlight ALARM SETPOINTS using ▲/▼.
3. Press SELECT to view or change the setpoint values.
-0.050"
Alarm 2
-0.020"
0.000"
INCREASING
VACUUM LEVEL
NORMAL OPERATING WINDOW
Alarm 1