SOLUTIONS
Page 5
Owner’s Manual
ALARM SETPOINTS
-Alarm 1 is upper setpoint.
Alarm 2 is lower setpoint.
-Normal operating window
is area between Alarm 1
EXIT HELP
HELP INFO
Alarms 1 & 2 are upper
and lower setpoint.
Defaults are -0.025 and...
-0.025
ALARM 1:
ALARM 2: -0.100
SELECT SAVE EXIT HELP
0
-0.20
VIEW/PRINT JOB LOGS
PRINT JOB KEY SETUP
CONFIGURATION REPORT
PASSCODE PROTECTION
CONTRACTOR NAME
SELECT EXIT HELP MAIN MENU
"WC
Alarm 1: -0.025"
Alarm 2: -0.100"
N O R M A L
-0.058
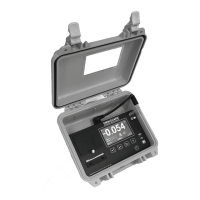
Section 2: Navigating The LCD Display
The
Omniguard 4
display features four screen types, shown below.
Press the indicated key to move from screen to screen.
Monitor Screen
Pressure in “WC
Alarm 1 & 2
Setpoints
Printer On
Buzzer Armed
Status Bar
NORMAL
View Settings Screen (
Alarm Setpoints shown)
Setting being
changed (edited)
Valid Key
Choices
Function
Name(s)
Operating Window
use ▲ / ▼ to
change value of
setting
Info Box
NORMAL
Help Info Screen (
Alarm Setpoints help shown)
Valid Key
Choices
Function
Name
Detailed
Help Info
Screen Name
end of menu
indicator
indicates more
help info available
press
HELP
press
SELECT
press
MENU
Main Menu (
Help Menu uses same format)
Highlighted Item
Valid Key
Choices
Menu Items
Screen Name
end of menu
indicator
indicates more
items available
press
HELP again to go to Help Menu Screen
press
EXIT to return to previous screen or Monitor Screen