SOLUTIONS
Page 7
Owner’s Manual
5. Once the desired value has been reached, press
/
to
highlight ALARM 2 setting.
6. Use ▲/▼ to adjust the value of the ALARM 2 setting.
7. Save the updated settings for both Alarm 1 & 2 by pressing
SAVE. Saved settings are printed and logged into memory.
or
EXIT to return to Main Menu without saving.
Note: Press
HELP
at any time to view more
detailed help information.
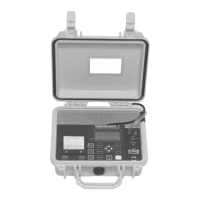
Hanging the Omniguard 4
The
Omniguard 4
can be hung on a wall for easy viewing and to keep
it off of the floor, away from possible damage. Hanging the
Omniguard
4
by the clip allows the cover to close, protecting the unit from water
damage while allowing the LCD display and STATUS LED to be
viewed through the window on the cover. The hose and AC cord
should exit the case thru the foam slot, then the cover should be
latched closed to protect the unit from water damage.
Use the DISPLAY key to flip the display orientation when hanging the
unit by its handle (see below).
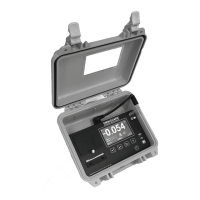
Display Modes
The DISPLAY key on the
Omniguard 4
is used to vary the display
view and orientation to accomodate hanging the unit by its handle.
The pressure reading can be enlarged to enhance viewing from
across the room.
Press DISPLAY to toggle the views in the sequence shown below.
press
DISPLAY
N OR MA L
058
-
.