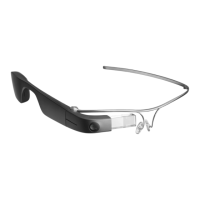
ENVISION GLASSES ENVISIONER’S GUIDE 16
the body, make sure to hold onto the camera area to prevent the body
from folding in.
4. While holding the body, use your right thumb, locate the circular metallic
hinge button on the top of the body.
5. While holding the frame, use your fingers to find a similar circular shape at the
end of the frame. This circular piece will fit on the hinge button of the body.
6. Place the circular piece of the frame on top of the metallic hinge on the
body. You can do this by keeping your left thumb on the circular piece.
7. Once the circular piece is on top of the hinge, lock the frame by turning it
clockwise while pressing on the circular piece with your right thumb. This will
allow you to rotate the frame to its position.
8. You will hear a soft metallic click when the frame is attached to the body.
These instructions also apply for the Smith Optics frame, provided the right arm will
have to first be detached in order for the Envision Glasses body to take its place.
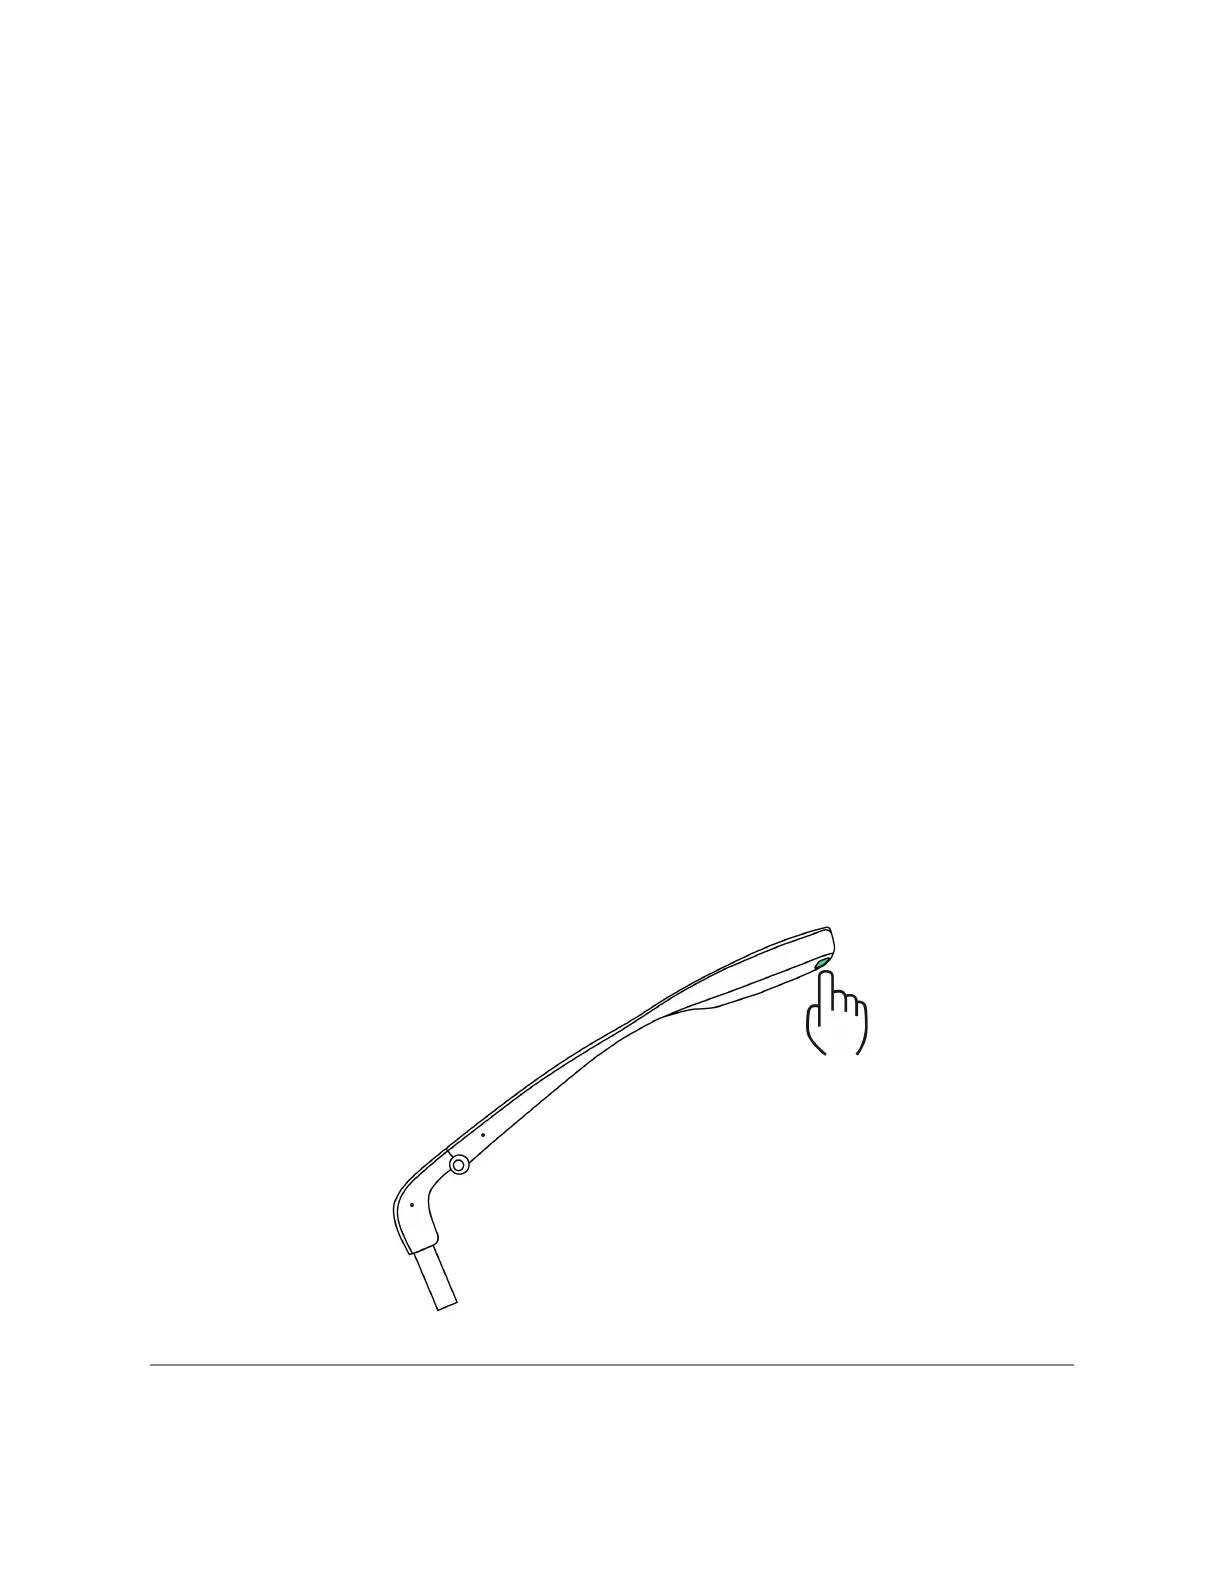
3.4 Turn on your Envision Glasses
Now that your glasses are assembled, let’s power them on! You can do this by
pressing the power button for 6 seconds. The power button is located in the rear
end of the glasses body, on the inside surface next to the charging port.
Envision Glasses Power Button