24
Maintenance
Eppendorf Reference
®
2
English (EN)
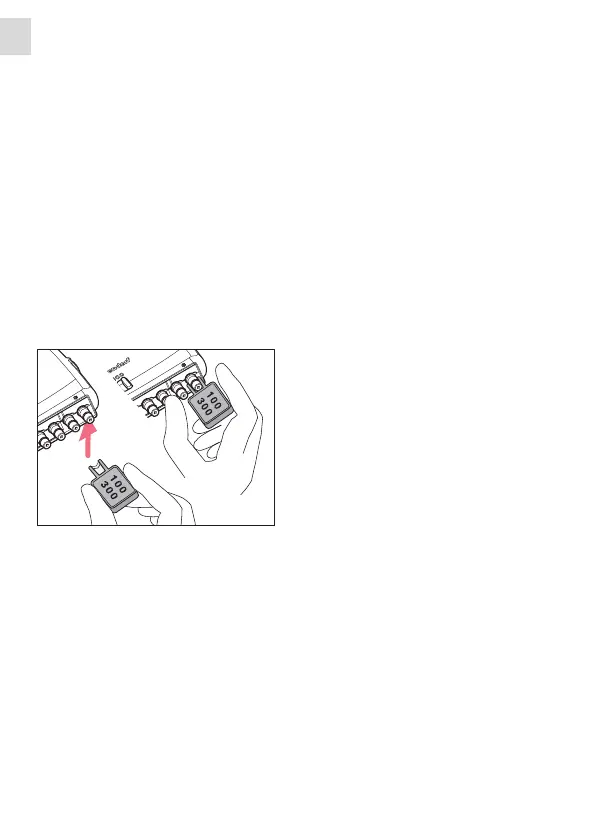
6.6.4 Assembling the multi-channel lower part
1. Attach the cover plate.
2. Attach the side latches and slide down.
3. Insert the lower part into the upper part until it engages.
6.6.5 Checking the function
This inspection ensures that the pipette has been assembled correctly.
Carry out a gravimetric test of the systematic and random errors.
6.7 Replacing the O-ring
The O-rings must be replaced in the case of wear or damage.
6.7.1 Removing the O-ring
6.7.2 Mounting a new O-ring
1. Attach the new O-ring to the tip cone and press it into the groove with the finger.
2. Attach the pipette tip.
3. Check firm fit and leak tightness of the pipette tip.
6.8 Deactivating the spring loading of the tip cone
The tip cone of the pipettes with a nominal volume of up to 1000 µL gives when the
pipette tip is attached. This ensures optimum fit of the pipette tip and the attachment
forces are kept low. If higher attachment forces are required, the spring load can be
deactivated.
1. Deactivate the spring load of the tip
cones.
2. Attach the multi-channel tool to the tip
cone with the opening.
3. Supporting the multi-channel tool with
your thumb, push it firmly against the tip
cone.
The O-ring is cut at one location.
4. Remove the multi-channel tool and the
O-ring.