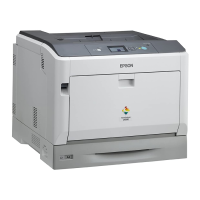
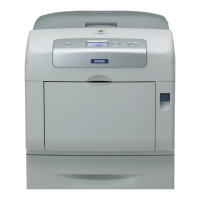
3. Slide the panel slightly to the down and lift it off the printer.
4. Insert the DIMM at an angle (about 45˚) into the connector, making sure that the notch on the unit
aligns with the tab on connector, and then press down carefully until it clicks into place.
Note:
❏ Be sure to handle the DIMM by the edges only.
❏ You will hear a click when the DIMM is properly placed.
5. Reinstall the panel and tighten two screws.
6. Reconnect all interface cables.
7. Reconnect the power cord, and turn on the printer.
8. Declare the additional Printer Memory in the Windows printer driver (Properties/Configure
tab).
9. Print a configuration page (PRINT MENU/CONFIGURATION PG) and verify that the total amount of
the RAM installed in your printer is listed.
AcuLaser C3900 Series User’s Guide
Installing Accessories 148

 Loading...


