225
The following screen appears:
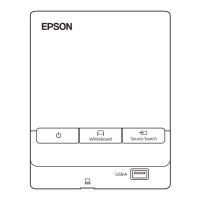
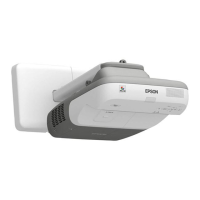
4. Select the option for the Touch Unit installation method that was used and press Enter.
5. If you are using the Touch Unit Bracket, turn the adjustment screw on the bracket counterclockwise
until it stops.
6. Attach the two markers to the positions shown on the projected screen making sure the thinner ends
of the markers are facing the Touch Unit.
Note: Do not place anything other than the markers near the projected image during angle
adjustment. If other objects are on or near the projected image, angle adjustment may not be
performed correctly.
 Loading...
