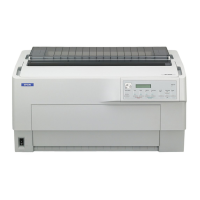
Epson DFX-9000 Field Repair Guide 3/29/07
Troubleshooting Printer Component, Software Item, LCD Display, Printer Button Page 133.
No initialization, Control Panel LED’s are lit
Action:
1. Verify that the Top Cover is closed.
2. Check, and if necessary replace the CO SW Assy (Cover Open Switch Assy).
3. Check, and if necessary replace the OP Cable and connections.
4. Replace the OP Unit.
5. Initialize and if necessary replace the ROM Board.
No initialization unless I/O Cable removed
Action:
1. Replace the data cable.
2. Check the host computer interface for failure.
No print (No Self-Test and No Printing from Host Computer)
Action:
1. Verify that the Top Cover is closed.
2. Check the Pause LED. If it is lit, press the Pause button.
3. Replace the ROM Board.
4. Verify that the Carrier Cable Unit is correctly connected to the Print Head and ROM Board.
5. Replace the ROM Board.

 Loading...


