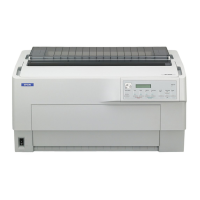
Epson DFX-9000 Field Repair Guide 3/29/07
Component Replacement Printer Component, Software Item, LCD Display, Printer Button Page 41.
Main Logic Board Removal
Note: Perform the Mechanism removal procedure before performing the steps below.
1. Looking at the back of the Lower Case, remove the two screws that secure the Cover Plate of the Type B
Option Slot .
2. Remove the Cover Plate.
3. Remove the five screws that secure the Main Logic Board to the Lower Case.
4. Slide the Main Logic Board towards the front of the Lower Case until there is enough clearance at the back of
the Main Logic Board to clear the Interface Slot.
5. Lift the back of the Main Logic Board then lift out the Main Logic Board.

 Loading...


