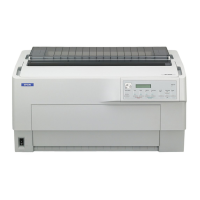
Epson DFX-9000 Field Repair Guide 3/29/07
Component Replacement Printer Component, Software Item, LCD Display, Printer Button Page 36.
Carrier Unit (Carriage Assembly) Removal
Note: The Mechanism, Print Head, Carriage Motor, and Platen Gap Assembly removal procedure must
be performed before performing the steps below.
1. Remove the four screws securing the Bearing Shaft Bracket.
2. Disengage the CES Scale (Timing Fence/Carriage Encoder Strip) from the CES Sensor by carefully flexing it
forward and away from the CES Sensor.

 Loading...


