Projecting 3D Images
You can connect devices that support 3D playback, such as 3D Blu-ray
discs and 3D games, and enjoy stunning 3D images.
Preparing to view 3D images
Make the following preparations before viewing 3D images.
• RF active 3D Glasses (optional/ELPGS03)
See the User's Guide for the 3D Glasses for more information on the 3D
Glasses.
• USB Charging Adapter (optional/ELPAC01)
• HDMI cable that supports 3D signals (available in local stores)
• Make the following settings from the Configuration menu.
-3D Display: On
-3D Format: Auto or the same format as the 3D signal from the
connected device
s
Signal - 3D Setup p.75
Supported 3D signals
The projector supports the following 3D signals.
• Frame Packing
• Side by Side
• Top and Bottom
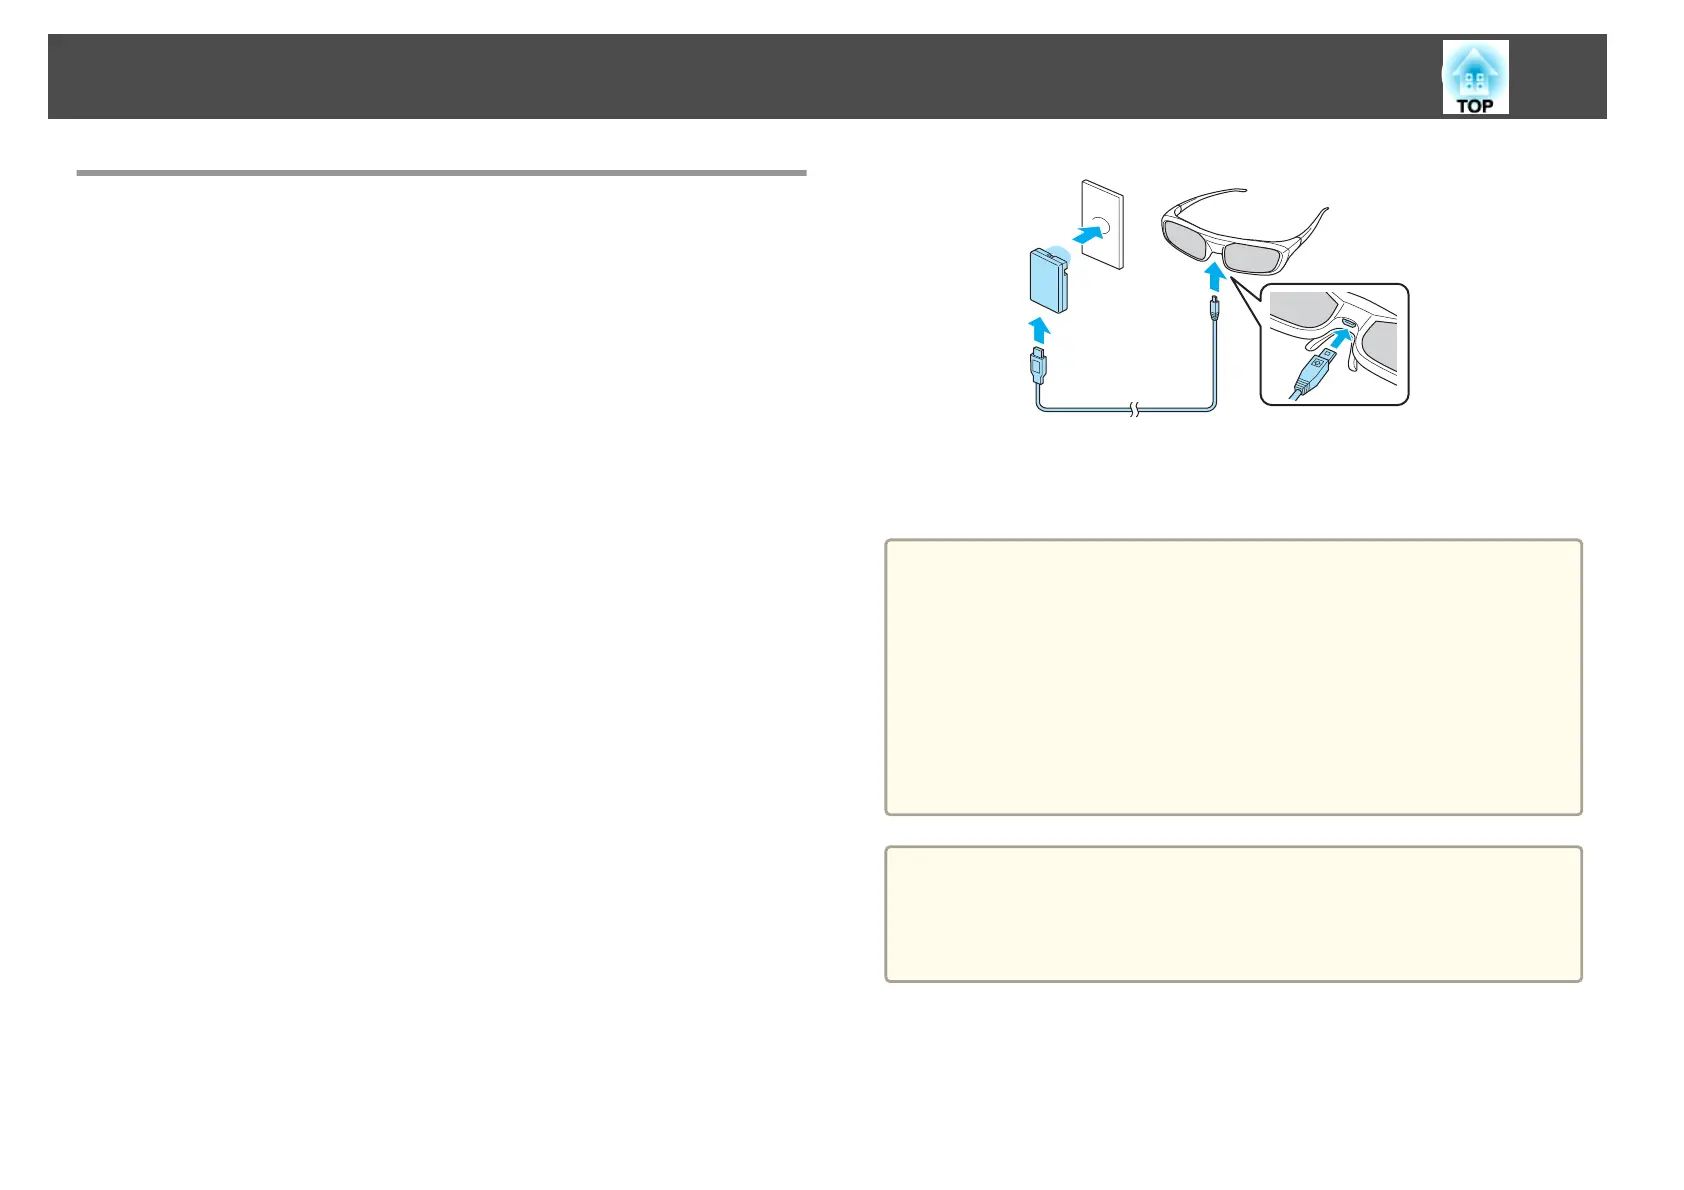
Charging the 3D Glasses
You need to charge the 3D Glasses before use.
Use the supplied charging cable to connect the 3D Glasses to the USB
Charging Adapter, and then connect the USB Charging Adapter to an
electrical outlet.
You can also charge the 3D Glasses by connecting the charging cable
supplied with the glasses to the USB(TypeA) port on the rear of the
projector. (Charging only works when the projector is on.)
Attention
• Only connect to an electrical outlet that uses the voltage displayed on the
adapter.
• Note the following points when handling the charging cable supplied with the
3D Glasses.
- Do not use the cable if it is damaged.
- Do not modify the cable.
- Do not bend, twist, or pull the cable with too much force.
- Do not perform wiring near an electric heater.
a
The following shows the standard charging and usage times.
• For a three minute charge, the usage time is approximately three
hours.
• For a 50 minute charge, the usage time is approximately 40 hours.
Projection Functions
48
 Loading...