Maintenance 4. Cable
G3 Rev.14 95
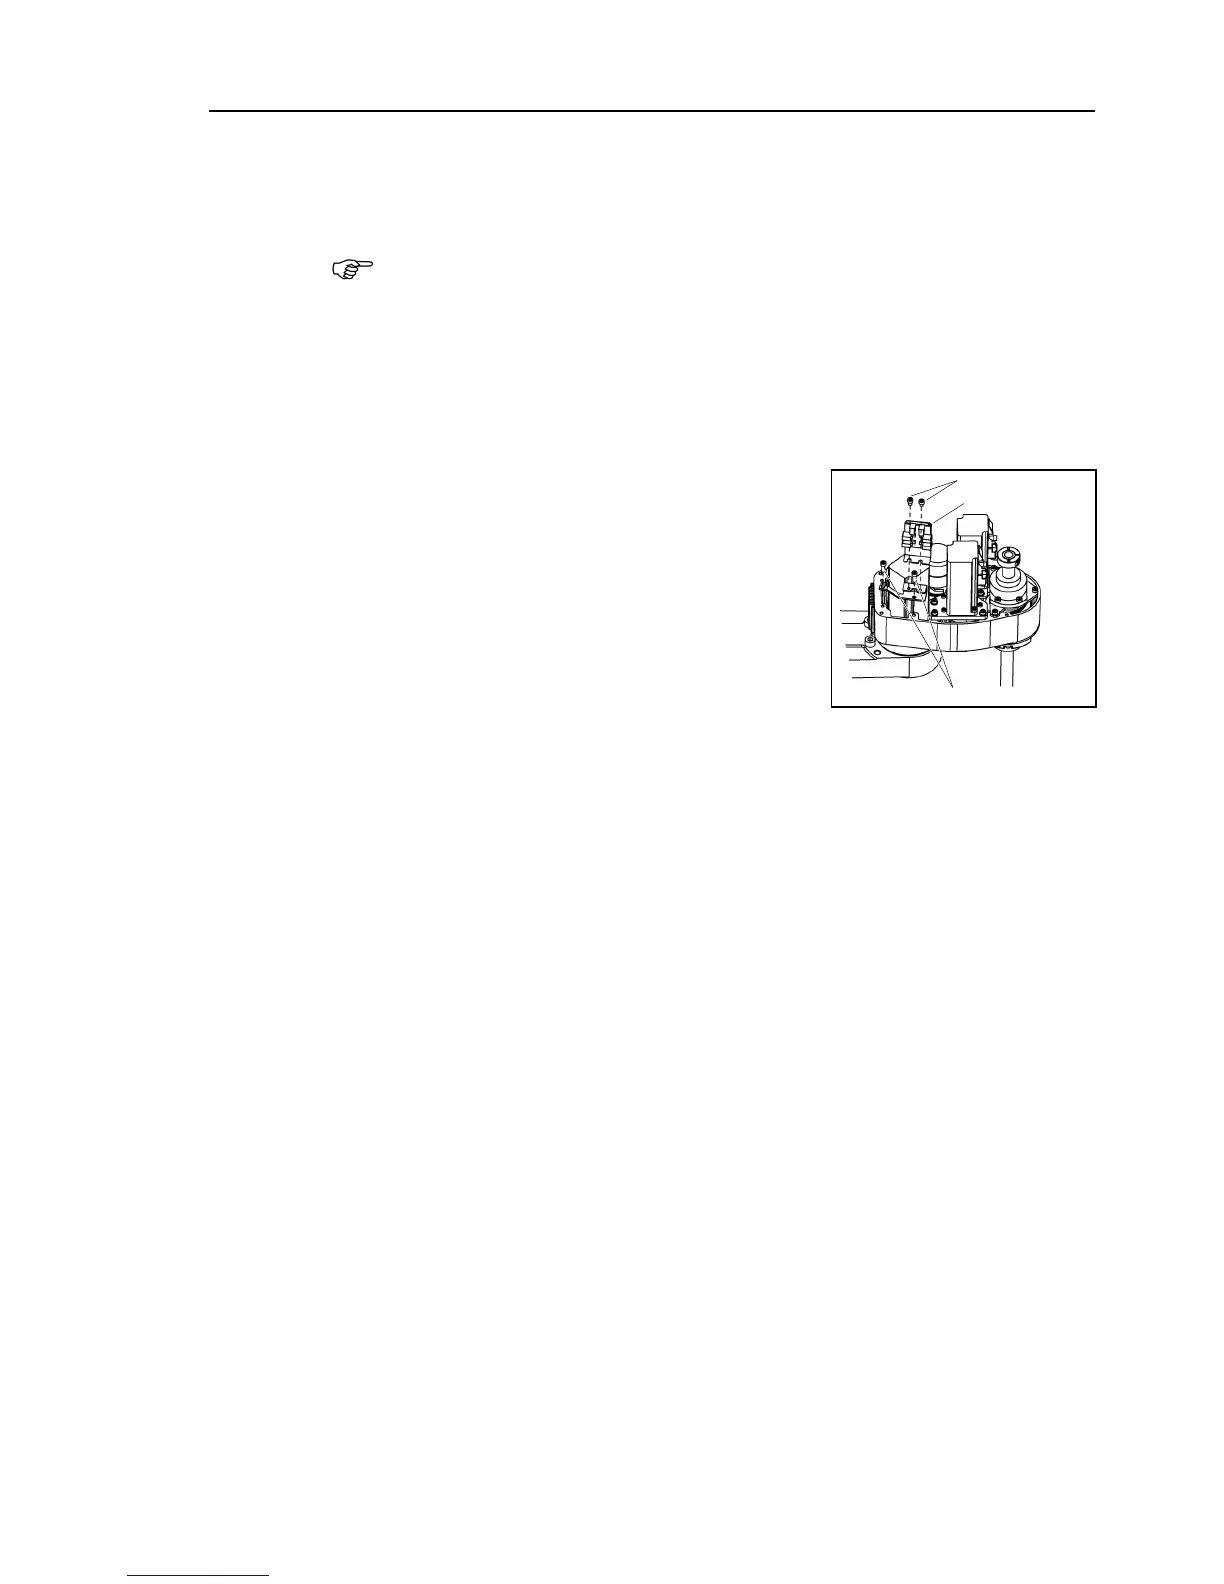
Disconnect the air tubes, ground wire, D
-sub cable, and seven connectors (X10, X20,
X30, X111, X121, X131, XB10) connected to the connector plate
keep the connectors of the battery board connected at cables
replacement. Otherwise, the motor will lose position
must be executed again.
- Remember the cable layout so that the cables can be reconnected correctly after
replacement.
one wire tie binding Base side cables.
Remove the arm top cover.
For details, refer to Maintenance: 3.1 Arm Top Cover.
Remove the Battery board.
mounting screws for the User plate
and remove the plate from the Arm
At this point, the ground is removed with the
plate.

 Loading...


