Maintenance 6. Arm #2
LS Rev.10 101
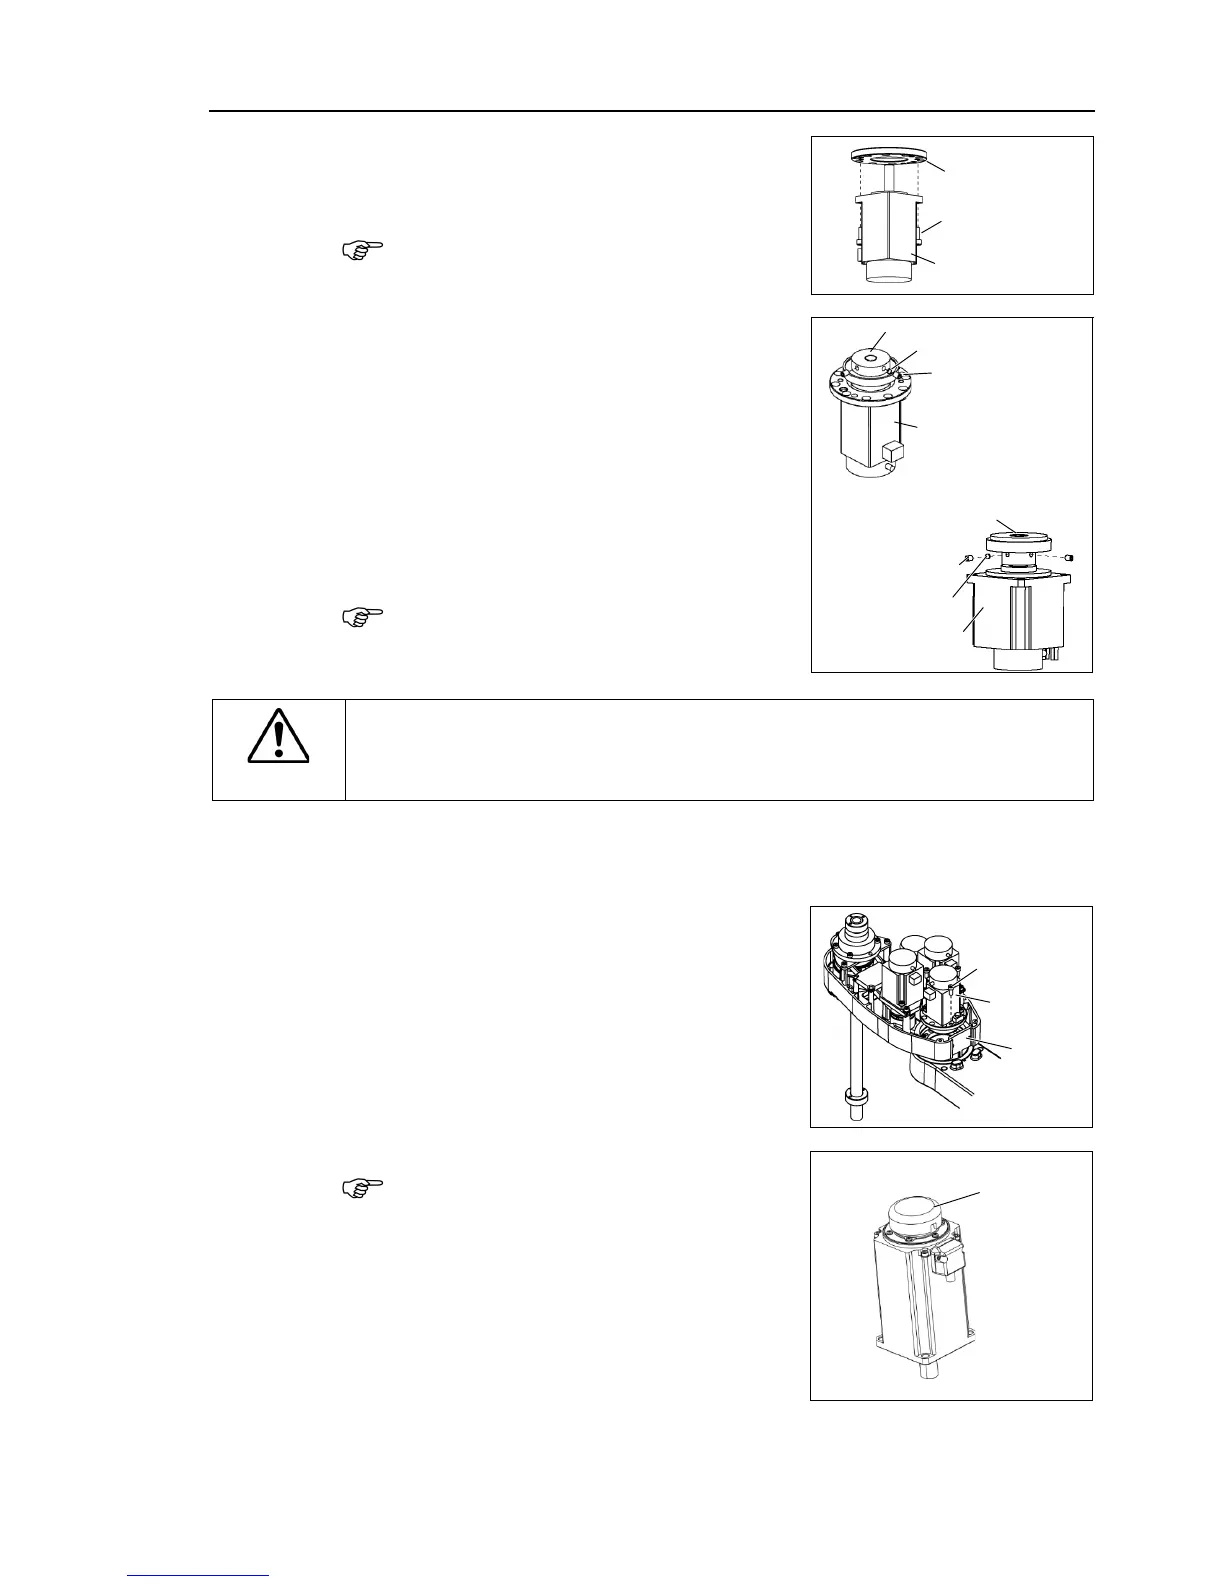
Mount the motor flange on the Joint #2
LS6 does not have a motor flange.
Mount the waveform generator on the Joint
align the end face of the waveform
generator to the end face of the motor
flat face of the motor shaft.
et screw hole to prevent damage
Fix the waveform generator at the
position where the end face is 0.5 mm
from the end face of the motor shaft.
the figures above for the orientation of the waveform generator. Be sure to
install the waveform generator properly.
Improper installation of the waveform
generator will result in improper function of the Manipulator.
Apply grease between the waveform generator and motor flange.
Grease volume LS3: 4 g (SK-2)
LS6: 6 g (SK-1A)
ount the Joint #2 motor unit on the Arm #2.
To insert the motor, slowly move the Arm #2 by
hand and push in.
LS3: Motor flange mounting screw 3-M4×10
LS6: Motor mounting screw 4-M4×12
When replacing the motor of the Joint # 2, 3,
and 4, remove the cap from the old motor and
install it to the new one.
If the Manipulator is operated while the cap is
not installed, the motor may be
entering of the foreign materials into the
rotating part of
motor sensor and
interference of the rotating part and the cables.

 Loading...


