112
Image Shape
You can project an evenly rectangular image by placing the projector directly in front of the center of the
screen and keeping it level. If you place the projector at an angle to the screen, or tilted up or down, or off
to the side, you may need to correct the image shape for the best display quality. After correction, your
image is slightly smaller.
For the best quality images, try to adjust the projector's position to achieve the correct image size and
shape. After you have corrected the position of the projector, you can use the adjustments in this section
to correct the image shape.
To correct distortion more easily, you can use the Epson Setting Assistant app on a smartphone or
tablet that has a camera function. You can download it from the Apple App Store or Google Play Store.
Note: If you adjust the screen position using the Image Shift feature, perform Image Shift before
Geometry Correction.
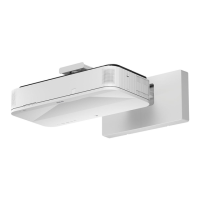
Note: If you are using the ELPMB75 wall mount, use the adjustment dials on the wall mount to correct
the screen image before using any other digital correction methods. You can select Menu > Installation
> Setting Plate Installation Guide for information on the mount adjustments.
Correcting Distortion in the Image Using the Wizard
Correcting Image Shape with Quick Corner
Correcting Image Shape with Arc Correction
Correcting Image Shape with Point Correction
Applying Saved Image Shape Settings
Parent topic: Using Basic Projector Features
Related tasks
Adjusting the Image Height
Focusing the Image
Correcting Distortion in the Image Using the Wizard
You can correct distortion in the projected image by following the on-screen instructions from the
Installation menu.
1. Turn on the projector and display an image.
2. Press the Menu button on the projector or remote control.