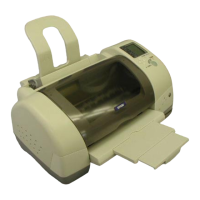
EPSON Stylus PHOTO 895/785EPX Revision A
Troubleshooting Troubleshooting with LED Error Indications 66
2
Micro banding appears
horizontally against the
paper feeding direction
and it appears with the
same width.
1. Check if each segment is
printed correctly in the
nozzle check pattern.
2. Check if the suitable
paper is used according
to the printer driver
setting.
3. Check if the Paper feed
roller is dirty.
4. Check if the following
parts do not have any
damage.
• Combination gear 16,
21.6
• Combination gear 11.6,
36.8
• Spur gear 73.6
• Spur gear 25.6
1. Perform the CL and check
the nozzle check pattern.
by using the Adjustment
program.
2. Use the suitable paper
according to the printer
driver setting.
3. Clean the surface of the PF
roller carefully with the
soft brush
4. Replace the damaged parts
with new one.
5. Replace the Printhead with
new one.
3
Printing is blurred
1. Check if the suitable
paper is used according
to the printer driver
setting.
2. Check if the correct head
ID is stored in the
EEPROM by using the
Adjustment program.
1. Use the suitable paper
according to the driver
setting.
2. Input 13 digits code of the
head ID into the EEPROM
by using the Adjustment
program.
Table 3-15. Print quality is not good
Step
No.
Detail phenomenon Check point Remedy
CR Movement
Direction
4
Ink stains the paper
1. Check if the following
parts are stained with
ink.
• Upper paper driven roller
• PF roller
• Paper guide front
• Paper eject roller
2. Check if there is some
ink drops around the
backside of the
printhead.
3. If there is ink smudging
the bottom of the printed
paper, check if the paper
eject frame is not bent
up.
4. If the bottom area of the
printed paper has ink
stain, check if the Paper
eject frame is bent
upward.
1. Clean the ink stained parts
with soft cloth.
2. Wipe off the ink drop with
the soft cloth carefully.
3. Secure the screws fixing
the Paper eject frame.
4. Replace the Paper eject
frame with new one.
Table 3-15. Print quality is not good
Step
No.
Detail phenomenon Check point Remedy

 Loading...


