57
Tip:
To retain the marquee width/height proportions, hold the Shift key as you resize the marquee.
4. Normal preview: You can create up to 50 marquees at a time. Click the copy marquee icon
to copy existing marquees or click the delete marquee icon to delete the selected marquee.
5. If desired, you can change the size of your scanned image
and adjust image quality. When
you’re done, you’re ready to scan.
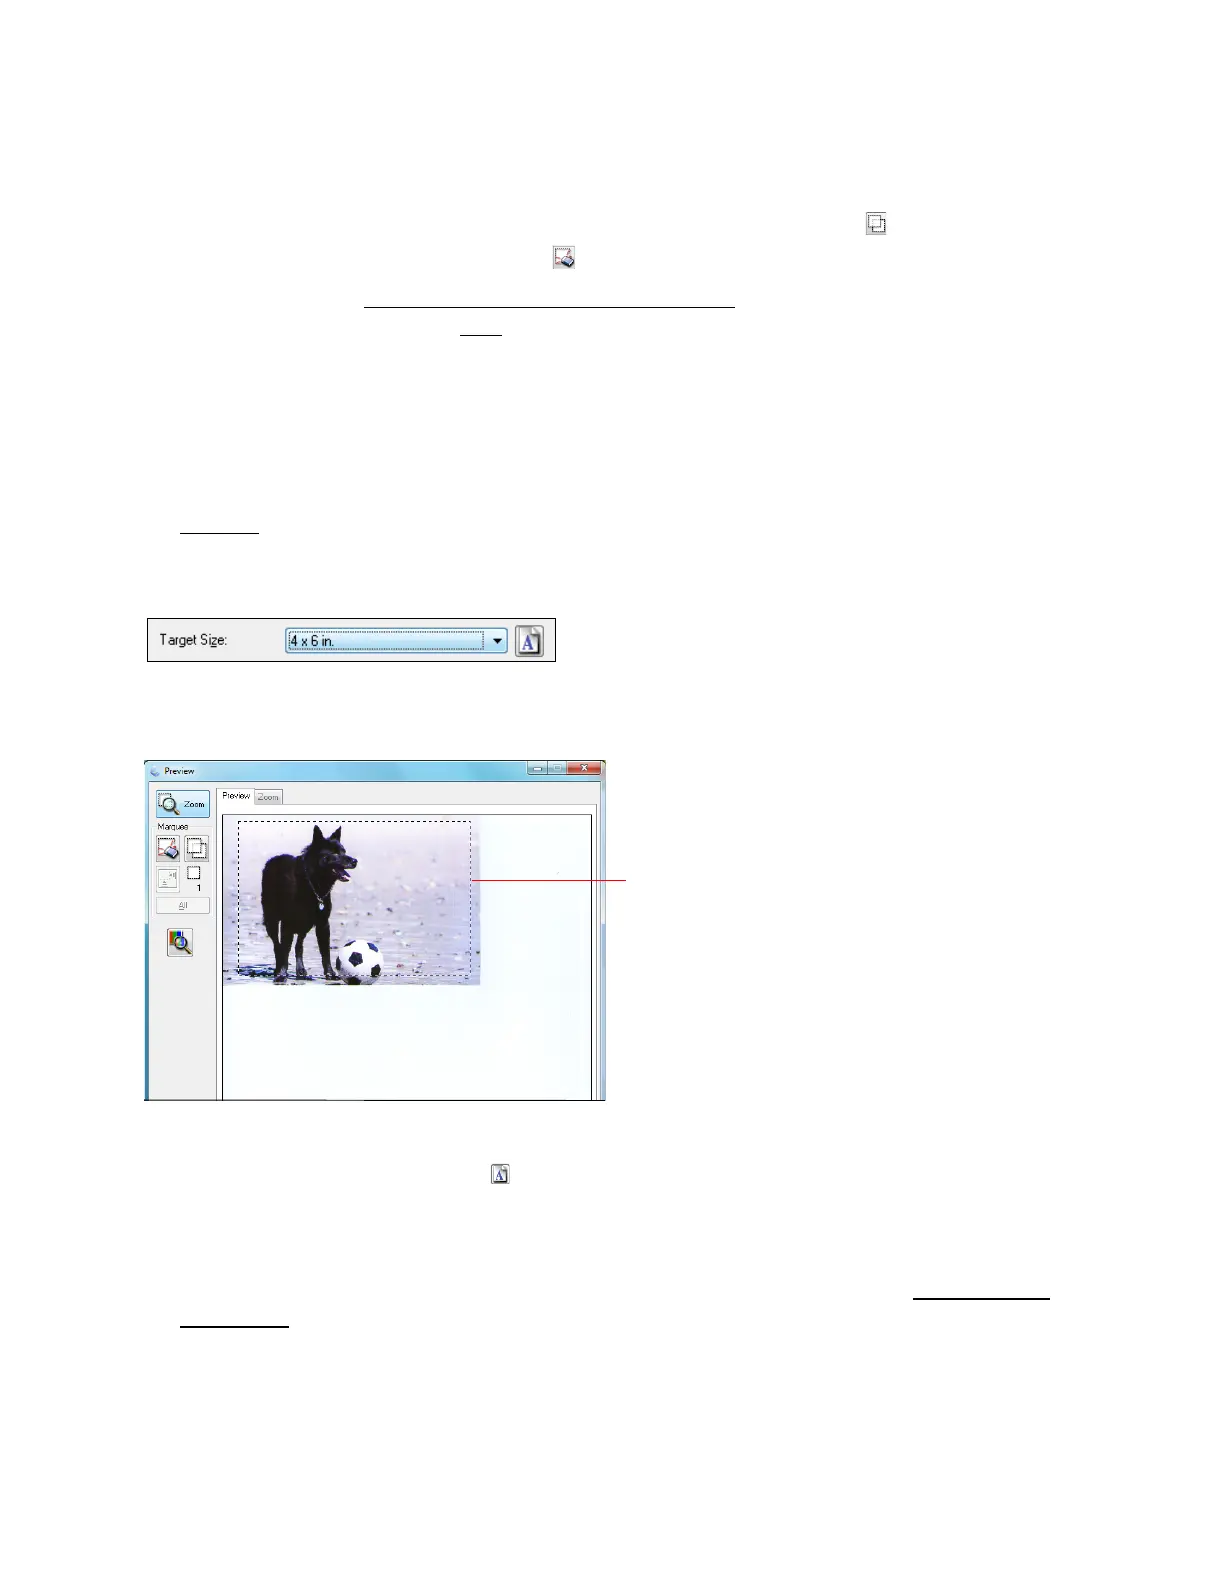
Select Your Target Image Size
In Home and Professional modes, you can scan images at their original size, or reduce or enlarge
them as you scan them. You can also select a specific scan size (such as 8 × 10 in. [203 × 254
mm] for photos) so you can crop the image using the correct proportions.
1. Preview your original image.
2. Select the size you want your scanned image to be from the Target Size list.
A dotted line (marquee) appears on your preview image proportioned for that size.
Note:
To rotate the marquee, click the orientation icon.
3. If you need to create a scanned image size that is not in the Target Size list, select Customize.
Click Help for more information about these settings.
4. If desired, you can adjust image quality. When you’re done, you’re ready to scan and save
your image.
Scan and Save Your Image
After selecting scan settings, you are ready to scan and save your image.
Marquee