58
1. Click Scan.
Note:
If you started your scan from within a TWAIN-compatible scanning program, your scanned
images open in the program window. Click Close to exit Epson Scan.
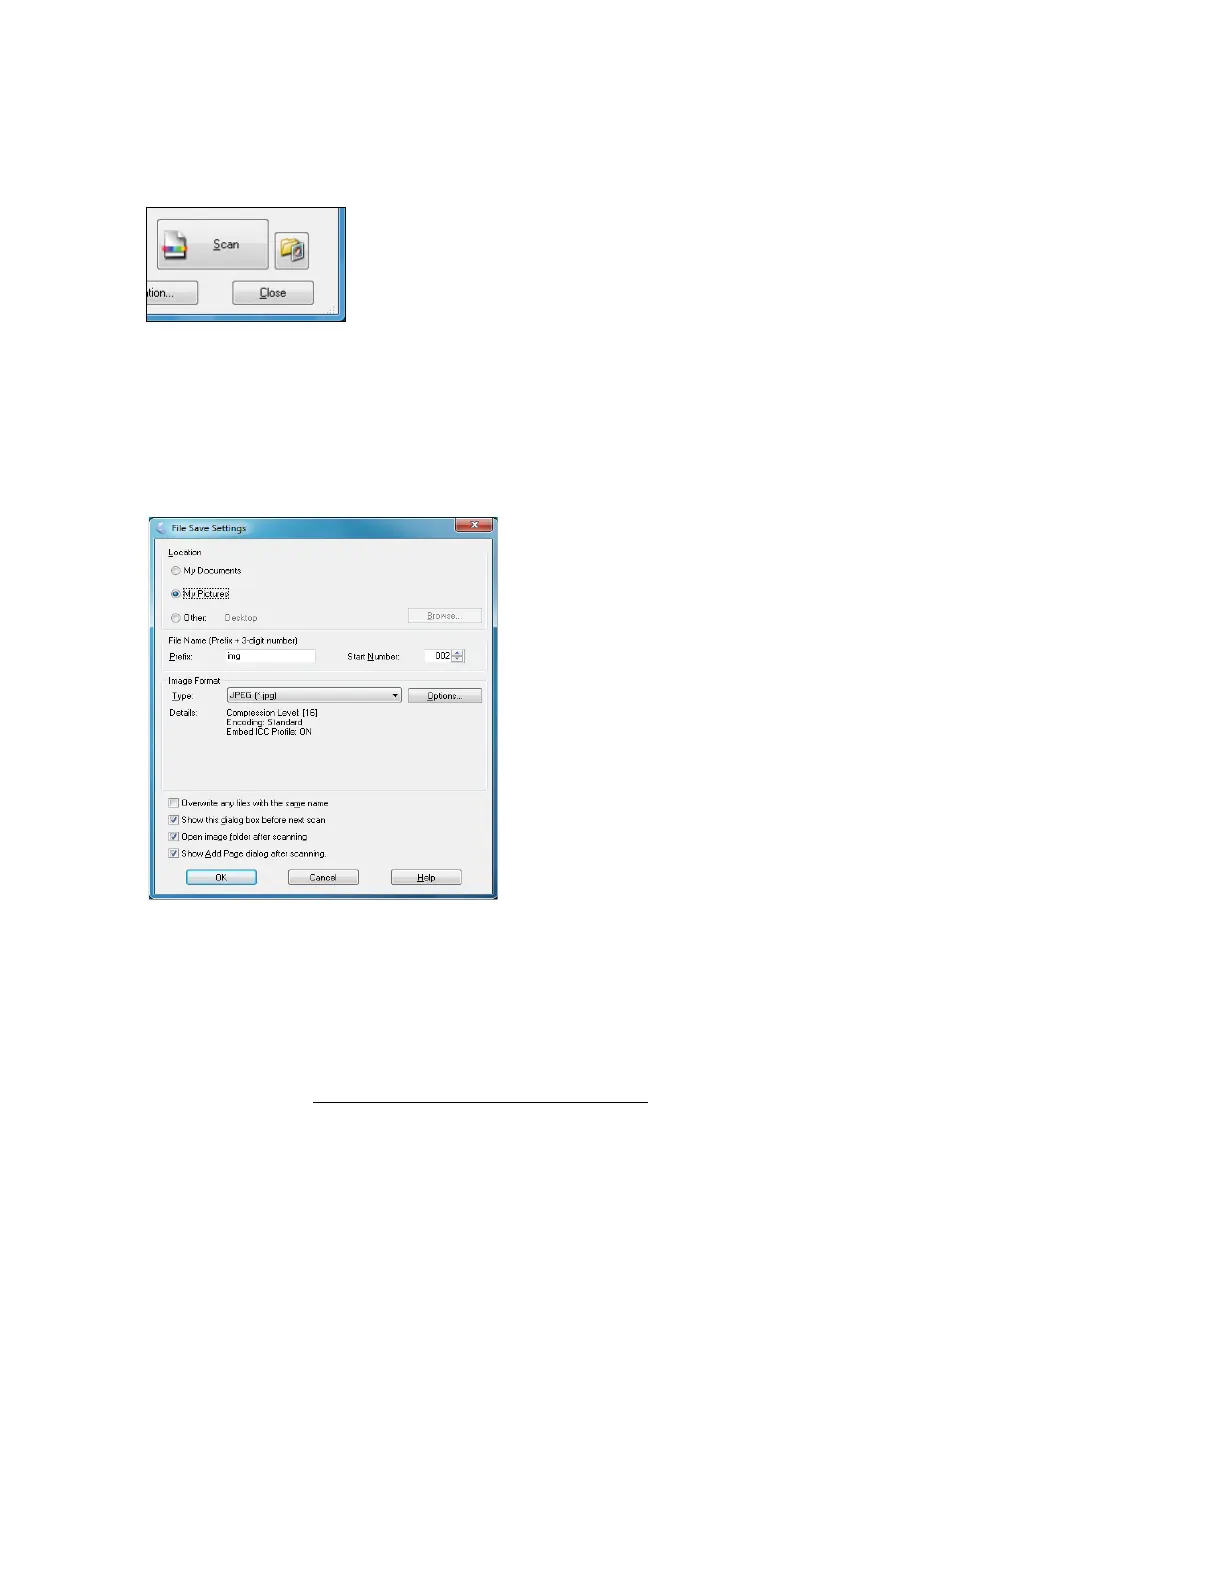
2. You see the File Save Settings screen:
Select the location, name, and format for your scanned image file.
For more information on using the File Save settings, click the Help button.
3. Click OK to start scanning. When done, your scanned image file appears in Windows
Explorer or the Mac Finder.
4. Now you can view and print your scanned image
, attach it to an e-mail, or use it however you
like.
Scanning With Mac OS X 10.6
You can scan original documents and photos and save them as files on your computer.
1. Open an image editing application such as Preview and select Import From Scanner from
the File menu, then select your Epson product.
2. If you would like to select scan settings, such as Color Restoration and file save settings, click
Show Details.
3. Click the Scan button to begin scanning. Your image is saved to the folder selected in the
Scan To pop-up menu.

 Loading...

