62
3. Preview
your image.
4. If desired, you can select the area you want to scan and change the size of your scanned image
(target size).
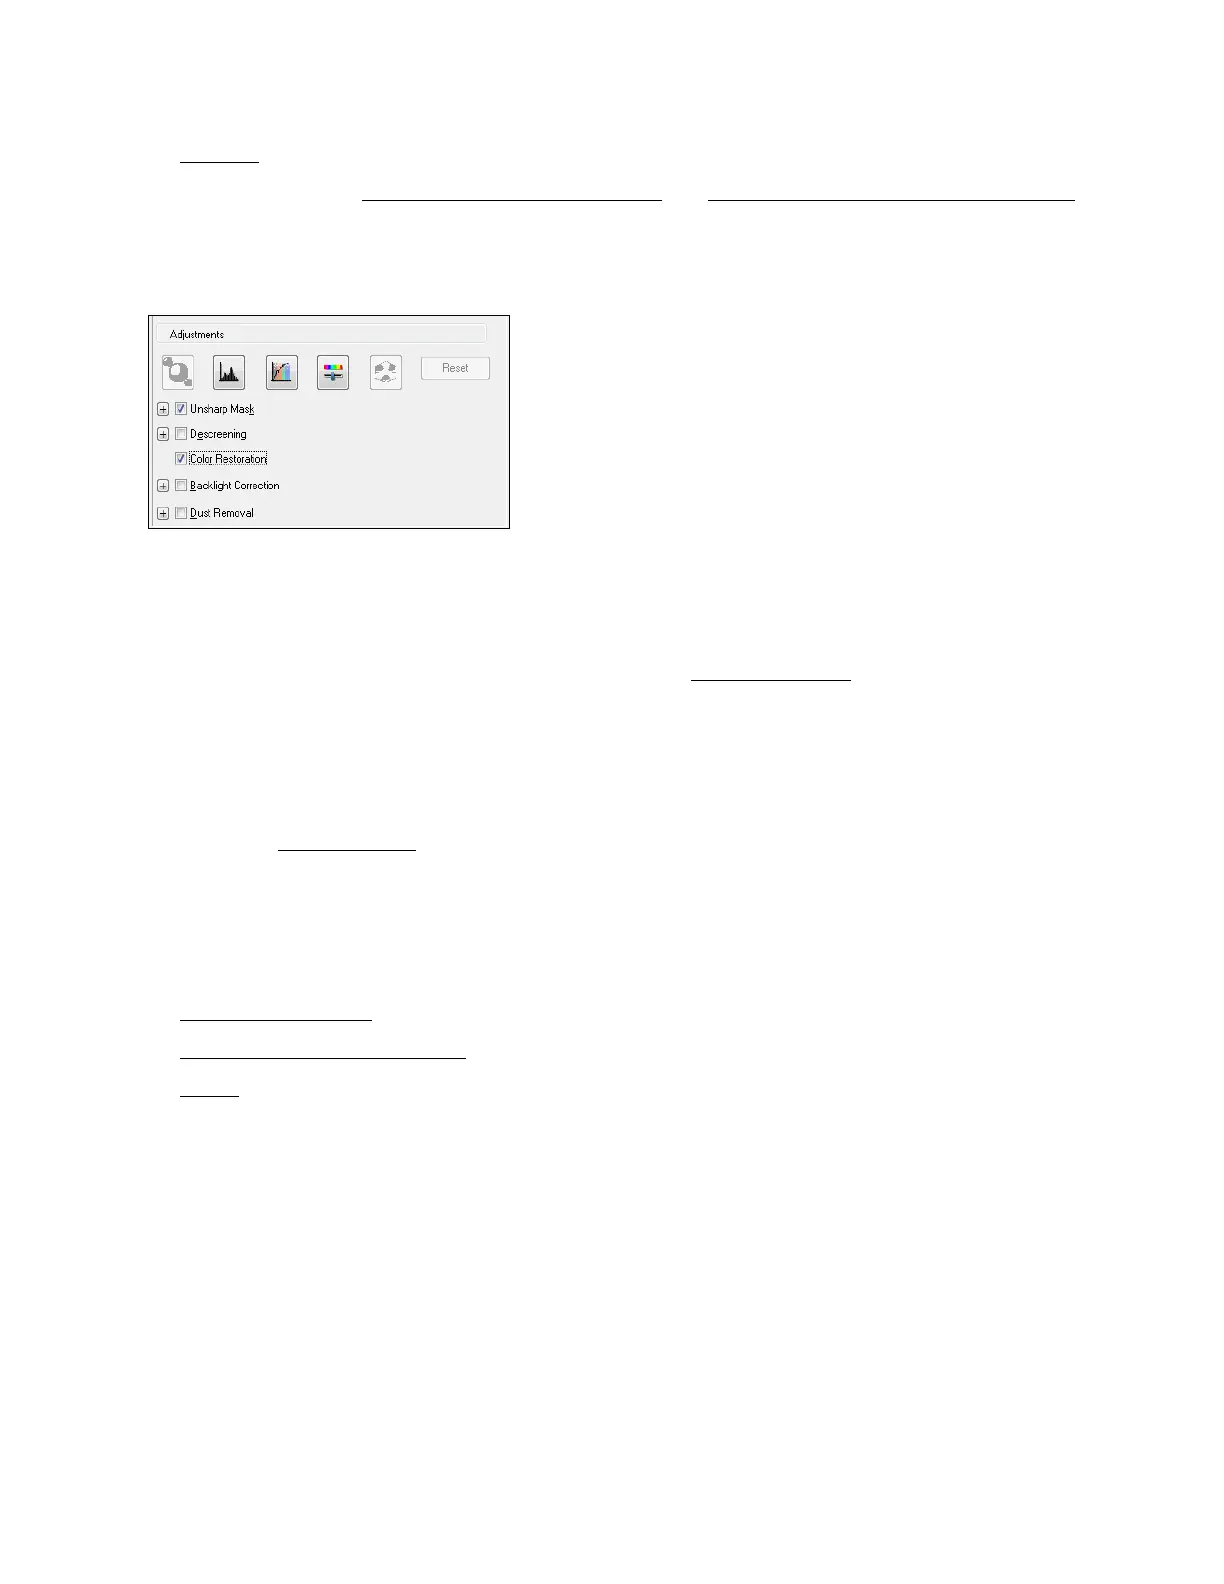
5. Scroll down to the Adjustments area and click the Color Restoration checkbox.
Note:
You can also make other image quality adjustments before you scan. Click the Help button for
more information about these settings.
6. Click Scan to scan and save your image. Select your file save settings and click OK.
Your color-restored scanned image file is shown in Windows Explorer or the Mac Finder.
Note:
If you started your scan from within a TWAIN-compatible scanning program, your scanned
images open in the program window. Click Close to exit Epson Scan.
Now you can view and print the image.
Scan to a PDF File
You can scan a one-page or a multi-page document and save it as a PDF (Portable Document
Format) file on your computer.
1. Place your originals
on the scanner glass.
2. Start the Epson Scan program.
3. Select
the Mode you want to scan with. Office Mode is recommended for scanning
documents.

 Loading...

