VT6L Maintenance 14. Joint #6
VT series Maintenance Manual Rev.2 115
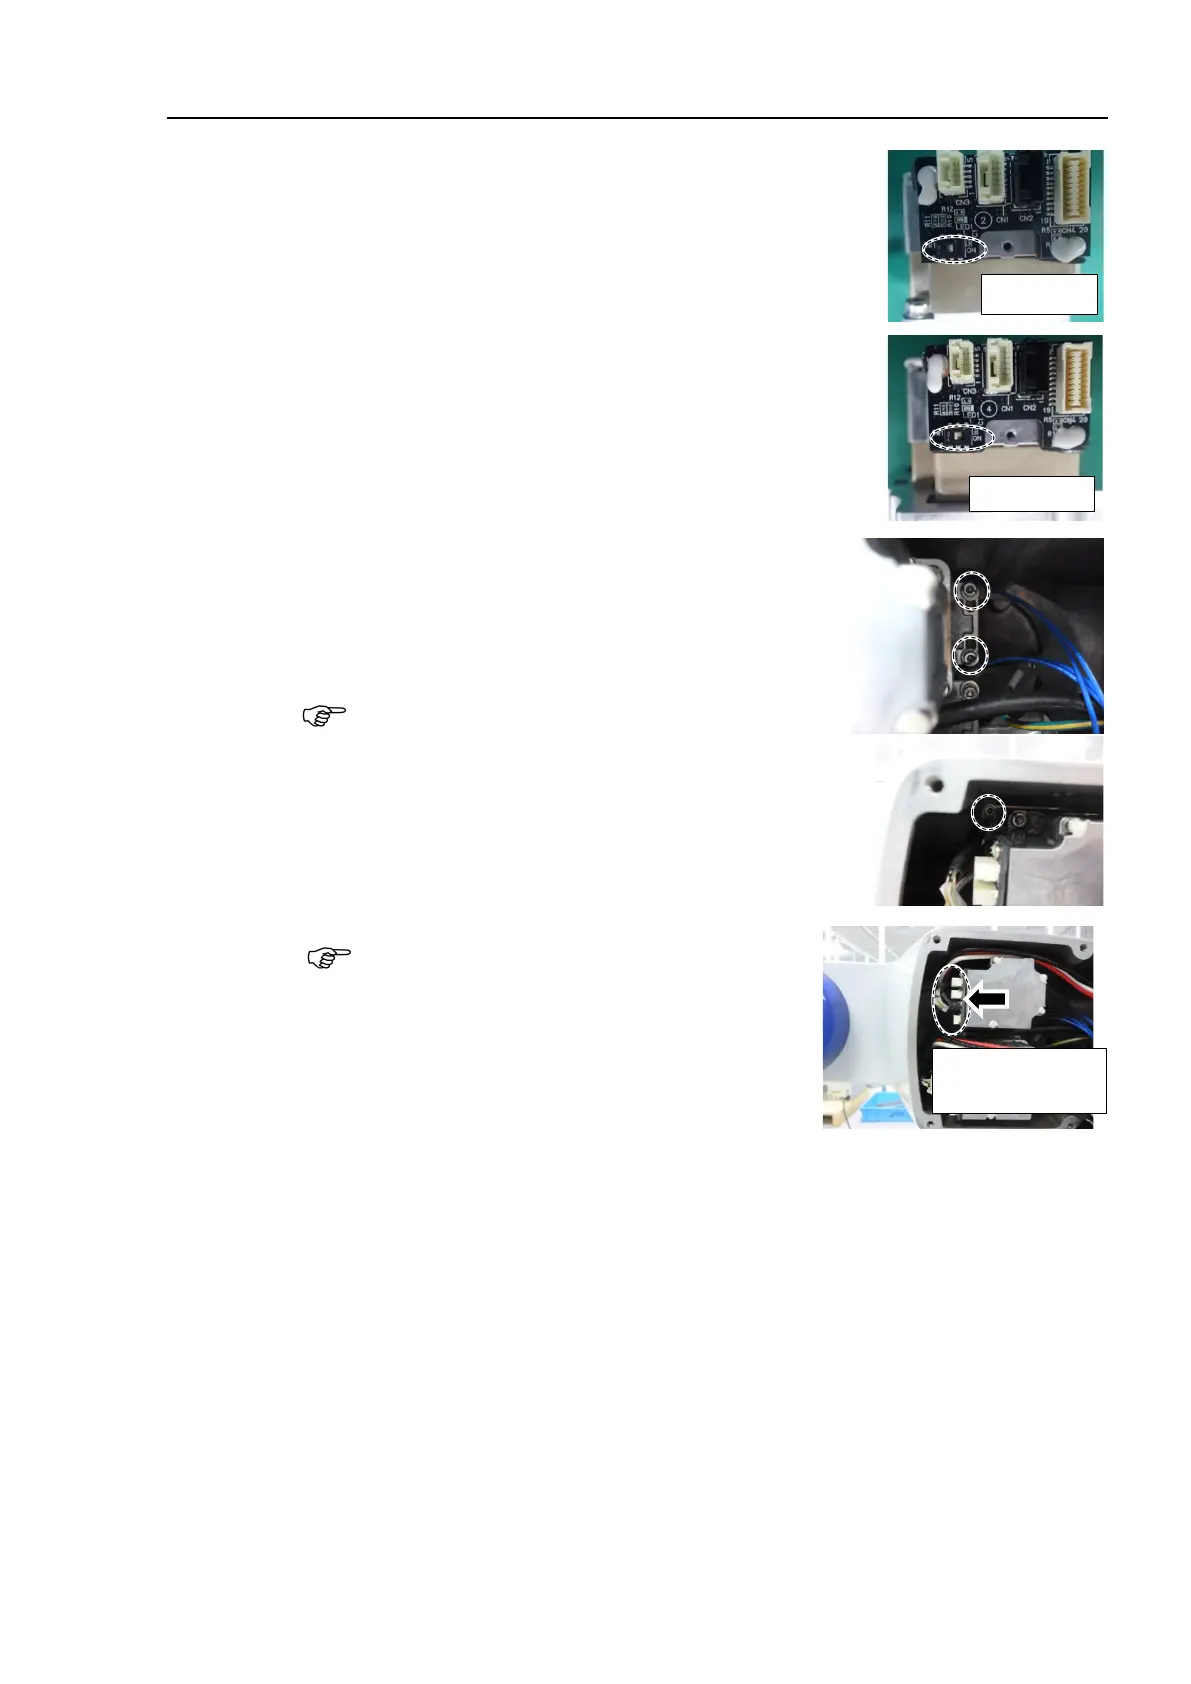
Confirm that the terminating resistor switch of the
Joint #6 motor is turned ON.
When the switch is OFF, push the tab to turn it ON.
Pass the timing belt through the motor pulley and
to the Arm #4
Hexagon socket head cap bolts: 3-M4×20
(with slotted hole washer)
Make sure that the gear grooves of the timing belt are
fit into those of the pulley completely.
When securing the motor unit loosely, make sure that
the motor unit can be moved by hand and it does not
tilt when being pulled. If the unit is secured too loose
or too tight, the belt will not have proper tension.
The direction to install the motor is the direction in
which the connector of the motor faces Joint #5
side
Be careful for the
installation direction

 Loading...


