207
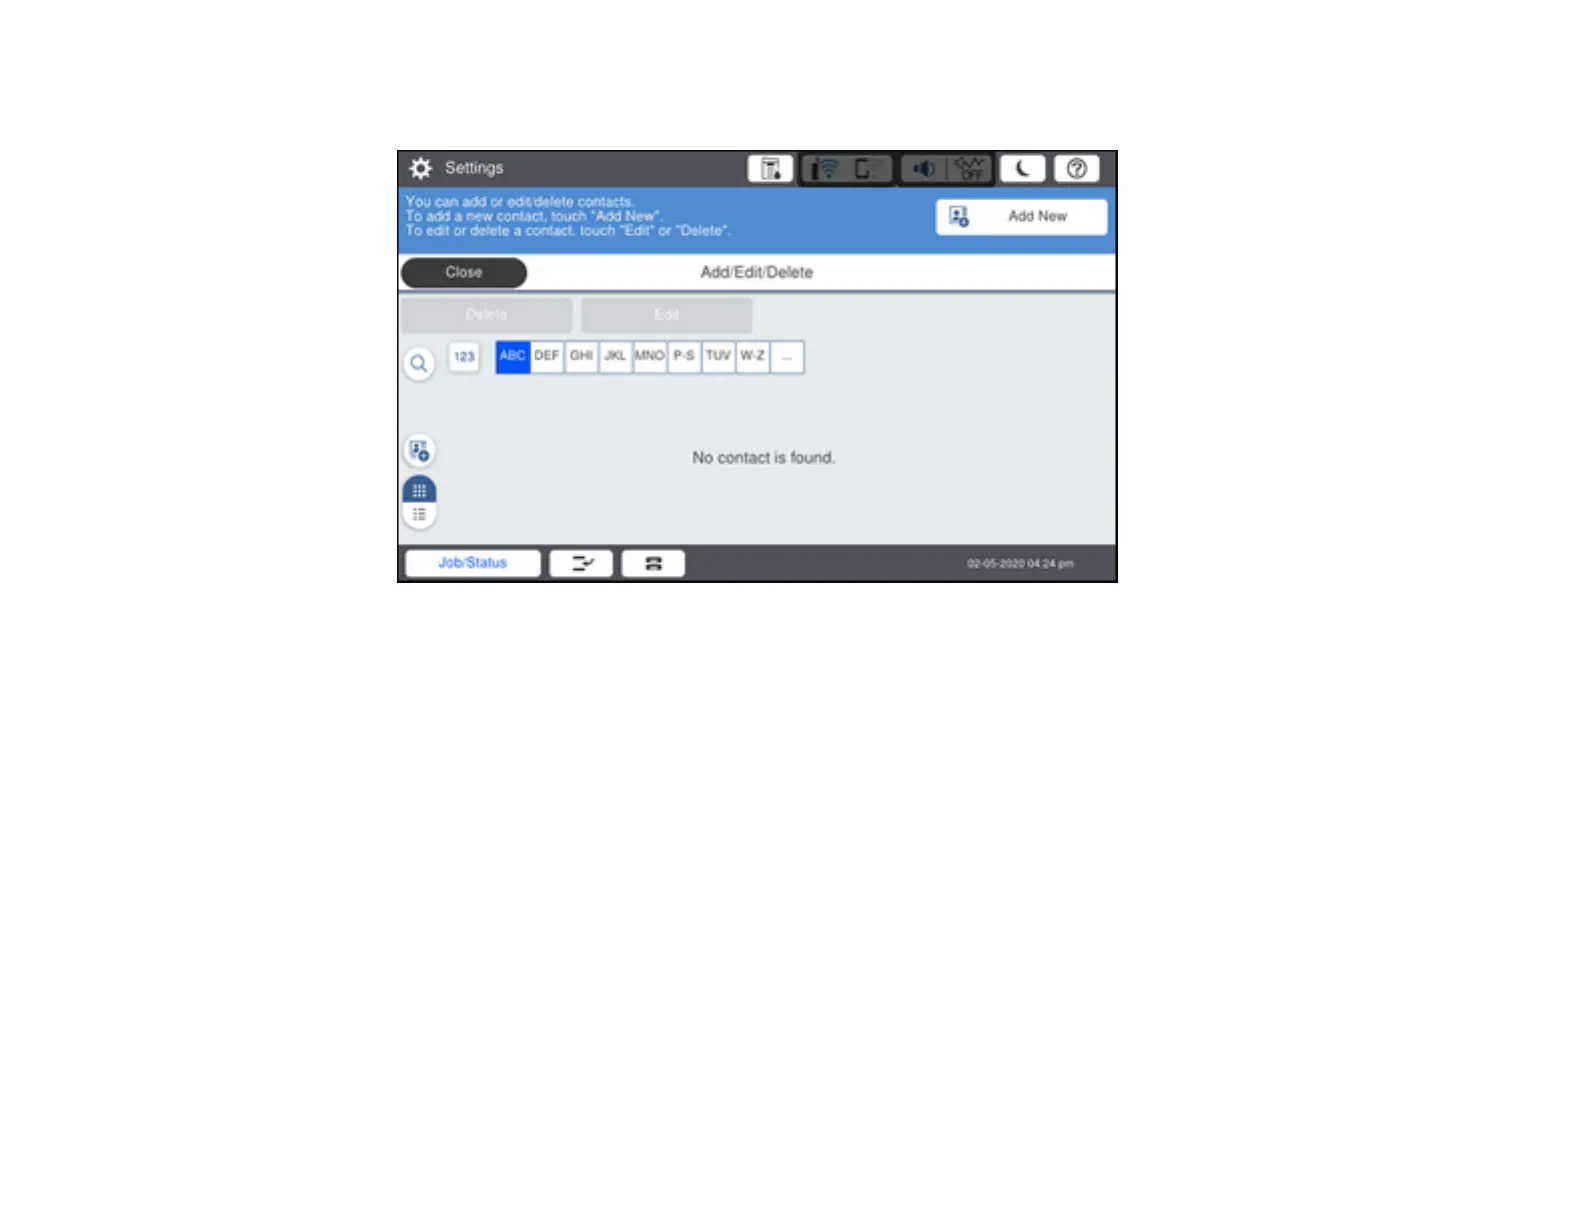
You see a screen like this:
5. Select Add New.
6. Select Add Contact.
7. Do one of the following:
• To create a contact for scanning to fax, select Fax (models with optional fax board installed).
• To create a contact for scanning to email, select Email.
• To create a location for scanning to a network folder or FTP, select Network Folder/FTP.
8. Select the number you want to use for the contact you are adding.
9. Select the Name field. Use the on-screen keyboard to enter the contact name (up to 30 characters)
and select OK.
10. Select the Index Word field. Use the on-screen keyboard to enter a word to use when searching for
an entry (up to 30 characters) and select OK. (This field is optional.)
11. Do one of the following:
• For a fax contact (models with optional fax board installed), select the Fax Number field. Use the
displayed keyboard to enter the fax number and select OK.
 Loading...


