218
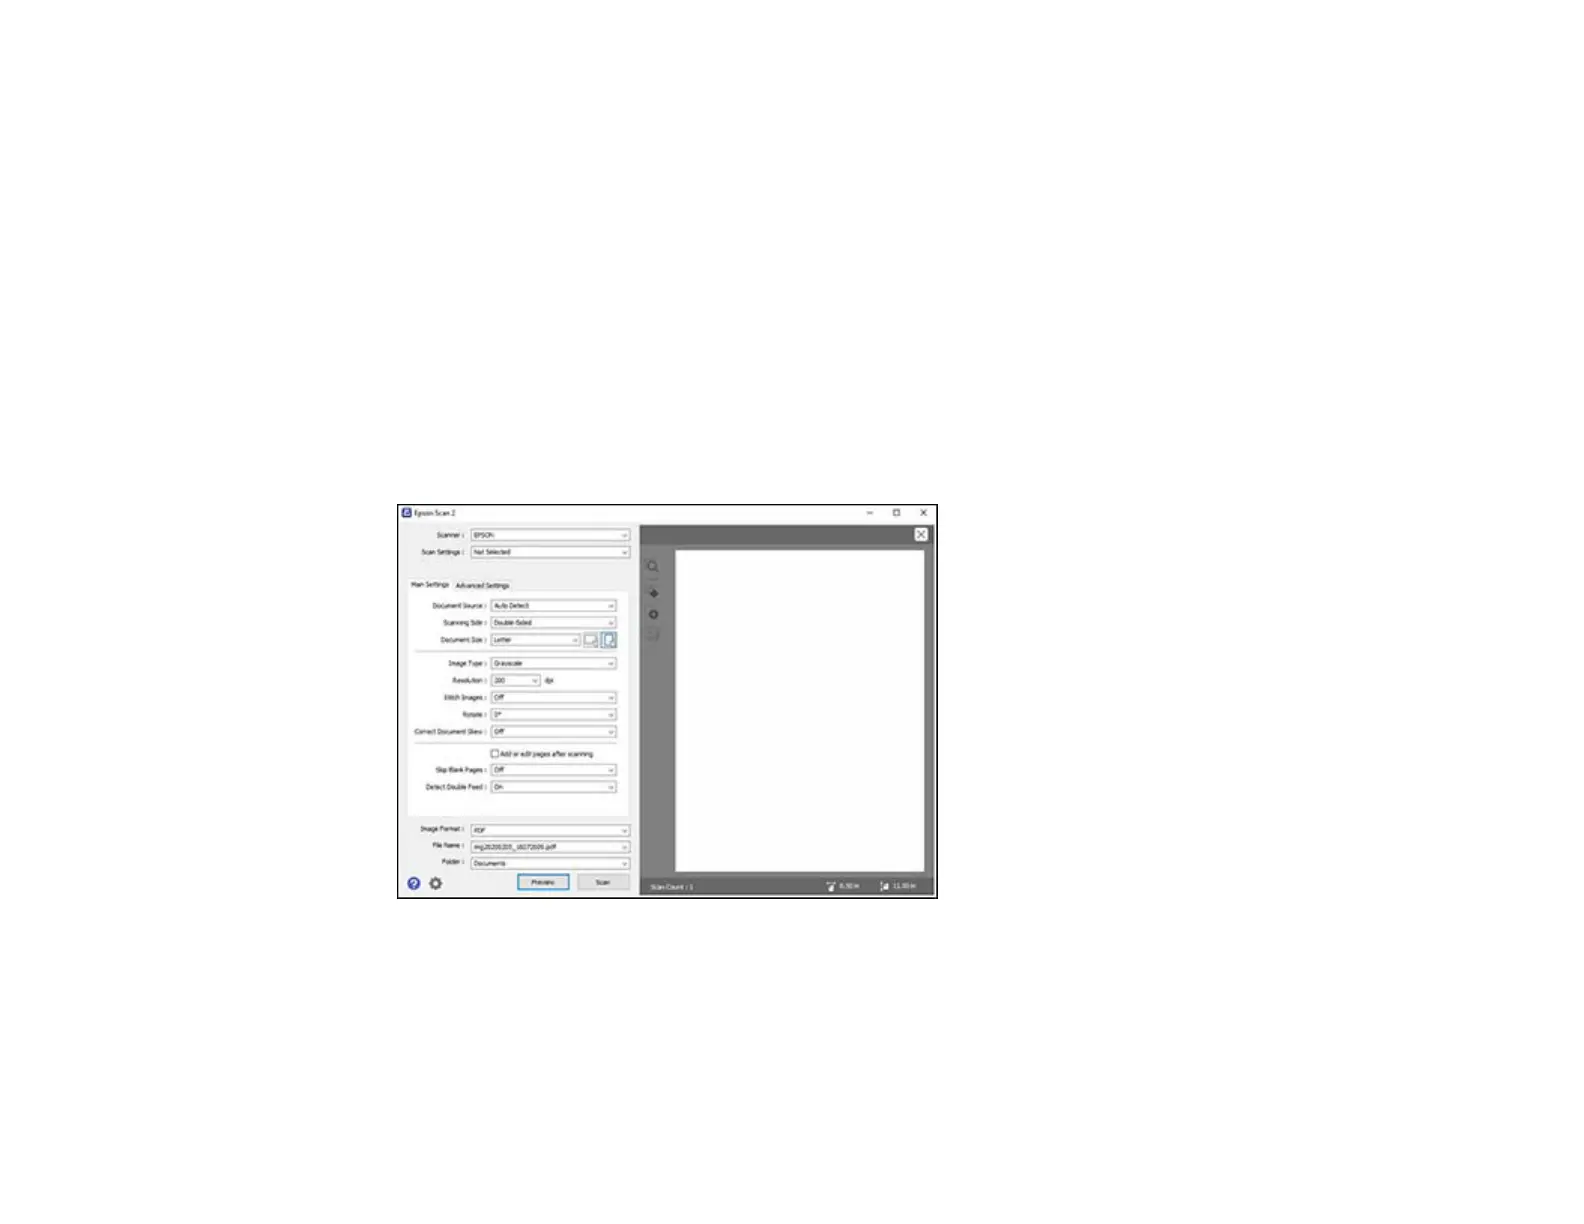
2. Select the Document Source setting that matches where you placed your original, or select Auto
Detect to have Epson Scan 2 automatically detect the source.
3. Select the Scanning Side setting if you are scanning from the ADF.
4. Select the Document Size setting that matches the size of your original, or select Auto Detect to
have Epson Scan 2 automatically detect the size. You can select Customize to enter a custom size,
if necessary.
5. Select the image type of your original and how you want it scanned as the Image Type setting.
6. Select the Resolution setting you want to use for your scan.
7. Select the Rotate setting to rotate the scanned image.
8. Select the Correct Document Skew setting to correct skewed originals, image contents, or both.
9. Click the Preview button.
Epson Scan 2 previews your original and displays the results in the Epson Scan 2 window.
10. Reinsert your original into the ADF, if necessary.
11. Select any of the additional settings that you want to use on the Main Settings tab.
12. Click the Advanced Settings tab and select any settings that you want to use.
 Loading...


