- 49 -
Warning
• Equipment Damage •
• Cu, microphone and tubing may not under any circum-
stances:
- be immersed in liquids
- be cleaned in a water bath or in running water.
CleaninG the BlooD Pressure Cuff
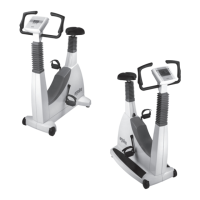
removinG the miCroPhone
Pull the end of the cu through the metal clasp and fold
out the cu.
Pull on the short Velcro tab to open the microphone
pocket and carefully remove the microphone.
CleaninG, DisinfeCtion
Clean the cu and tubing with a moist cloth.
You can use a dishwashing liquid or mild soap water.
Clean the microphone with a cloth moistened with alcohol
or soap water.
Allow the microphone to dry before reinserting it in its
pocket.
For disinfection, spray a disinfectant sparingly on the cu,
the tubing and the microphone.
After the contact time indicated by the manufacturer, wipe
all components dry.
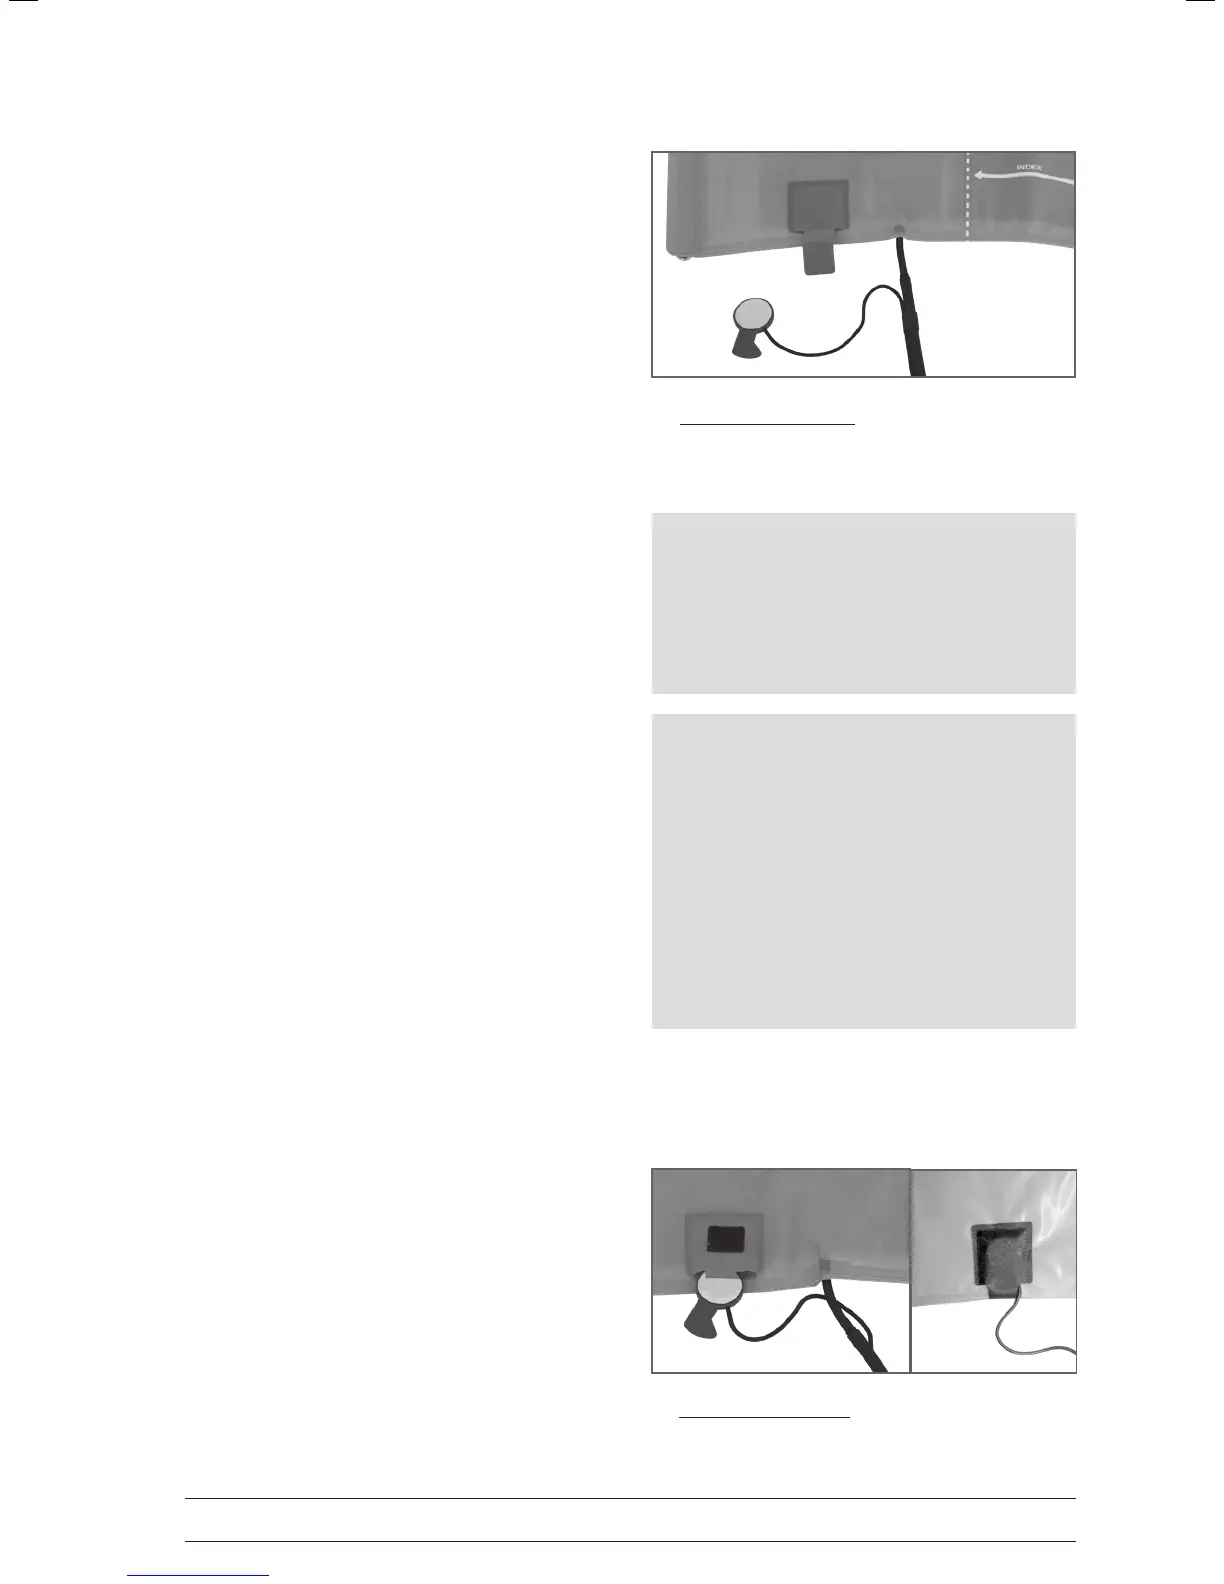
insertinG the miCroPhone
Slip the microphone into the pocket, the metal side facing
the arm.
Guide the microphone cable out of the pocket and to the
right of the Velcro tab. Then close the tab.
Fold the end of the cu over and introduce it into the
metal clasp.
removing the microphone
Note
Approved cleaning agents:
• common dishwashing liquids
• mild soap water
• moist cloth
Approved ingredients of disinfectants:
• tenside
• glycol, propanol and ethanol
Approved disinfectants:
• Fugaten spray
• Promanum N
inserting the microphone