P22/62 T-IM114b
5.1.2.4 ‘Wheel’ mode
WARNING
Do not push the table in the ‘wheel’ mode until
you are sure the castors have moved into their
correct orientation for the ‘wheel’ mode, as
detailed in the second stage below and Fig. 5.4.
If the table is pushed with the castors locked out
of position this will cause undue wear leading to
failure of the short trunk end castors.
Placing the table into the ‘wheel’ mode is a four stage
procedure which will ensure that the short trunk end
castors are locked in position correctly.
First, if the table is ‘braked’ move the foot pedal (item 4,
Fig. 2.3) into its ‘castor’ position as detailed in section
5.1.2.3.
Second, push the table forwards from the long trunk end
until both the short trunk end castors have swivelled into
the position ‘B’ shown in Fig. 5.4. They do not need to be
exactly in line, but they should not be as shown in ‘A’ Fig. 5.4
(i.e. leading their mounts).
Third, lift the pedal up with the top of the foot, as detailed
in section 5.1.2.1, until the pedal snaps into its highest
‘wheel’ position.
Fourth and finally, continue to push the table in a straight
line, the short trunk end castors will lock automatically in
line with the table base. This enables the table to be moved
easily down a corridor, being steered from the long trunk
end.
The table is in ‘wheel’ mode when the foot pedal is in its
highest position and the short trunk end castors have locked
in-line with the table base.
Note: When the table has been moved to the required
location adjust the table into ‘castor’ mode to enable full
mobility and positioning and then leave the table ‘braked’
(press the pedal fully down).
5.1.3 Moving table with a patient
The normal table position when moving it with a patient is
level in both directions (i.e. tilt and Trendelenburg) and
with the patient in the supine or lateral recovery position.
Fig. 5.5 shows an alternative position that can be used,
the notes in Fig. 5.5 also apply when moving the table with
the patient in the supine or lateral recovery position.
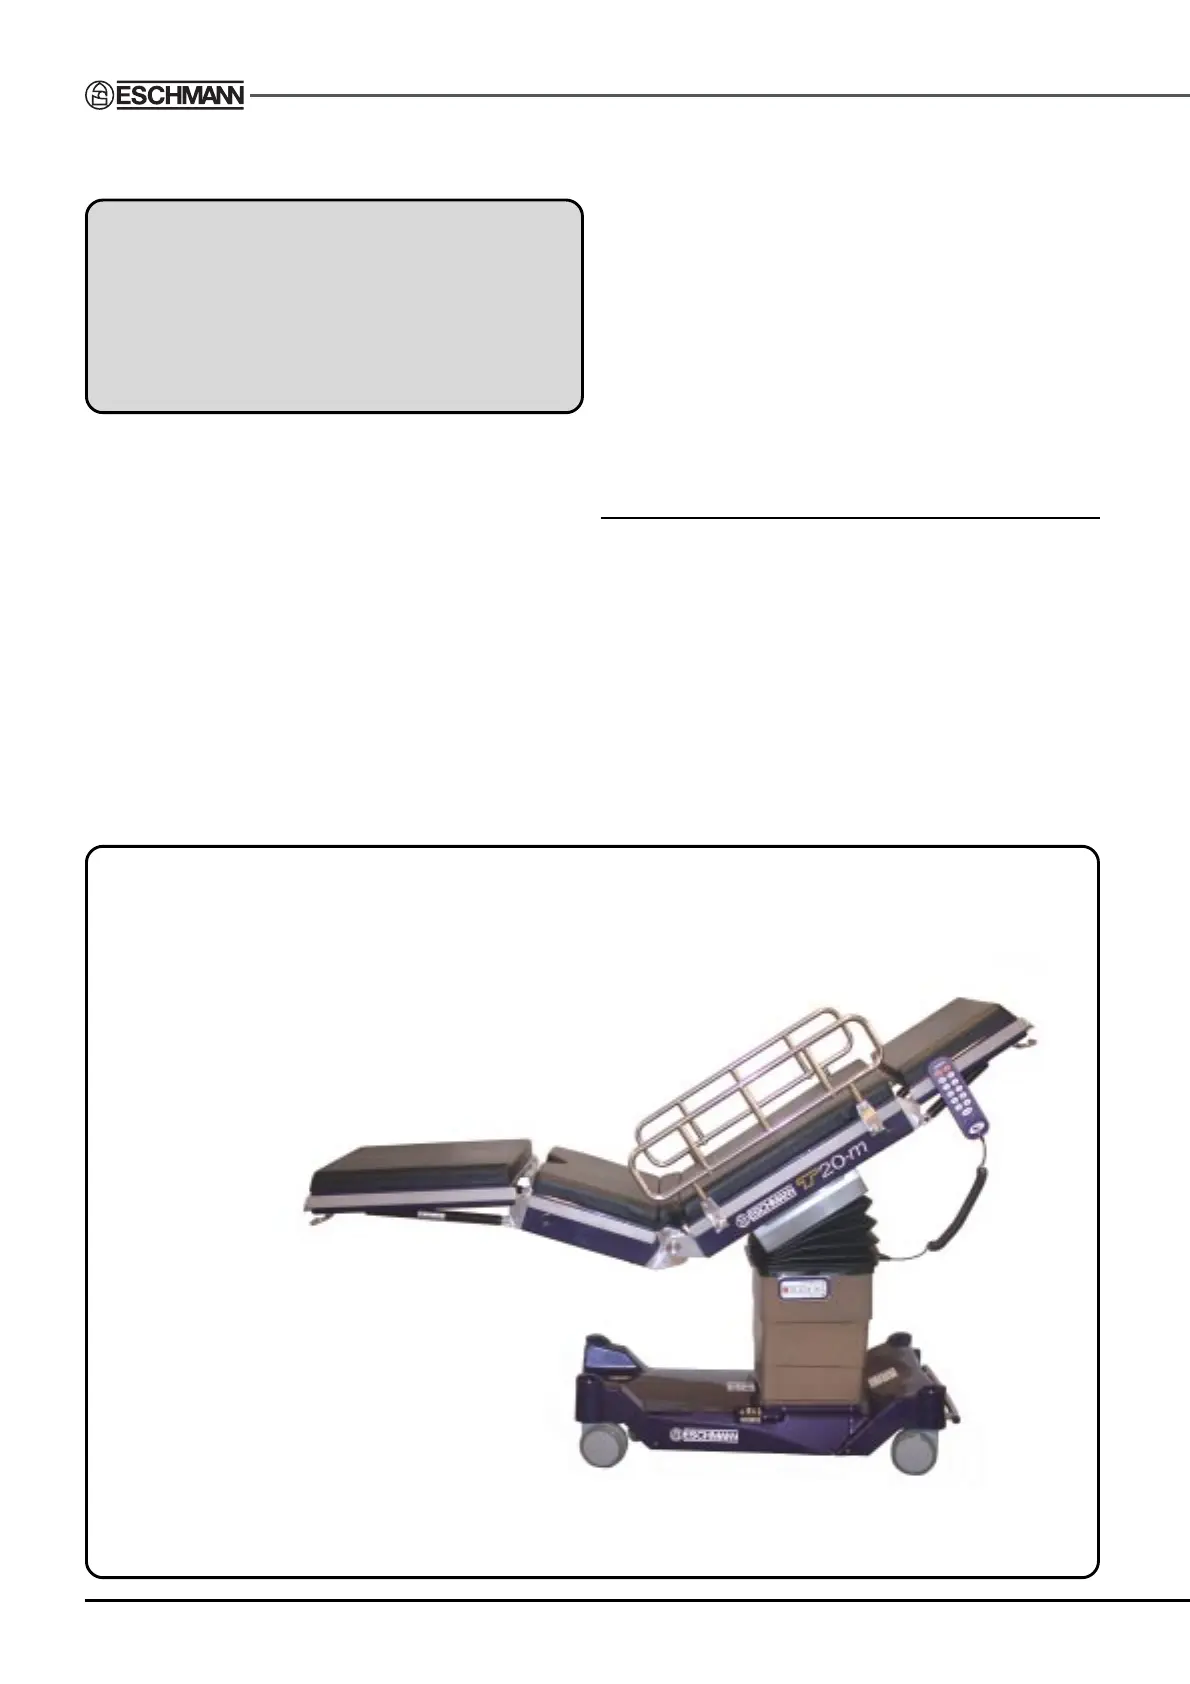
Fig. 5.5 Alternative table position for moving table with a patient
Notes:
Always use cot sides.
Lower table to a suitable height.
Ensure patient limbs are secure.
Check patient weight and position complies with Fig. 6.3 and Fig. 6.4.
Always push table from the head end (do not pull).
Position also applies to T20-a and T20-s tables (T20-m table illustrated).