6.4 Equipotential bonding and mounting base profile on bases (option)
Earthing / equipotential bonding the base proles
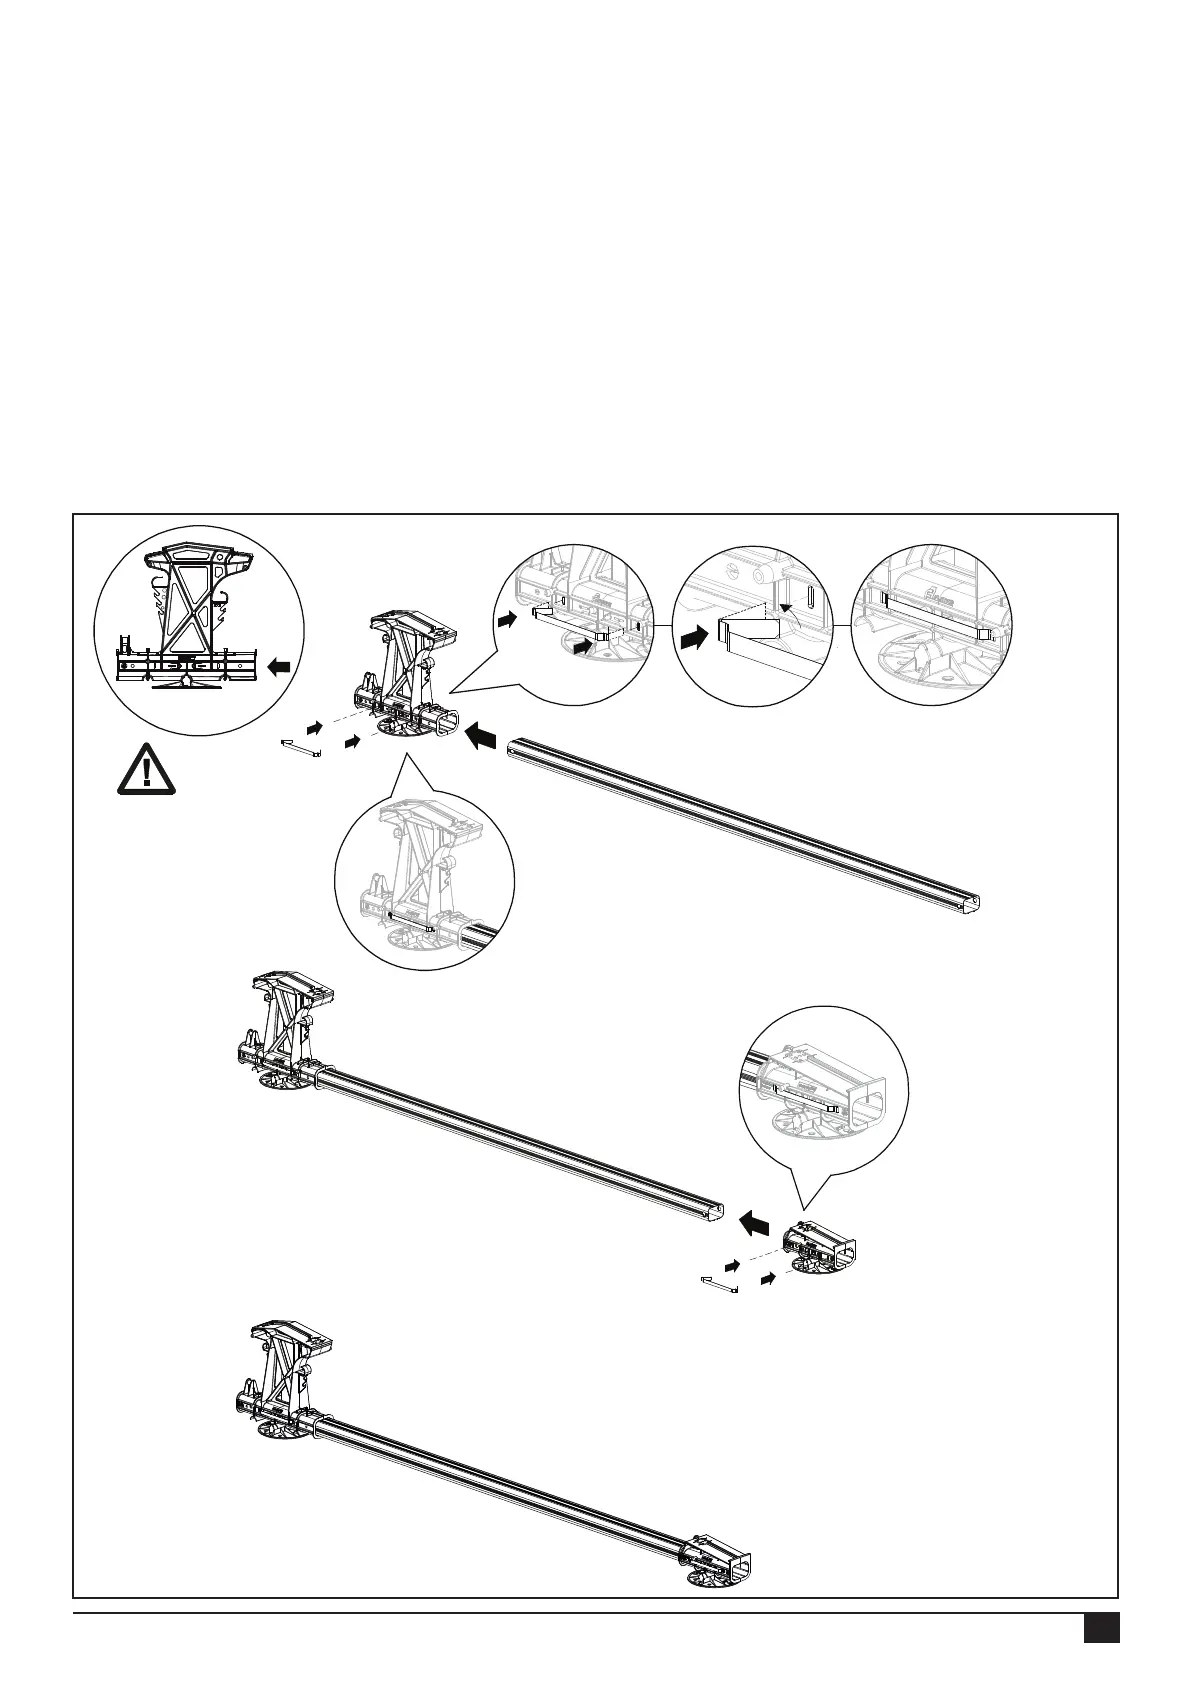
1. Place the grounding spring in the slots of the high base before the base prole is clicked into the high base.
The use of 1 grounding spring creates a connection area of 3mm
2
. Two grounding springs (one spring on each side of the
base) create a connection area of 6mm
2
. The teeth on the grounding spring bite into the base proles and create a solid and
durable connection.
2. Put the high base (inc. roof support) upright and slide the end of the base prole into the opening of the high base until it
clicks into place. NOTE! The high base element for Portrait is asymmetrical, see the drawing below.
3. Place the grounding spring in the slots of the low base before the base prole is clicked into the low base.
4. Slide the low base (inc. roof support) onto the other end of the base prole until it clicks into place.
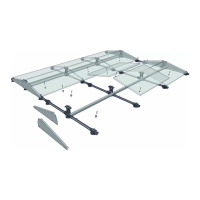
5. The rst FlatFix Fusion segment is ready. Repeat the above steps until you have enough FlatFix Fusion segments to
install the rst two rows of solar panels.
08
Rev. 08.08.23 MANUAL FOR FLATFIX FUSION MOUNTING SYSTEM FOR FLAT ROOFS
1.
3.
5.
CLICK!
CLICK!
2.
4.
NOTE!
The high base
element for Portrait is
asymmetrical.