18
Rev. 08.08.23 MANUAL FOR FLATFIX FUSION MOUNTING SYSTEM FOR FLAT ROOFS
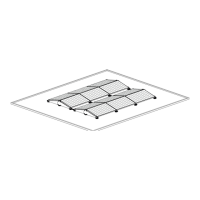
6.14 Mounting and equipotential bonding wind deflector rear
The wind deectors at the rear of the solar panels can optionally be earthed by placing all wind deectors on the high
bases. The overlap that occurs between the wind deectors provides the earthing. Use the grounding bracket to connect
the wind deectors to the rest of the system. NOTE! The diagram in annex section 7.3.2 shows the positions of the
grounding brackets.
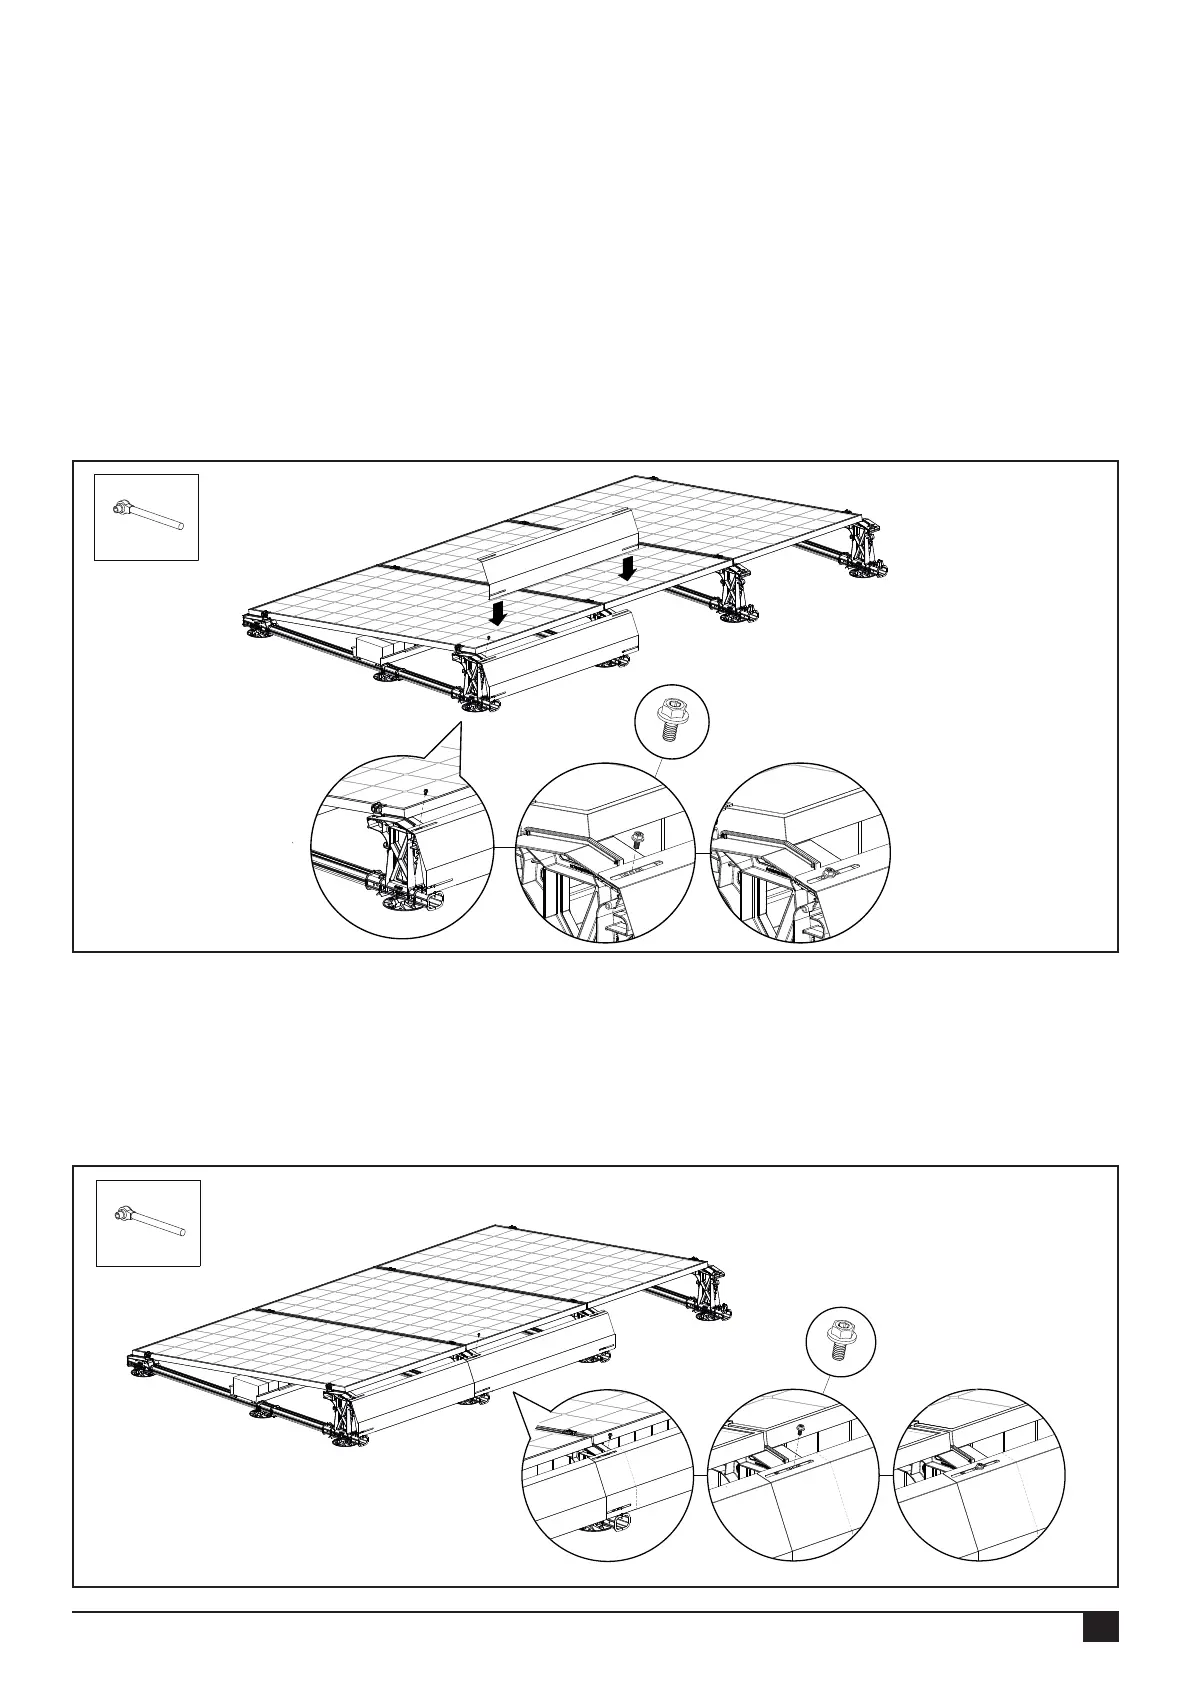
1. Place the 1
st
wind deector at the rear of the solar panels, so that the bottom edge of the wind deector falls between
the raised lugs of the high bases and with the side of the wind deector as level as possible with the outer edge of the high
base.
2. Only attach one side of the wind deector (instead of the edge of the panel eld) to the high base. Place one mounting
screw M6x12 in the slot of the wind deector and screw it into the lower mounting hole of the high base. NOTE! The
maximum tightening torque of the screw connections is 9 Nm.
Refer to your tool manual to set it to the correct torque.
M6x12
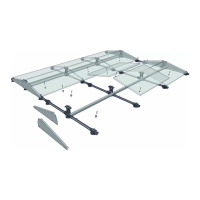
Place the 2
nd
wind deector at the rear of the solar panels, so that the bottom edge of the wind deector falls between the
raised lugs of the high bases and the slots of the wind deectors, and the screw holes of the high bases overlap. Mount
only one side of the wind deector (instead of overlap) to the high base by placing the mounting screw M6x12 in the slot
of the 2 wind deectors and screw it into the mounting holes of the high base. Repeat the above steps for the other wind
deectors between rst and last wind deectors. NOTE! The maximum tightening torque of the screw connections is 9 Nm.
Refer to your tool manual to set it to the correct torque.
Article no.:
1000612
M6x12
Article no.:
1000612