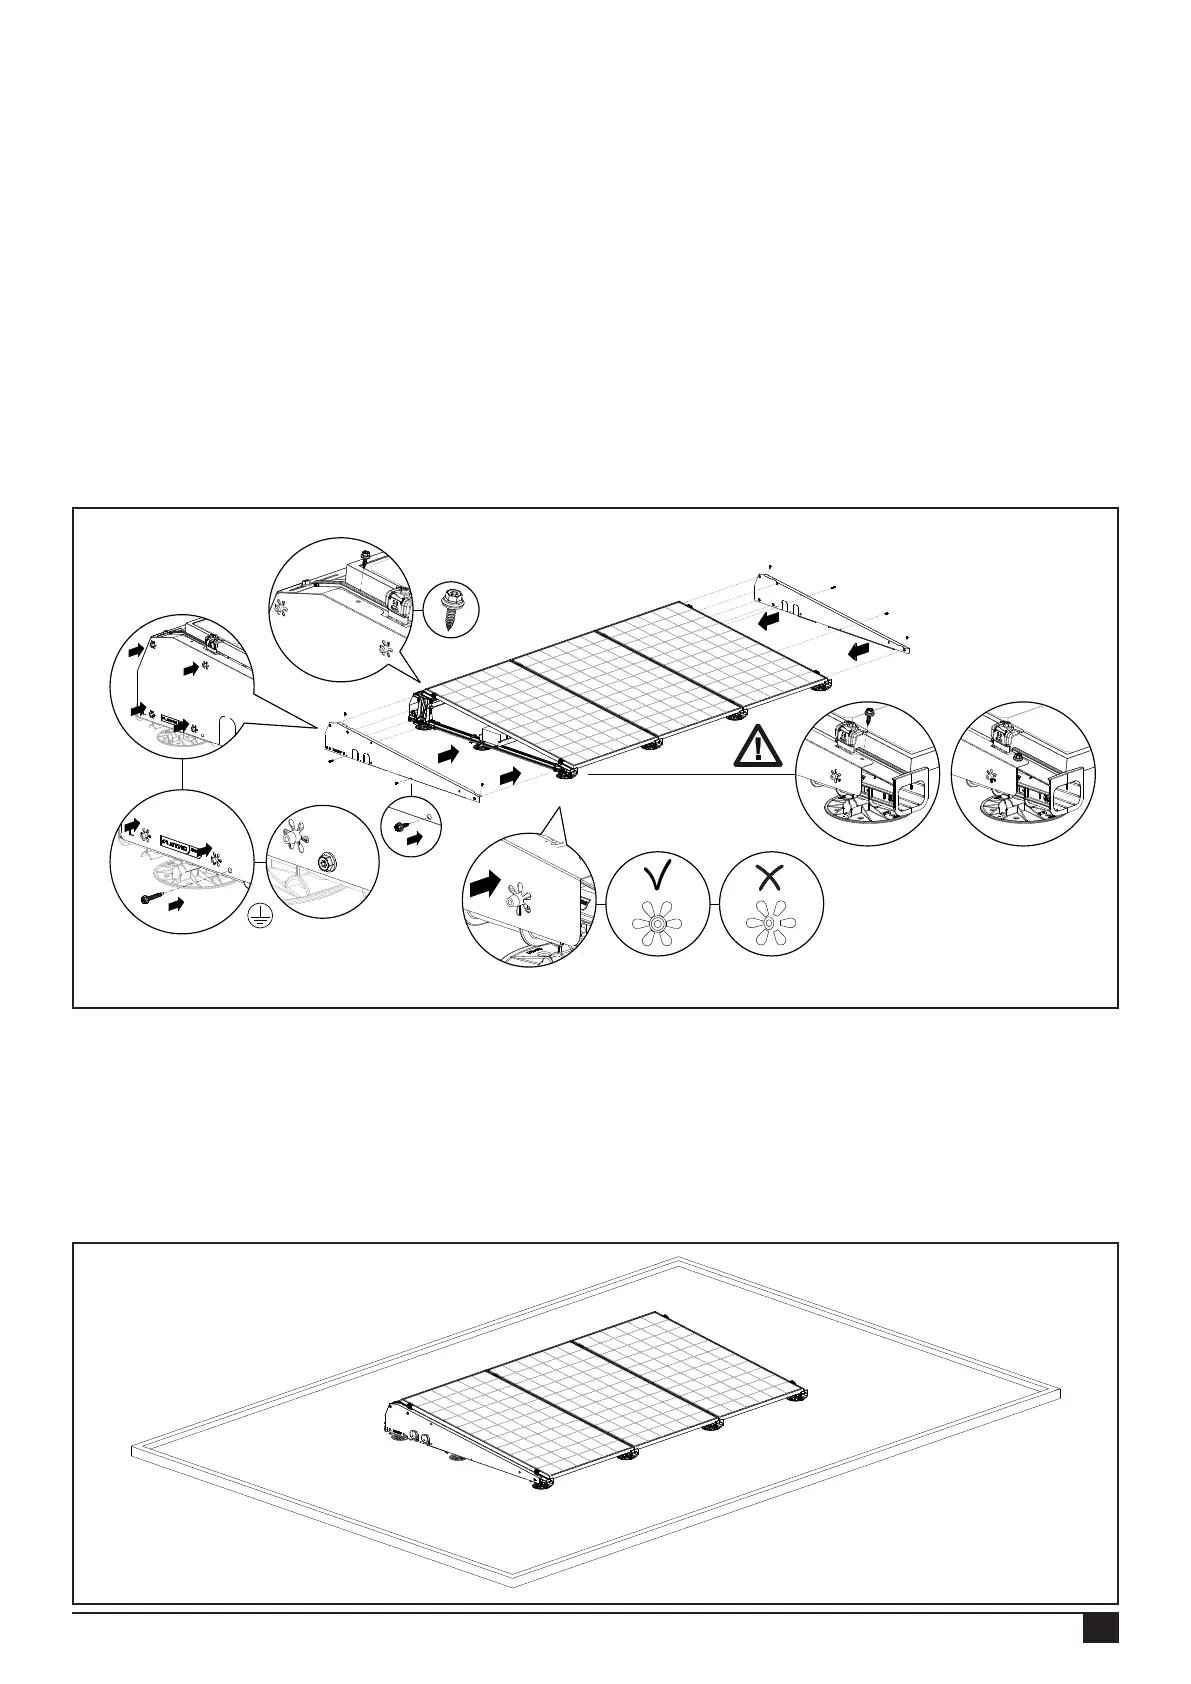
6.18 Mounting wind deflector left/right
Place the left wind deector next to the left side of the panel eld and the right wind deector next to the right side.
NOTE! The ange of the wind deector must always face the panel eld.
Mount the 2 wind deectors (left and right) by pressing the starlock in the wind deectors over the catches of the bases.
Install the wind deector carefully. Make sure that all tabs of the starlock engage evenly with the catch of the base. Press
the wind deector rmly so that it ts rmly to the base. The wind deectors must then be additionally xed by the self-
tapping sheet metal screw 6.0 x 25 mm SW10 HEX/T30 (article no. 1008085) at the level of the high and low bases, and
the wind deectors at the bottom center must be xed to the base prole with the self-tapping sheet metal screw 6.0 x 25
mm SW10 HEX/T30 (article no. 1008085). If you want to earth the wind deectors (optional), mount a self-drilling screw
6.3x42mm SW10/T30 (article no. 1003016) through the pre-drilled hole next to the lower starlock in the wind deector and
the base prole. The crosswind deectors are now earthed and secured. And the rst row of solar panels is now ready!
NOTE! If optional cable exit guides are used, then cut-outs must be made in the wind deectors. See annex section 7.2.2
for the installation of wind deectors at cable exit guides.
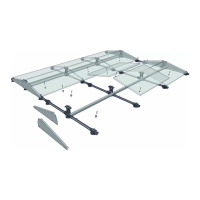
You can now mount the 2
nd
row of solar panels. To do this, follow the installation steps in sections 6.8 to 6.18.
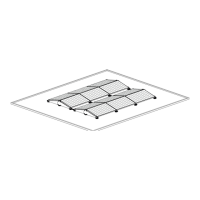
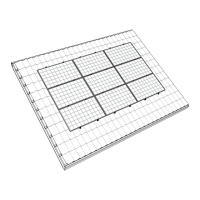
The panel eld is now ready!
6,3x42
6,0x25
23
Rev. 08.08.23 MANUAL FOR FLATFIX FUSION MOUNTING SYSTEM FOR FLAT ROOFS
Article no.:
1008085
Article no.:
1003016
6,0x25
Article no.:
1008085
6,0x25
Article no.:
1008085