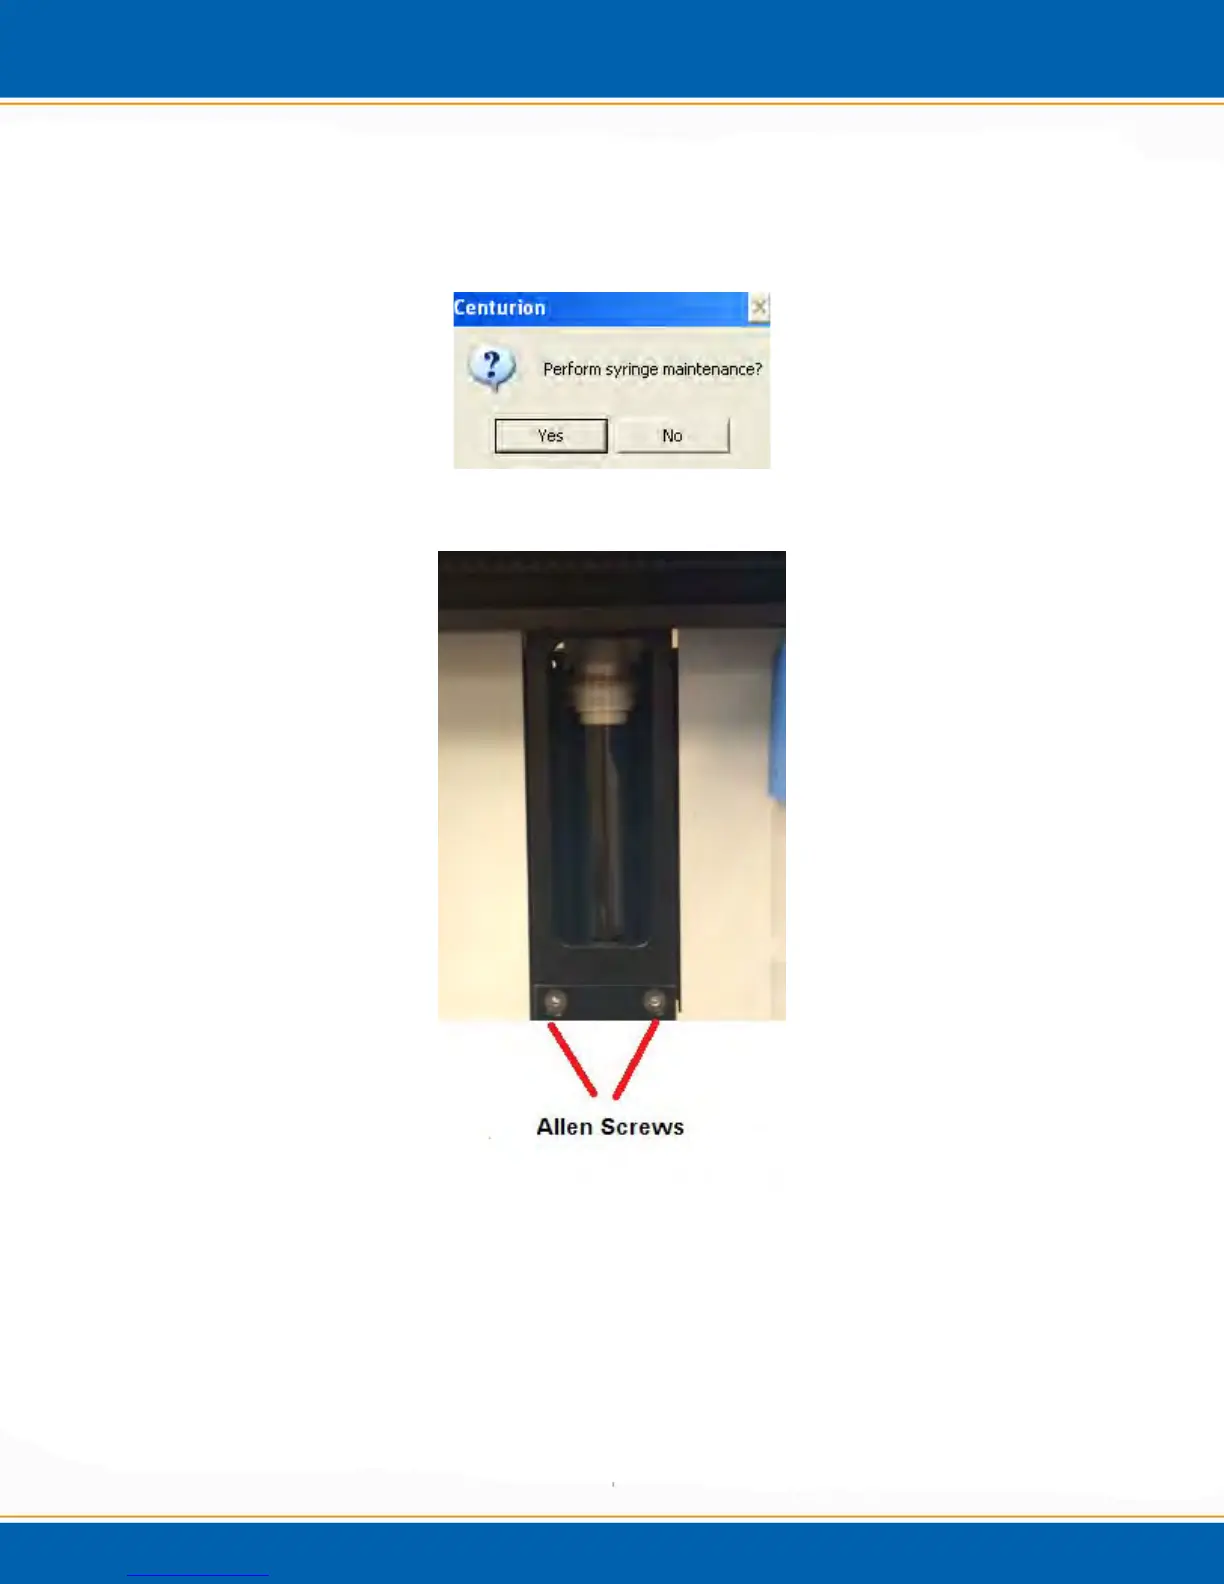
4.5.6 Syringe Maintenance: <click> Syringe Maintenance and the screen will appear as
shown in Figure 4t. <click> No and the window will close, <click> Yes and the gripper
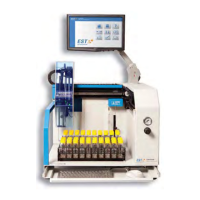
will move toward the front of the instrument and the syringe plunger will move down to
the bottom of the syringe assembly. See Figure 4v.
Figure 4t: Perform Syringe Maintenance Screen
Figure 4v: Image of Syringe with plunger down and Allen screws labeled
After the plunger is in position, a screen will appear as shown in Figure 4u. Remove the
black Allen screws as shown in Figure 4v. Next, remove the back panel of the Centurion
and label and remove the three lines from the back of the syringe assembly.
See Figure 4w. After, the screws and water lines are removed from the syringe assembly;
the entire assembly should be easily removed from its position in the Centurion. See
Figure 4x. <Click> OK when the assembly is removed.