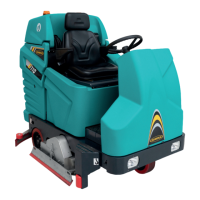
REPLACING SQUEEGEE BLADES
The squeegee is fitted with two drying blades, a rear and a front blade, as specified in the previous paragraph.
Each blade has 4 edges that can be used and rotated 4 times before being replaced, unless one of the edges is torn.
For better drying performance, make sure the edge of the rear blade is not worn out. If the blade is worn out, rotate it or
replace it.
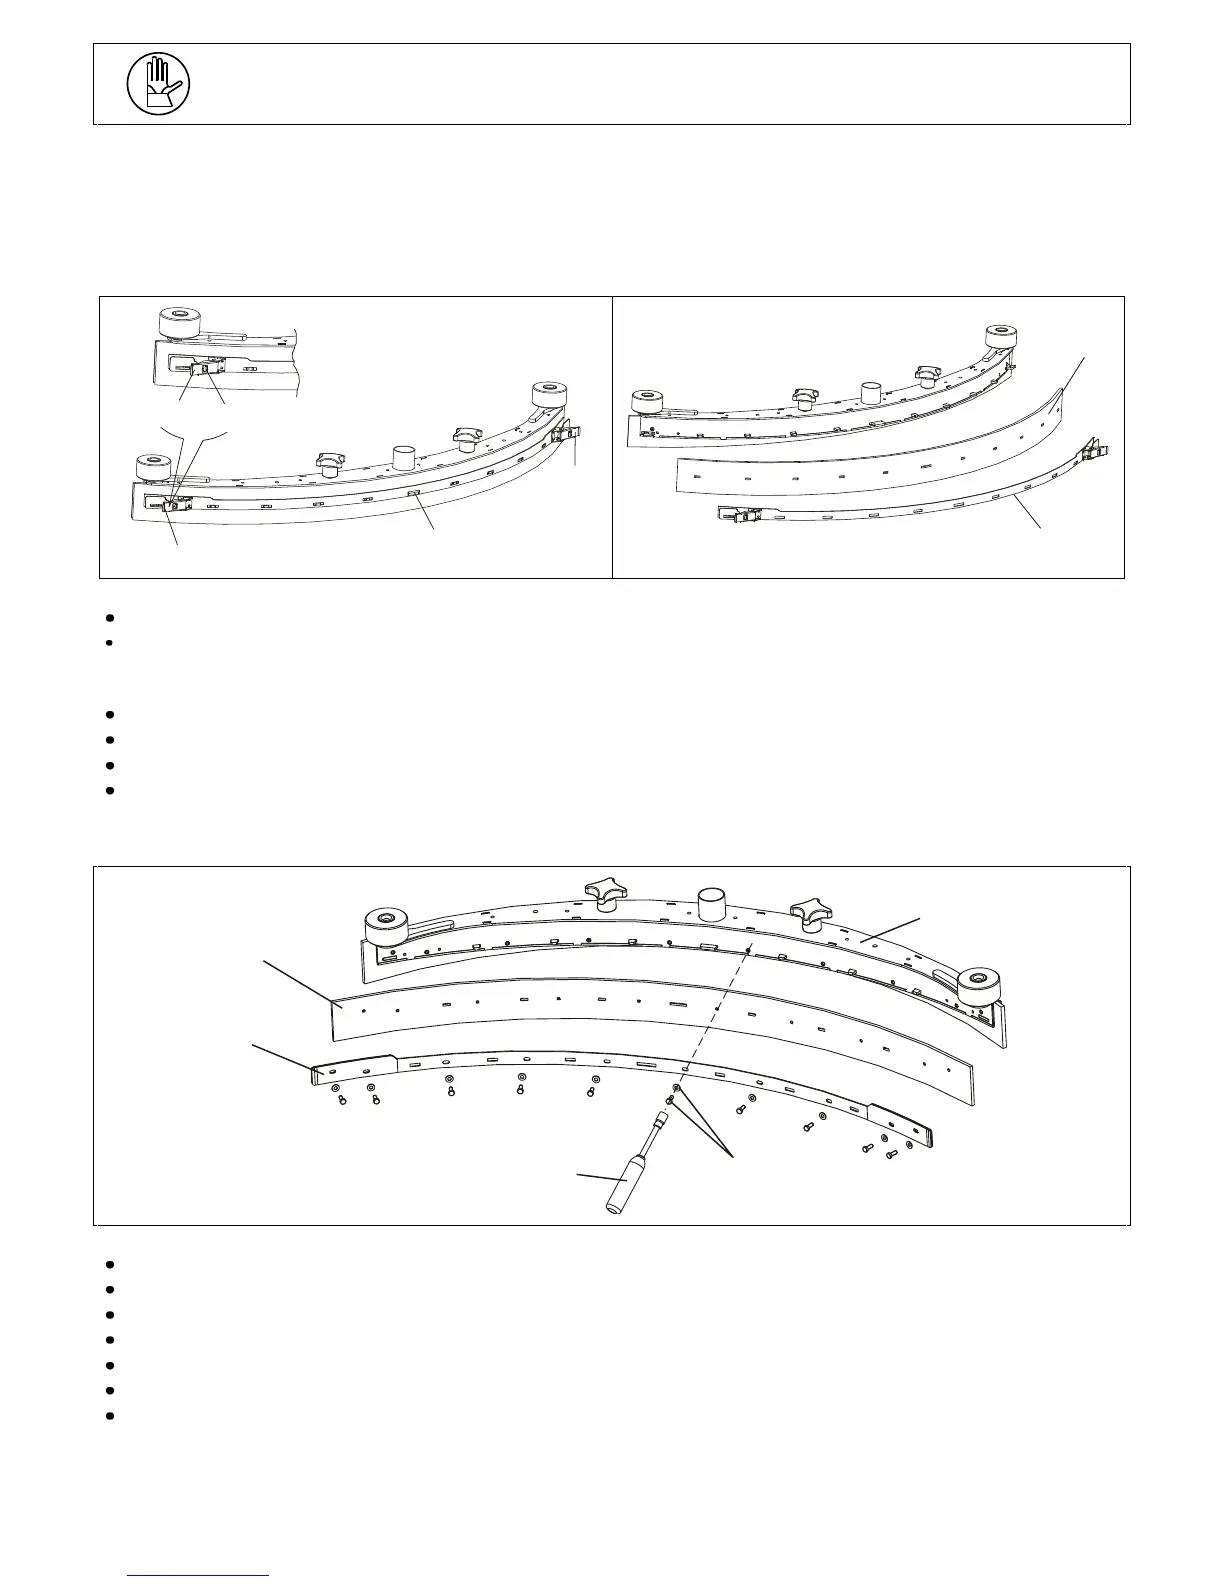
REPLACING THE REAR BLADE
Follow the instructions below to rotate or replace the rear blade:
Remove the squeegee from the machine;
Remove the blade locking plate (see position 5) by unlocking the retainer (see position 3). This retainer is fitted with a
safety device that keeps it from opening involuntarily. To release the retainer push the small lever (see position 1)
towards the outer part of the squeegee and then pull the big lever (see position 2) towards the rear part of the squeegee;
Remove the blade (see position 6);
Rotate the blade and mount it back so that a new edge is on the drying side;
Position the plate on the squeegee fitting it first of all in the centre slot (pos. 4) and then fastening it at the ends.
By remounting the blade (6) please pay attention that the blade lays on the floor regularly and uniform in its entire
length.
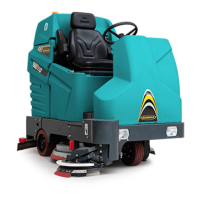
REPLACING THE FRONT BLADE
Follow the instructions below to replace the front blade:
Remove the squeegee (see position 5) from the machine;
Use a 10-mm tubular nut driver (see position 1) and remove the 6 screws and the respective washers (see position 2);
Remove the blade locking plate (see position 3);
Remove the blade (see position 4);
Rotate the blade and mount it back so that a new edge is on the drying side of the blade;
Put the blade locking plate (see position 3) back into place;
Put the 10 screws back into place and the respective washers (see position 2), paying attention that the blade (pos 4)
lays on the floor regularly and uniform and making sure not to tighten the screws excessively, causing the rubber blade
to deform (swell).