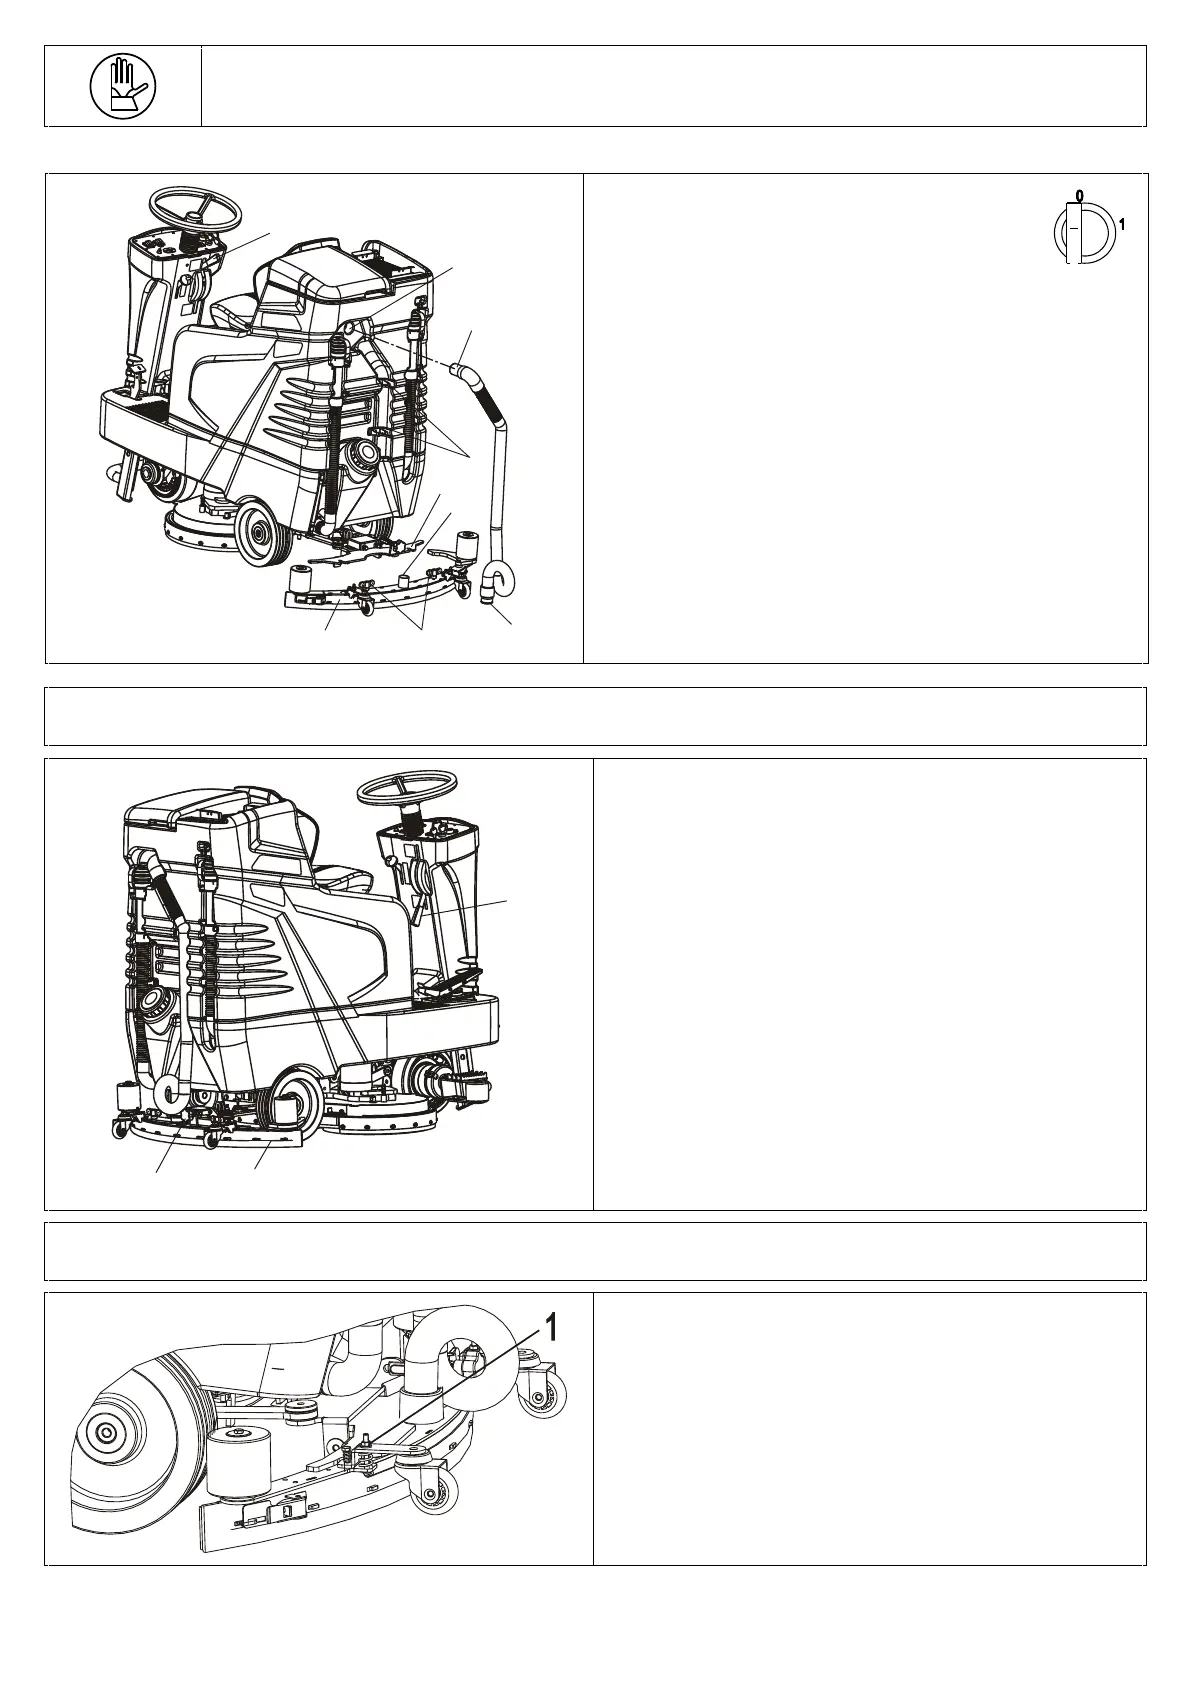
Follow the instructions below to assemble the squeegee:
• Park the machine in a levelled area, turn it
off and remove the keys;
• Lift the squeegee support with the provided lever (pos. 9);
• Place the squeegee (pos. 1) in the support (pos. 5) and
centre the knobs (pos. 2) into the slits of the support (pos.
5);
• Once it is placed correctly, fix the knobs (pos. 2);
• Place the squeegee pipe from the curved end (pos. 7) into
the hole provided in the tank (pos. 8) and push it
thoroughly until it fits into place;
• Mount the other end of the pipe, the rolled end (pos. 3),
into the squeegee sleeve (pos. 4);
• Place the pipe into the provided locking springs (pos. 6).
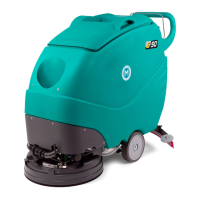
• Adjust the squeegee inclination using the knob (pos.
1).
The knob adjusts the squeegee so as to have a constant
pressure throughout the entire length of the blade (pos.
2).
If there is too much pressure on the external tips and
little pressure on the central zone, turn the knob anti-
clockwise.
If there is less pressure on the tips and too much pressure
on the central zone, turn the knob clockwise.
To make the adjustments, lower the squeegee using the
lever (pos. 3), turn on the vacuum and drive slowly.
Monitor the distribution of the pressure on the blade and
if necessary correct the inclination as described above.
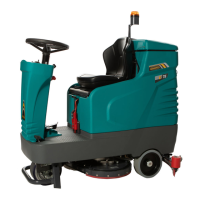
ADJUSTING THE SQUEEGEE WHEELS
• Pressure adjustment, using the nut for the wheels’
adjustment (pos.1)
This allows for optimal pressure on the blade (position 2
previous picture) which can be adjusted for each type of
floor and for each type of blade.
For rough floors or uneven floors, increase the pressure
by turning the knob (position 1) counter-clockwise.
For smooth floors, lower the pressure by turning the
knob clockwise.