12
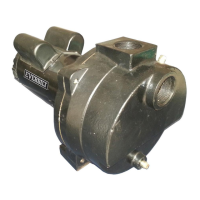
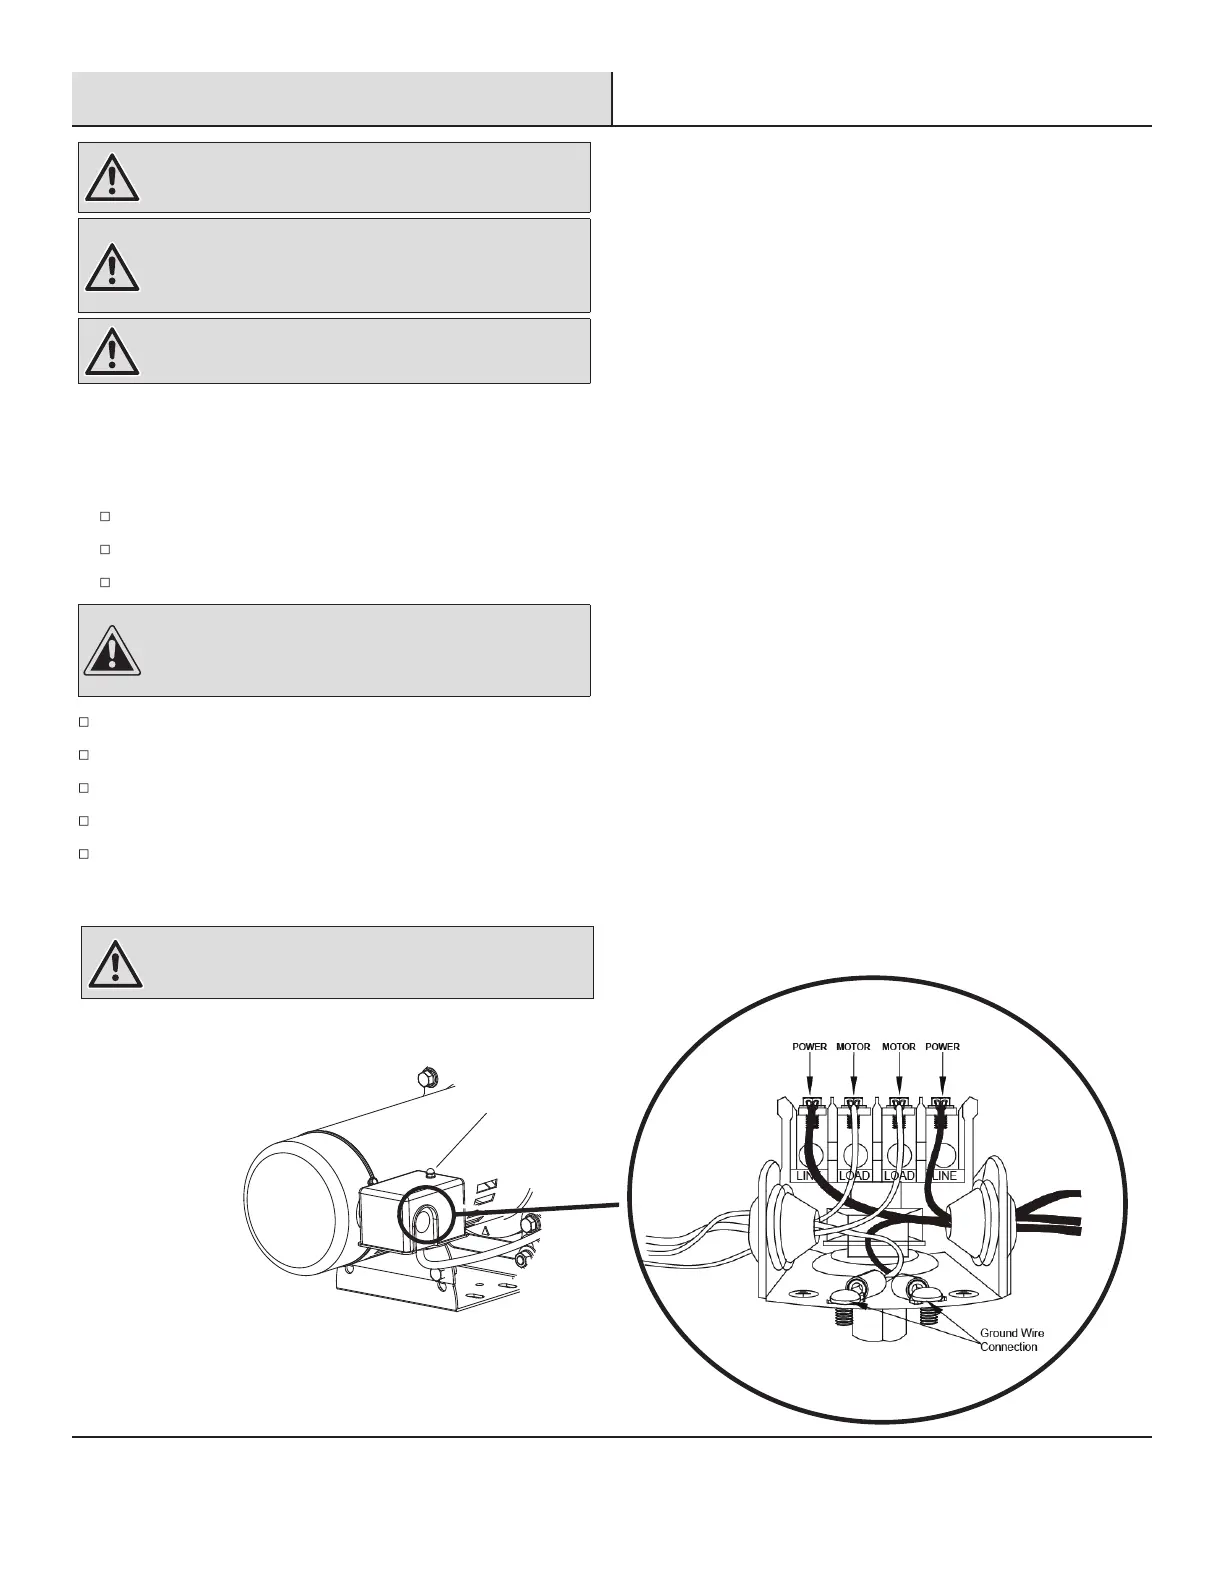
Pressure Switch Assembly
WARNING: Before wiring the pressure switch, turn off the
power source to which you are connecting to avoid potentially
life threatening electrical shock.
WARNING: It is recommended all electrical work be
performed by a licensed electrician.
To complete the installation, you must connect the power source to the pressure switch.
A 30/50 Psi pressure switch has been installed on the pump.
The pressure switch allows for automatic operation; the pump starts when pressure drops to the "cut-in" setting (30 Psi pre-set).
To wire the pressure switch:
Remove the pressure switch cover on pump to expose the wiring terminals.
Connect the green ground wire of the power supply to the switch ground terminal.
Connect the power supply wires to the two outside terminals marked "LINE" and replace the switch cover.
CAUTION: Do not use a pressure switch set at a pressure
greater than 50 Psi. The pump will not create pressures
greater than 50 Psi, if so the pump will never shut off,
resulting in damage to the pump and voiding the warranty.
The pump is ready for use.
Open a faucet near the pump.
Turn on the pump.
Water should come out from the faucet in a few minutes.
Pressure
Switch Cover
WARNING: When wiring from the power source to the
pressure switch,follow local, state and National Electric
Code for proper wire gauges sizing. The chart above shows
guidelines, but code must be followed when applicable.
If no water comes out, turn off the pump and re-prime water from the discharge tee. Check all suction piping connections for leaks.
Shaving cream foam can be used to identify air being pulled in to the system in suction piping connections. THE PUMP WILL NOT
PRIME IF THERE ARE ANY SUCTION LEAKS PRESENT
WARNING: If the pump will not prime and the pump case
is hot to the touch do not remove the discharge tee cap
until the case has cooled down to the touch.