19
N.B. The hopper support can be fitted on both
sides of the insert Comfort Maxi while for the
Comfort Mini it can be fitted only on the right side.
Adjust the height and angle of the hopper on the
basis of the fireplace which has to be built.
N.B. The bottom grill of the insert must stand at
least 1 cm above the marble fire top of the facing.
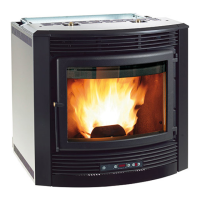
Extraction of Comfort Maxi and Mini
The extraction of the Comfort insert is necessary to
carry out ordinary maintenance (cleaning the ash
pipe at the end of the year) or extraordinary work
(replacement of mechanical parts in the event of
damage).
These operations must be carried out by a qualified
technician, with the insert turned off and the plug
disconnected.
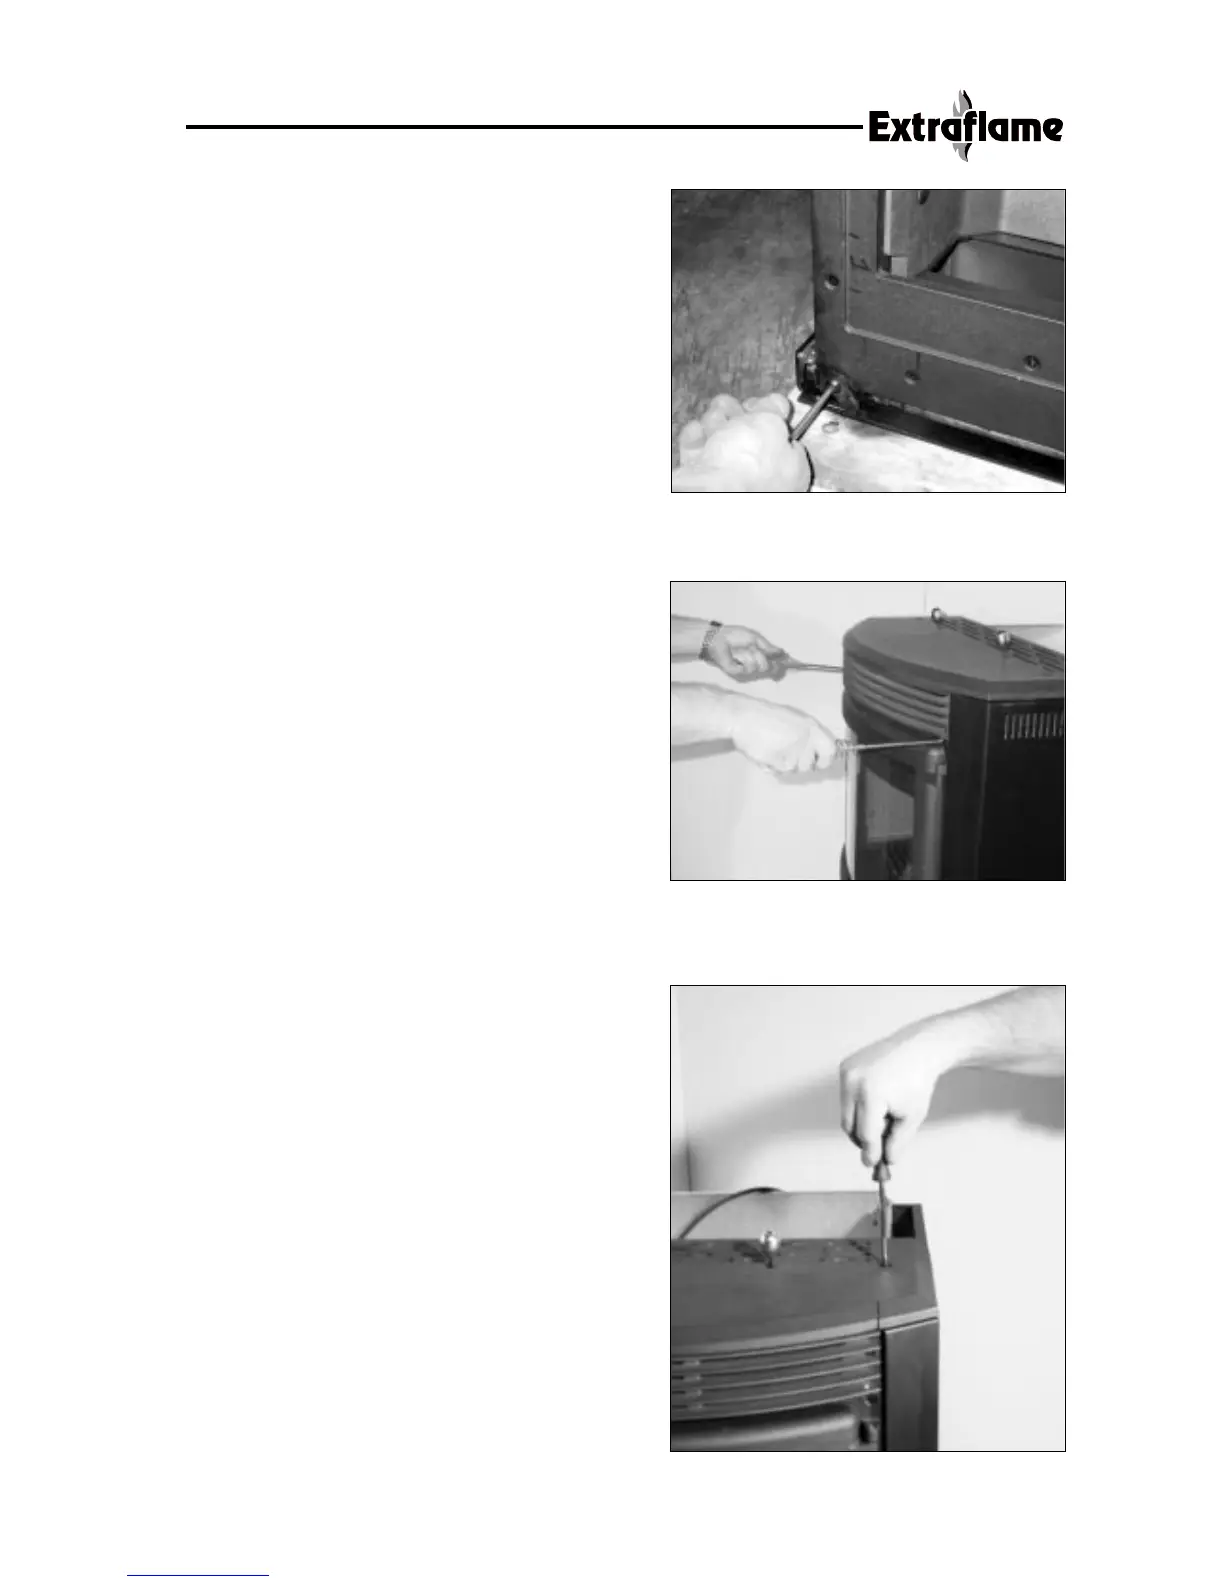
To extract the insert, carry out the following procedure:
1. Take the provided socket wrench and insert it on
the screw at bottom right – Fig. 11 (Maxi) and
Fig.11bis (Mini)
2. Turn the wrench clockwise.
3. Insert the provided pokers in the curved part as
shown in fig. 12.
4. Pull the insert towards you until it is blocked
automatically.
5. Remove the two top screws which fix the lateral
side to the insert, Fig.13 (Maxi)
For the insert Mini, it is necessary first to remove
the insert from its base and then remove the
screws.
6. Release the side, put your hand on the bottom
part and press slightly upwards until it uncouples
(Fig. 14).
Frames fitting
• Frontal frame
• Lateral frames
Fix the frontal frame with both the lateral frames in
such a way as to create the figure as shown in Fig.
15.
Fix the frames to the Comfort insert by means of
self-piercing screws.
N.B. Any wooden beams situated above the insert
must be protected using fireproofing material.
Assembly of the frames is important as it allows a
correct air circulation in the insert and consequently
a very good operation of the stove.
fig. 13
19
fig. 11 bis
fig. 12