Room Scheduling System • Room Agent Installation and Configuration 39
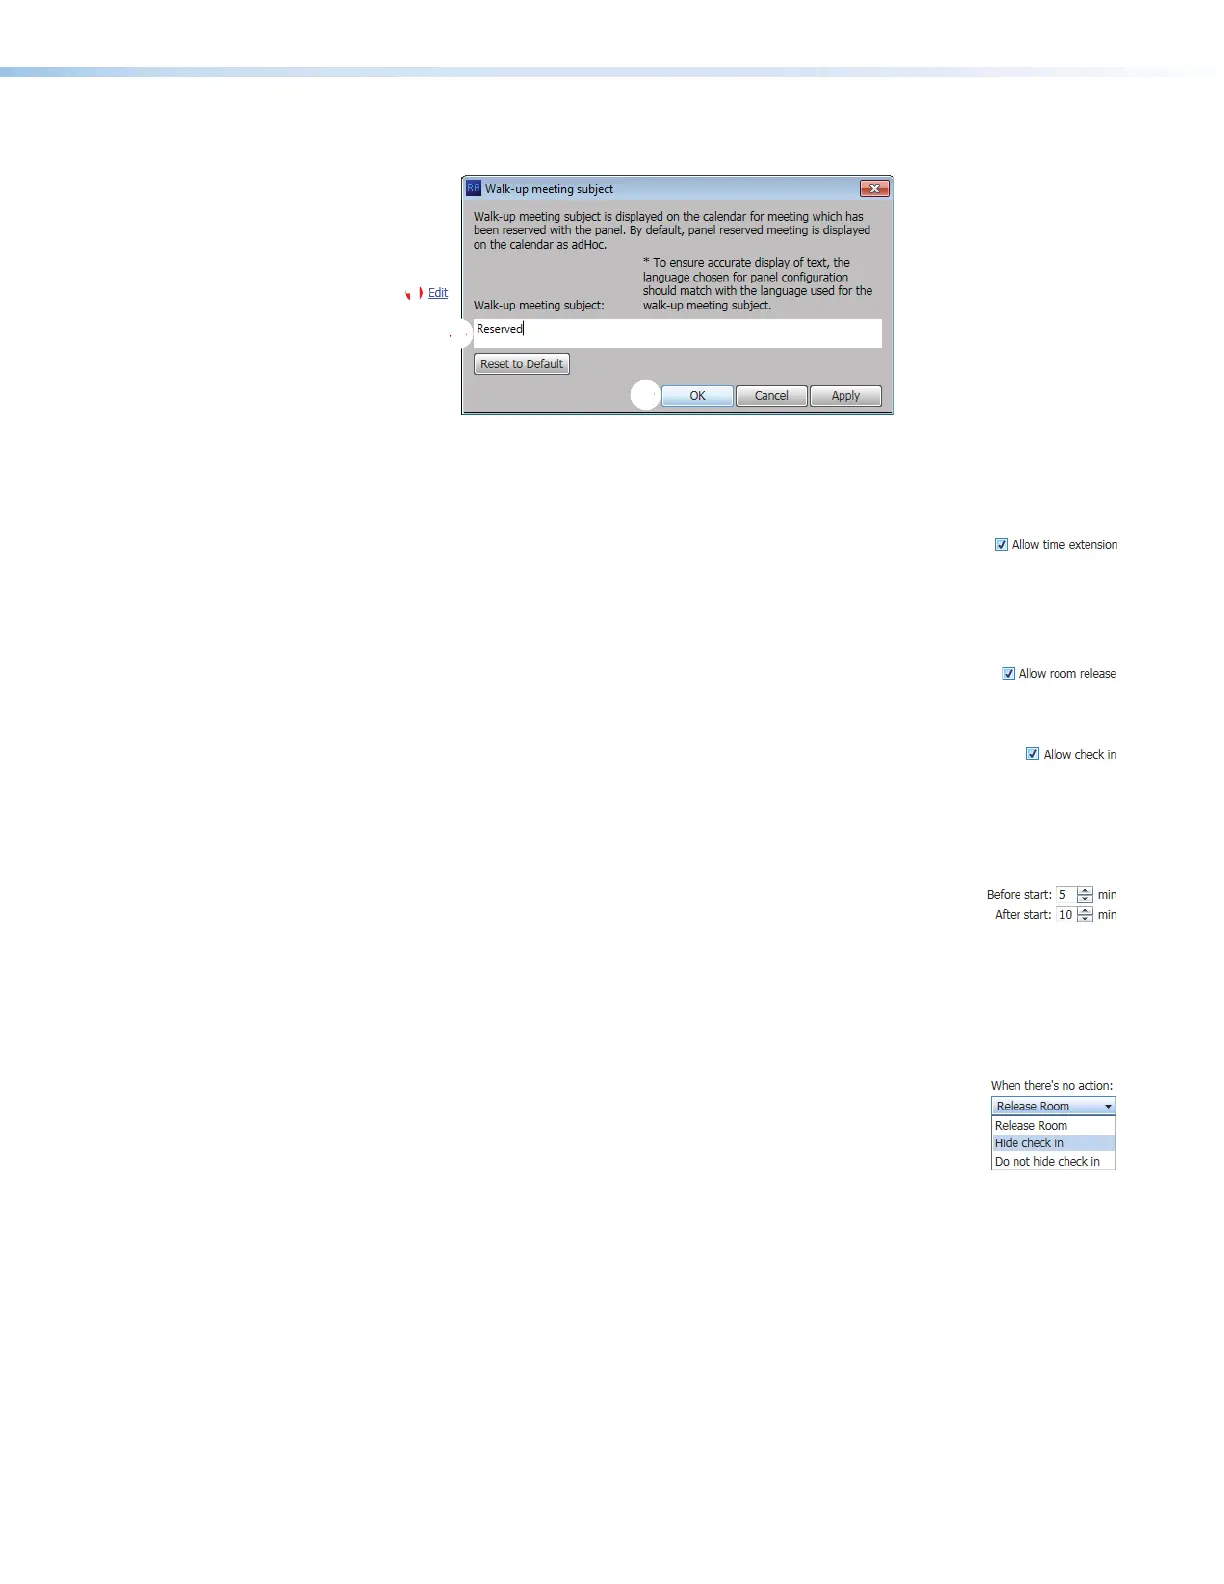
1. Click the Edit link (see figure 40,
1
).
1111111111
33
33333333
22
22222222
Figure 40. Walk-up Meeting Subject Dialog Box
2.
T
ype the new subject name in the
Walk-up meeting subject: field (
2
).
3. Click OK (
3
).
Ý
Allow time extension checkbox — Check and uncheck this
box to select whether the Extend until button appears on the
panel. Extend until extends the reservation of a room in half-hour increments IF
no previously scheduled reservation exists in the extension period. The Extend
until button does not appear if there is a conflict.
4
Allow room release checkbox — Check and uncheck this box to
select whether the Release button appears on the panel. Release
frees up a room, for example if the meeting ends early.
5
Allow check in checkbox — Check and uncheck this box to select
whether the Check in button appears on the panel for a scheduled
meeting. Check in disappears from a panel once it is pressed.
If checked, additional controls (
ê
and
ë
) appear on the panel to control how the
Check in button functions.
ê
Before start and After start fields — Use the scroll buttons or
type a value into these fields to define how long the Check in
button appears.
• Before start: controls how many minutes the Check in button displays
before the scheduled start of a meeting.
• After start: controls how many minutes the Check in button appears after
the scheduled start of the meeting.
ë
When there’s no action drop-down list — Select among the
options to choose how the Check in button and room reservation
behave when no action is taken.
• Release room — The scheduling software releases the room
when the After start: time has expired.
• Hide check in — The scheduling software hides the Check in button on the
panel and releases the room when the After start: time has expired.
• Do not hide check in — The panel continues to display the Check in button
until it is pressed.