Room Scheduling System • Room Agent Installation and Configuration 38
44444444444444 55555555555555
1111111111
1111
2222222222
2222
2222222222
2222
2222222222
2222
3333333333
3333
2222222222
2222
ÕÕÕÕÕÕÕÕÕÕ
ÕÕÕÕ
ÜÜÜÜÜÜÜÜÜÜ
ÜÜÜÜ
êêêêêêêêêê
êêêê
ëëëëëëëëëë
ëëëë
ÝÝÝÝÝÝÝÝÝÝ
ÝÝÝÝ
2222222222
2222
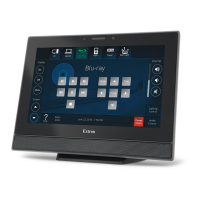
Figure 39. Panel Design Pane, Layout Tab
2
Data field drop-down lists — These five menus are positioned within the pane to
correspond to data positions on the panels and in the preview pane (see figure 38,
2
on the previous page). All menus contain the same options (see figure 39,
Õ
). Select
among the options to choose the data displayed in the corresponding position. Watch
the preview pane to see how your selections affect the appearance of a panel. Selecting
Blank causes no data in the associated position.
NOTE: Organization is available for selection only when you have selected
CollegeNET 25Live on the Panel Management page (see figure 17,
1
on
page 21). Organization causes the panel to display the organization associated
with the booked meeting, such as Arts & Art History in the preview pane.
3
Reserve: drop-down list — Use this drop-down list to select
whether the Reserve button appears on the panel and how it
functions. The Reserve button allows user to book the room
locally, on the panel itself. Anytime allows you to reserve any
half-hour segment displayed on the panel.
Ü
Subject field (see figure 39) — This field shows the meeting subject displayed on
the panel when a room is reserved from the panel. “adHoc” is the default subject.
Change the meeting subject as follows: