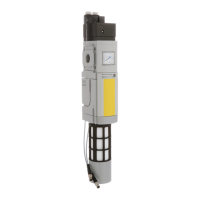
Festo — MS6(N)-SV-...-E-10V24 — 2021-11e
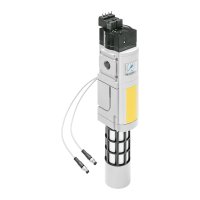
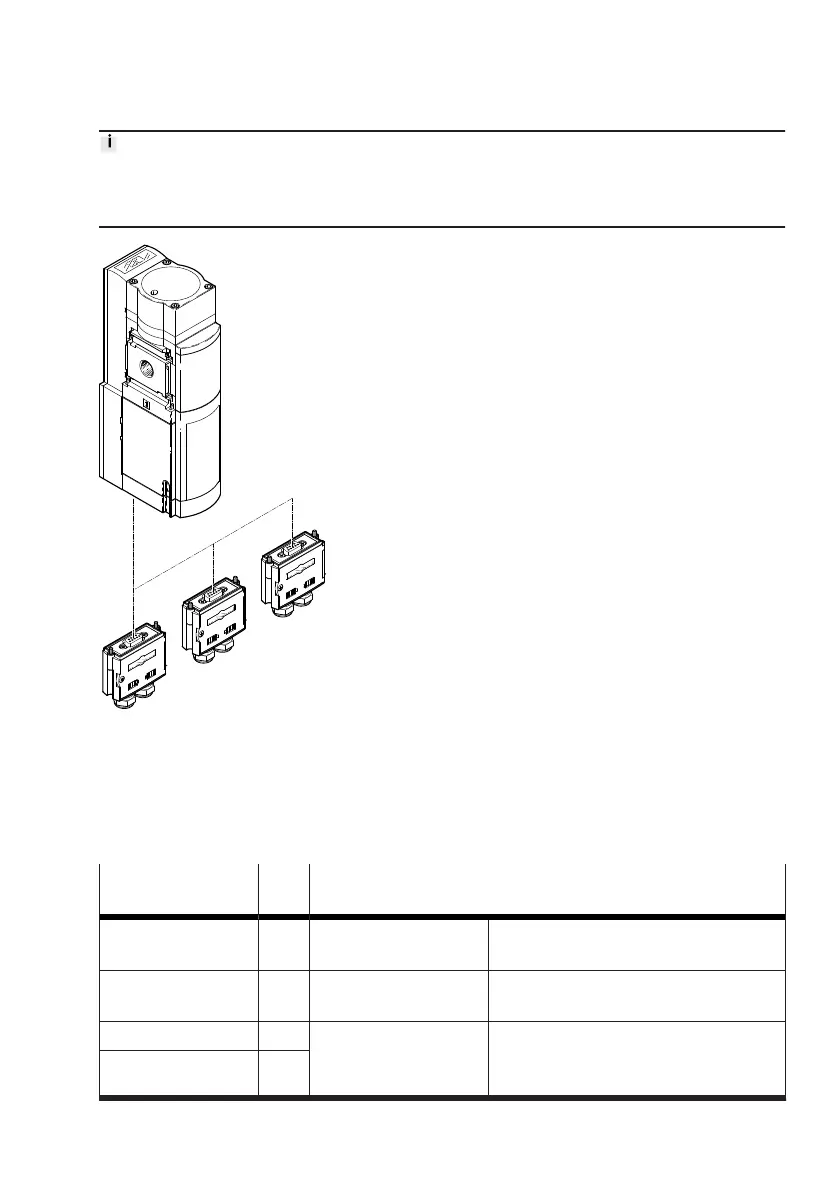
When mounting the multi-pin plug sockets NECA-... with enclosed seal, note the correct position of the
plug with reference to the valve. The display window of the multi-pin plug socket NECA-... must point
forward.
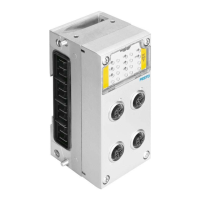
Fig. 17: Electrical connection
1. Connect multi-pin plug socket NECA-... in the correct orientation. The window points to the
silencer.
2. Make sure that the screws are fastened tightly in order to guarantee the degree of protection
IP65. The maximum tightening torque is 0.4 ± 0.1 Nm.
Inputs and outputs
Terminal in multi-pin
plug socket NECA-...
I/O I/O allocation
1 EN1 Enable signal 1 (static or
dynamic)
Input 0 V/24 V (EN 61131-2 type 2)
2 EN2 Enable signal 2 (static or
dynamic)
Input 0 V/24 V (EN 61131-2 type 2)
3 13 Signal contact, NO Potential-free contact (semiconductor
relay), maximum 120 mA, maximum
60 V DC
4 14
 Loading...