Installation and Setup Guide
Chapter 3 - Getting Started22
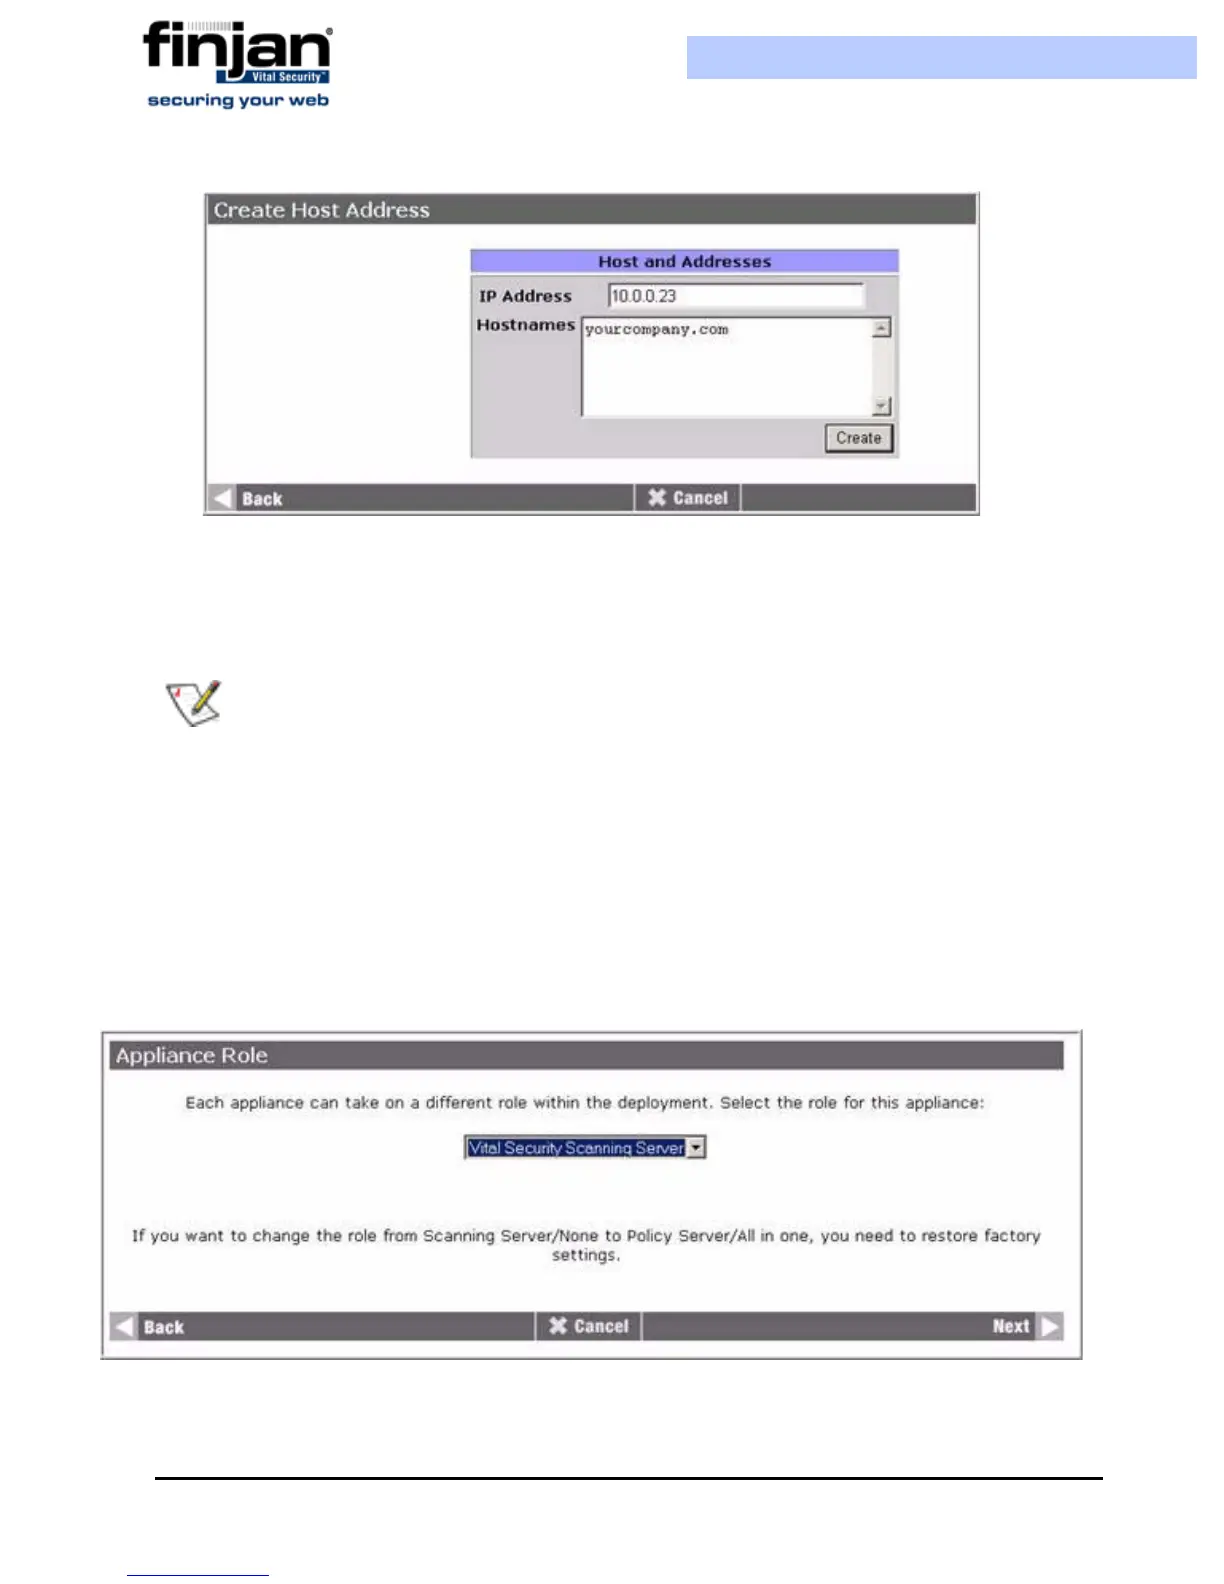
Figure 3-17: Create Host Address
3.
Enter the IP Address and Hostname of the PC that will work with Vital Security and
click Create. The PC is added to the list. Once the PC is recognized, the administrator
will have faster performance speed using the Setup Console.
2.3.4 Configuring a Scanning Server
To configure a Scanning Server
1. Click the Initial Setup Wizard icon as appears in Figure 3-3 to begin the setup
procedure, and in the Welcome screen, click Next. The Appliance Role screen is
displayed.
Figure 3-18: Appliance Role: Scanning Server
NOTE: If you cannot connect via the interface you have selected (with either the old or
the new IP), temporarily reset FE5 to its default settings via the LCD panel (10.0.5.1,
netmask 255.255.255.0) by navigating to the Reset FE5 IP option, pressing
Enter,
pressing
Enter again, and then access the Setup Console at https://10.0.5.1:3012
 Loading...
