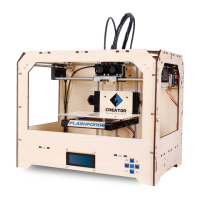
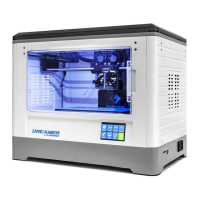
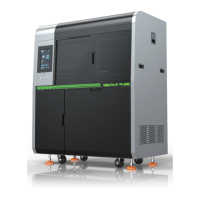
Clean photoelectric switch in the front of Y-axis.
Clean photoelectric switch in the front of Z-axis.
Clean photoelectric switch in the back of X-axis.
3. Use a cotton swab to extract isopropyl alcohol and gently
wipe all dust around the sensor.
4. After removing any dust around the sensor, close the
printing chamber.
Do not remove any external panels while cleaning the printer.
technical support representative.
Wipe with a dry, clean, lint-free cloth to remove dust from the
outside surface of the printer. Spray the clean cloth with a
multi-purpose cleaner and gently wipe away the dust and oil
stains on the outside surface of the printer.
Clean the outer surface
Use a dust-free cloth to extract isopropanol to clean the
a damp cloth.
Clean build chamber
build plate and reinsert it into the printer. Follow these steps
to clean up the build plate:
material from the build plate surface.
2. Spray the build plate with isopropanol (IPA) and wipe it
with a paper towel.
Clean build plate
Note: The device must be on standby before cleaning
to avoid disruption of printing.
Note: Only use non-abrasive, non-alcoholic cleaners
to clean the surface. Never use multi-purpose cleaners
that contain crude oil-based polishes such as wax
water.
Note: before installation and use, please keep the
build plate clean and keep the room temperature
steady.
Note: The following cleaning products will cause
damage to the touch screen, do not use!
· Dry cloth;
· any cleaning product containing acetone, butronone
or alcohol ;
· Any abrasive cleaning product.
Remove all printed parts before cleaning the screen. Prevents
any operation on the printer from accidentally pressing the
control key.
Spray water-based solvents, dust-free cloths, and never wipe
or spray detergent directly onto the touch screen with a dry
cloth.
Gently wipe with a clean, dust-free cloth containing amino
glass cleaners to remove dust and structural material residue
from the touch screen.
Clean the touchscreen
01 02 03 04 05 06 07 08
09 10 11 12 13 14 15 16 17
18 19 20 21 22 23 24 25 26
27 28 29 30 31 32 33 34 35
36 37 38 39 40 41
42 43
44 45 46 47 48 49 50 51
52 53 54
55 56 57 58 59 60 61
62 63 64 65 66 67 68 69
70 71 72 73 74 75 76 77
78 79 80 81 82 83 84 85
86 87 88 89 90 91 92 93
94 95 96 97 98 99 100 101
102 103