13 Configuring Wi-Fi
General
Depending on your camera configuration, you can connect the camera to a wireless
local area network (WLAN) using Wi-Fi, or let the camera provide Wi-Fi access to
another device.
You can connect the camera in two different ways:
■
Most common use: Setting up a peer-to-peer connection (also called ad hoc or
P2P connection). This method is primarily used with other devices, e.g., an iPhone
or iPad.
■
Less common use: Connecting the camera to a WLAN.
Setting up a
peer-to-peer
connection (most
common use)
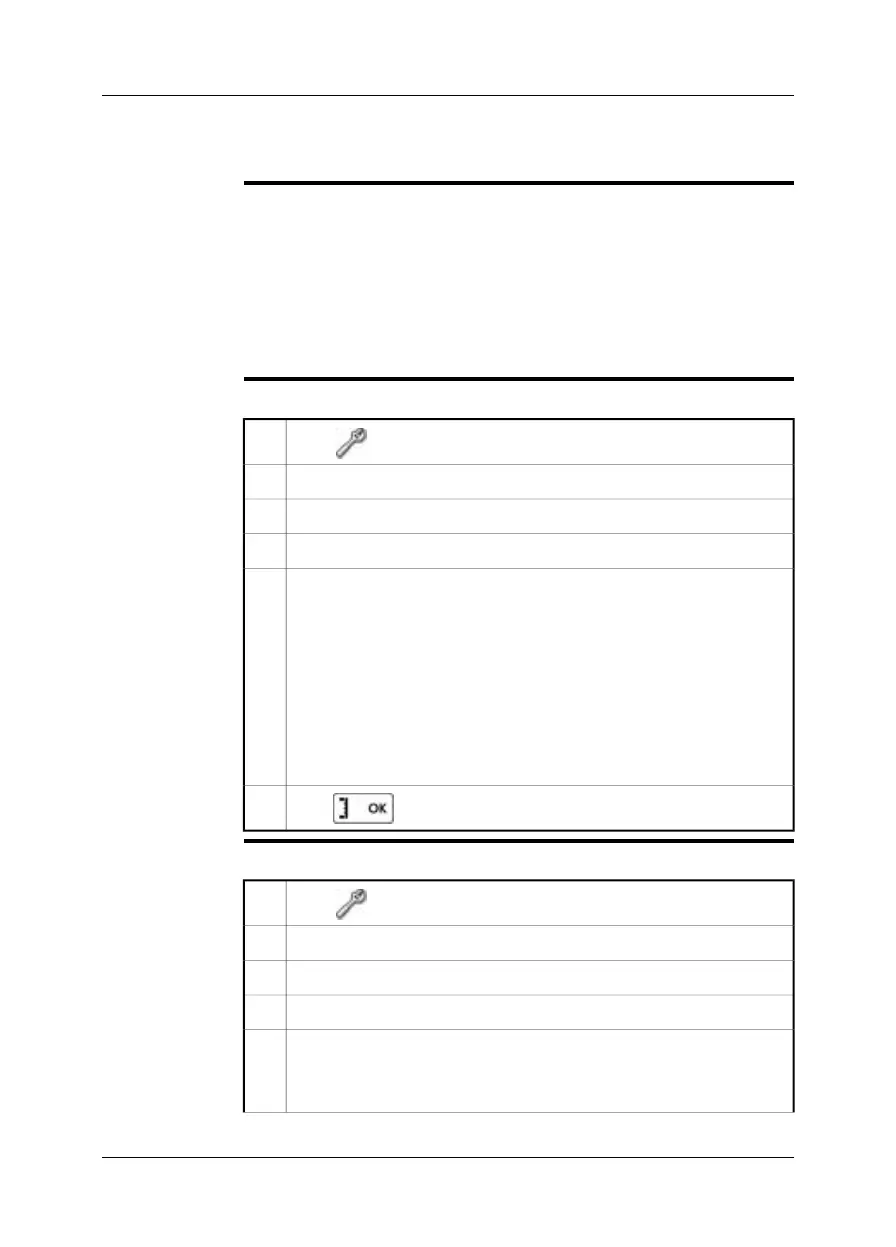
Follow this procedure:
1
Go to (Settings) .
Go to the Connectivity tab.2
Under Wi-Fi, select Connect device.3
Select Wi-Fi settings.4
Enter values for the following parameters:
■
SSID (the name of the network).
■
Channel (the channel that the other device is broadcasting on).
■
Encryption (the encryption algorithm, e.g., TKIP or AES).
■
Key (the access key to the network).
■
Address (the IP address for the network).
■
Gateway (the gateway IP address for the network).
Note: These parameters are set for your camera's network. They will be
used by the external device to connect that device to the network.
5
Push to confirm the choice.
6
Connecting the
camera to a
wireless local area
network (less
common use)
Follow this procedure:
1
Go to (Settings) .
Go to the Connectivity tab.2
Under Wi-Fi, select Connect to WLAN.3
Select Wi-Fi settings.4
Select one of the available networks.
Password-protected networks are indicated with a padlock icon, and for
these you will need to enter an access key.
5
Publ. No. T559597 Rev. a554 – ENGLISH (EN) – September 27, 2011 25