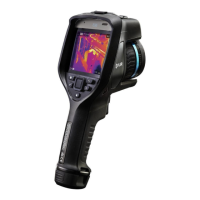
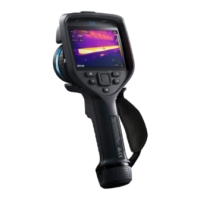
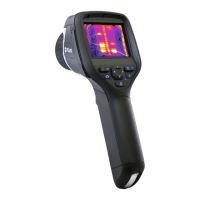
Saving and working with images
11
3. To edit the image, push the navigation pad. This displays a context menu. For editing
instructions, see section 11.5 Editing a saved image, page 52.
4. Do one of the following:
• To save the image, pull the trigger.
• To exit preview mode without saving, push the back button
.
11.4 Opening a saved image
11.4.1 General
When you save an image, the image file is stored on the memory card. To display the im-
age again, open it from the image archive (Gallery).
11.4.2 Procedure
Follow this procedure:
1. Push the image archive button
. This displays the Gallery with one or more folders.
2. Select a folder and push the navigation pad.
3. Select the image you want to view and push the navigation pad.
4. Do one or more of the following:
• To view the previous/next image, push the navigation pad left/right.
• To display a toolbar at the top of the screen, push the navigation pad. Do one or
more of the following:
◦ To switch between an infrared image and a visual image, select the
icon and
push the navigation pad.
◦ To edit the image, delete the image, display information, or add annotations, se-
lect the
icon and push the navigation pad. This displays a menu to the right.
• To return to the folder overview, push the back button
.
11.5 Editing a saved image
11.5.1 General
You can edit a saved image. You can also edit an image in preview mode.
11.5.2 Procedure
Follow this procedure:
1. Push the image archive button
. This displays the Gallery .
2. Select a folder and push the navigation pad.
3. Select the image you want to edit and push the navigation pad.
4. Push the navigation pad to display the top toolbar.
5. On the top toolbar, select the
icon and push the navigation pad.
6. On the right toolbar, select the
icon and push the navigation pad. This opens the
image in edit mode.
#T810190; r. AI/41890/41890; en-US
52