Thermal and Visible Camera Operation
8
the Temperature Scale mode
, press Select, and scroll to the ‘Lock’ mode
; press Select to confirm and to exit the menu. Some experimentation
and fine-tuning may be required to obtain the best possible contrast.
For additional programming details see Section 5.3 Temperature Scale menu.
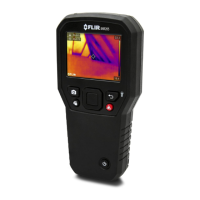
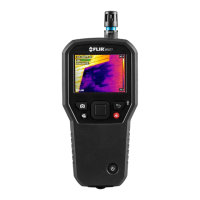
8.3 Digital (Visible) Camera
Select the full screen Digital Camera from the menu system: Select button/Im-
age Mode/Digital Camera
.
Figure 8.3 Selecting the Digital Camera image
The Digital Camera lens is located on the back of the meter. Face the lens to-
ward the area of interest and view the image on the display.
When the Laser pointer button
is pressed, the Laser beam appears. Use
the Laser beam and the cross-hairs (‘Centre Spot’ selection in the Measure-
ment menu) to target the surfaces under test. The temperature reading repre-
sents the spot targeted by the cross-hairs and Laser pointer.
Note that the Laser is carefully aimed to align with the cross-hairs for easier
identification and targeting of objects and surfaces.
8.4 High/Low IR Temperature Alarm
1. To access the Alarm mode use the menu (Settings/Measurement Parame-
ters/IR Temperature & Moisture Alarm mode).
2. Select the ‘IR Temperature Alarm’ mode.
#NAS100070; r. AB/77165/77326; en-GB
39