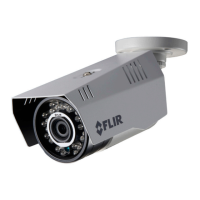
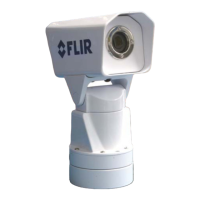
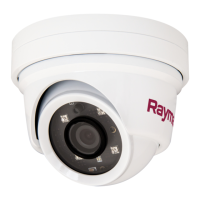
5.1Mountingtheunit
Havingchosenasuitablelocation,installtheunit
asfollows:
Ensurethepowersupplyisswitchedoffandthatthe
necessarycableshavebeenfedtothemounting
location.
Note:Thecameraissuppliedpartlyassembled.
Theexternalplasticcollar(packedseparatelyin
thebox)protectsthecameraballwhenthecamera
isinuse.Youmustattachthecollartothecamera
baseaftermountingthecamera.
1.Removeallcomponentsfromthebox.
Ensurethatyouretaintheexternalplasticcollar,
asyoumustattachthistothecamerabaseatthe
endofthisprocedure.
2.Checktheselectedlocationfortheunit.Aclear,
atareaisrequired,whichissafetohavescrews
ttedto.
3.Usethesuppliedmountingtemplatetomarkout
thelocationofthemountingholes,andifrequired
thecablefeedhole.
4.Drillthemountingholes,andifrequiredthecable
feedholeatthemarkedlocations.
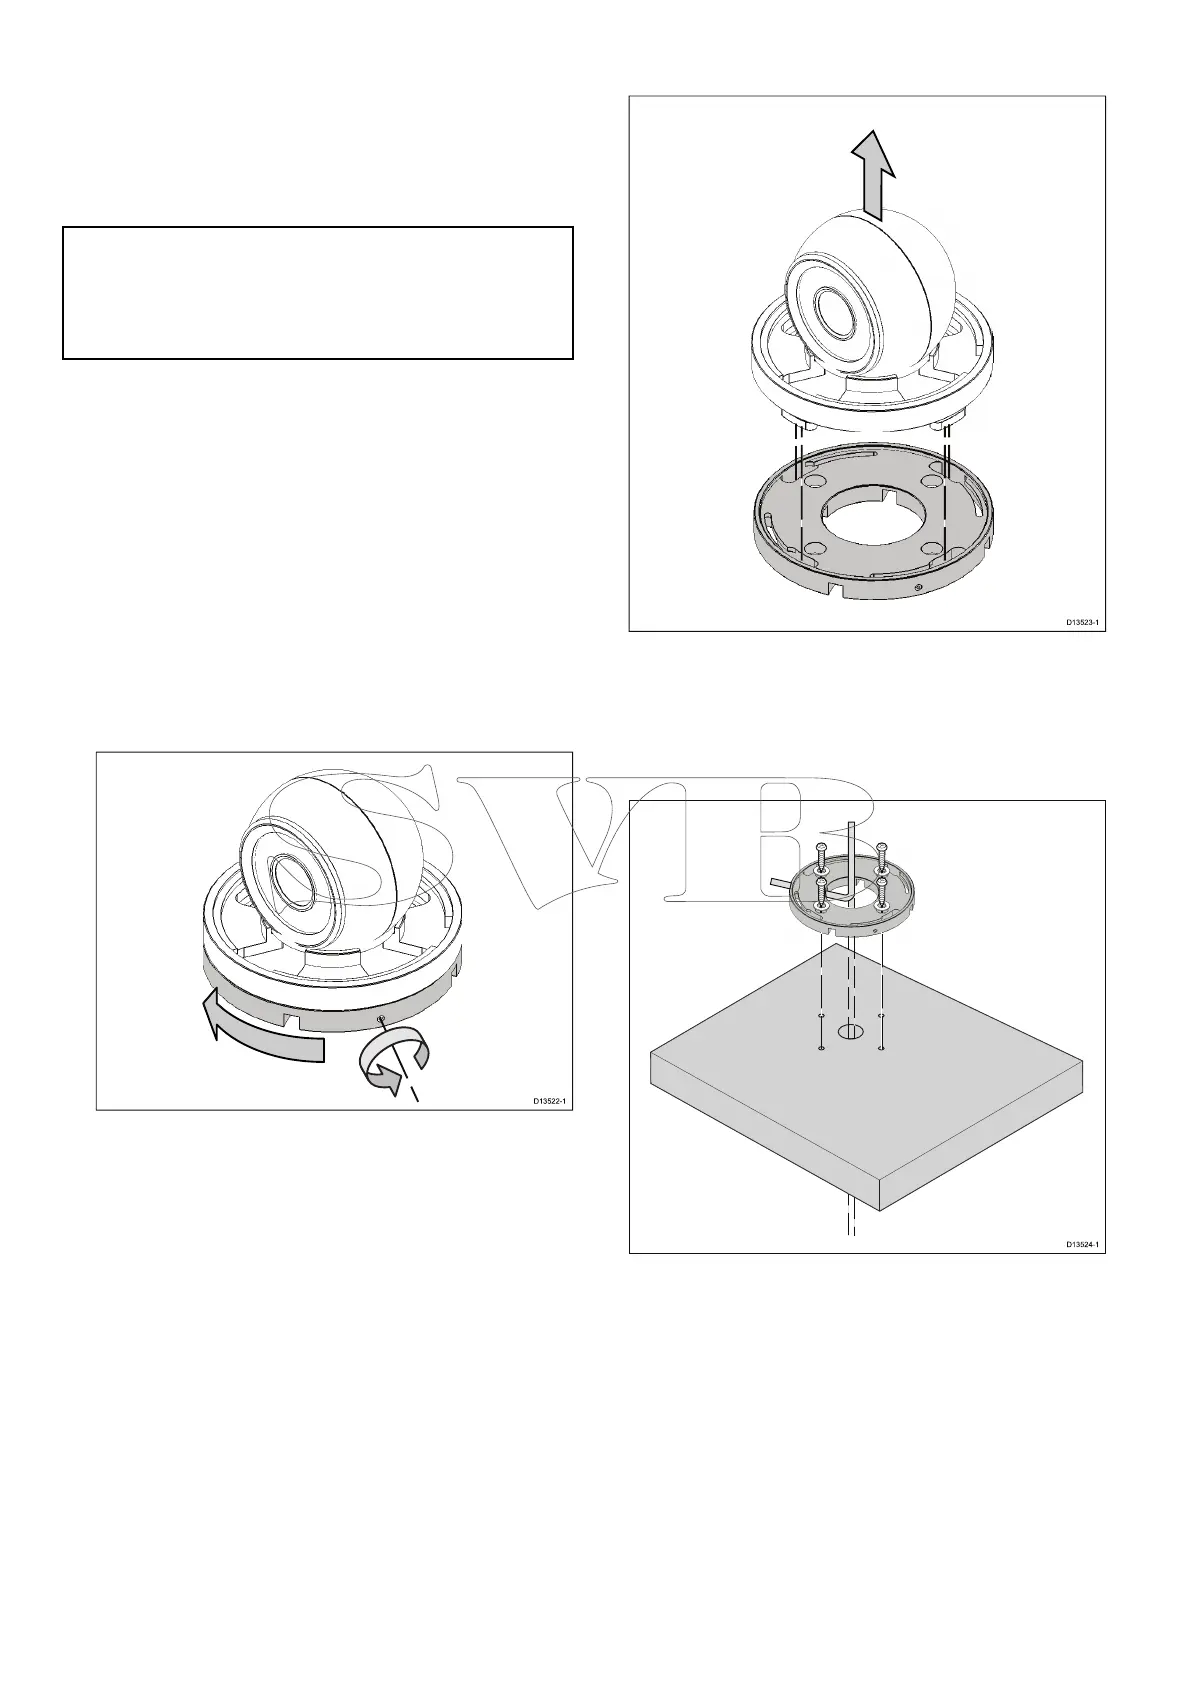
5.Loosenthescrewinthesideofthecamera’s
baseusingthesuppliedhexwrench(Allenkey).
6.Disconnectthecamera’sbasefromthebody
ofthecamera:withthebasefacingyou,
gripthecamera’sbodyandtwistthebase
counter-clockwise,thenpullthebaseawayfrom
thecamerabody.
7.Feedthecamera’scablesthroughtheholeinthe
camera’sbase,orthroughoneoftheprovided
cablechannels.
8.Placethecamera’sbaseintoposition,liningup
theholesinthebasewiththedrilledholesinthe
mountingsurface.
9.Securethebaseinpositionusingthescrews
andnylonwashersprovided,ensuringthatthe
camera’scablessitinthecamerabase’scable
channels,orfeedthroughthecable-feedhole
drilledinthemountingsurface.
10.Re-attachthecameratoitsbaseandtightenthe
lockingscrewinthesideofthebaseusingthe
suppliedhexwrench(Allenkey).
11.Connectthecamera’scablestotherelevant
cablefeeds.
12.Powerupthesystemandcheckthecamera’s
feedonyourdisplay.
13.Adjustthepositionoftheballbyhand,toobtain
thebestpicture.
28CAM220IP
 Loading...